文章:
Adding the widget in the Wix website builder.
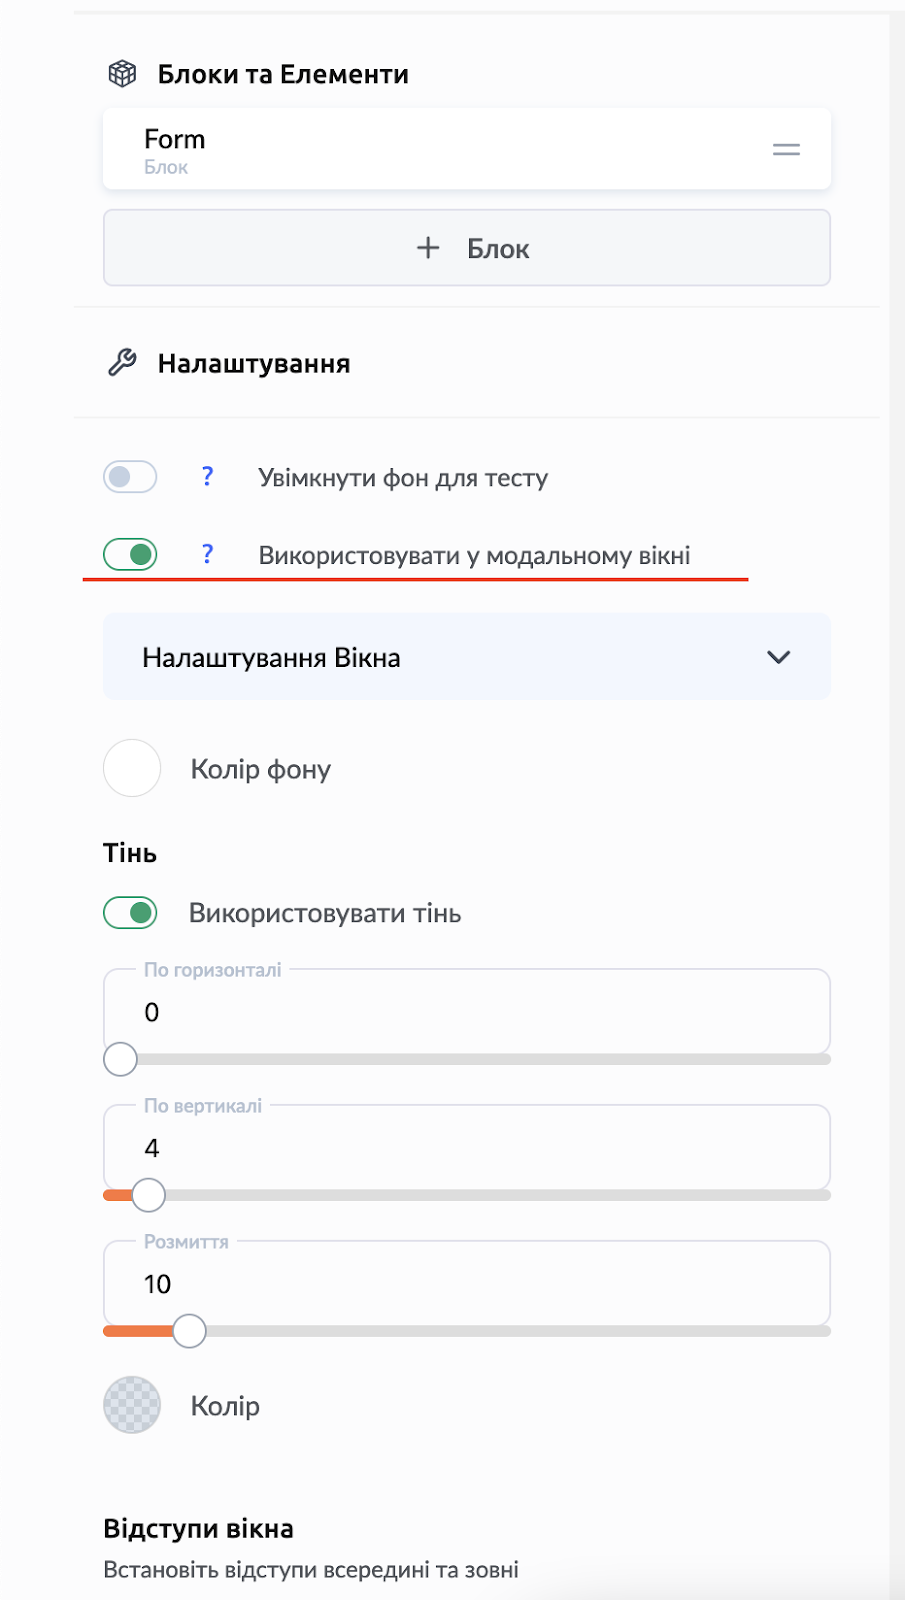
1. 为所需的小部件启用“在模态窗口中使用”选项
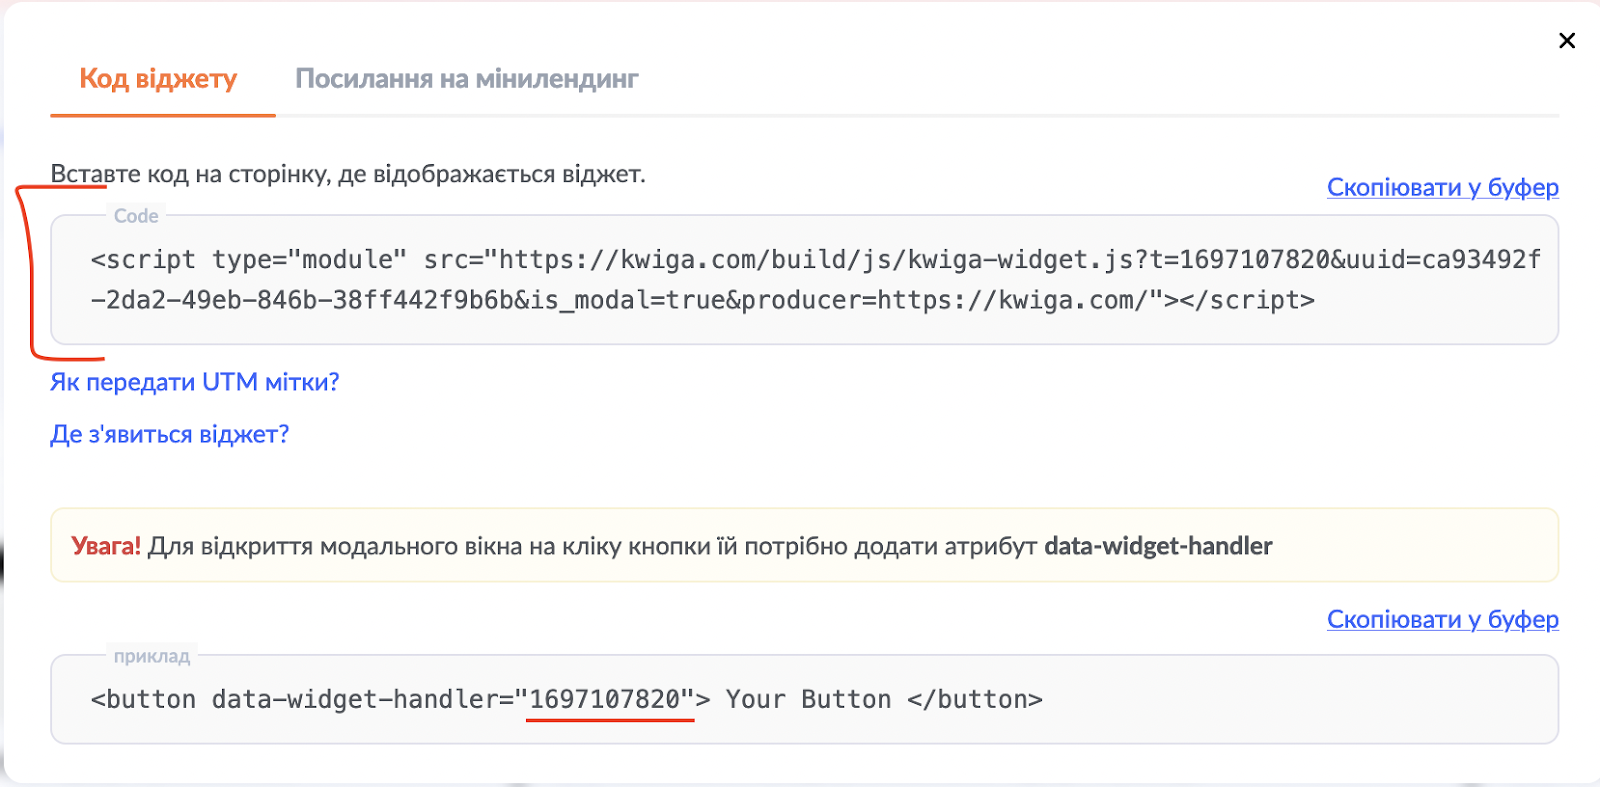
2. 复制小部件代码和 data-widget-handler 参数值
3. 前往 Wix
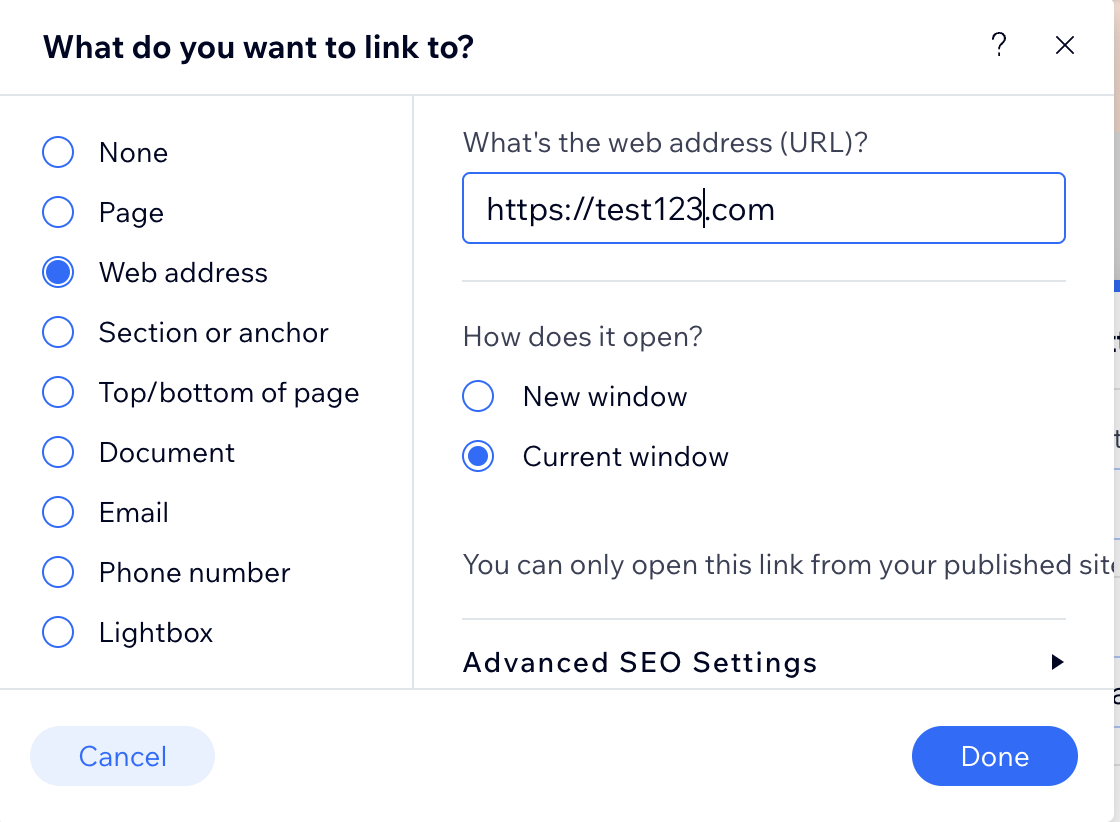
a. 在页面所需位置添加一个按钮,并为该按钮指定一个 URL。
URL 可以是任意内容;之所以需要它,是为了之后我们可以通过这个 URL 找到该按钮,并将其替换为你的小部件的 data-widget-handler 参数。
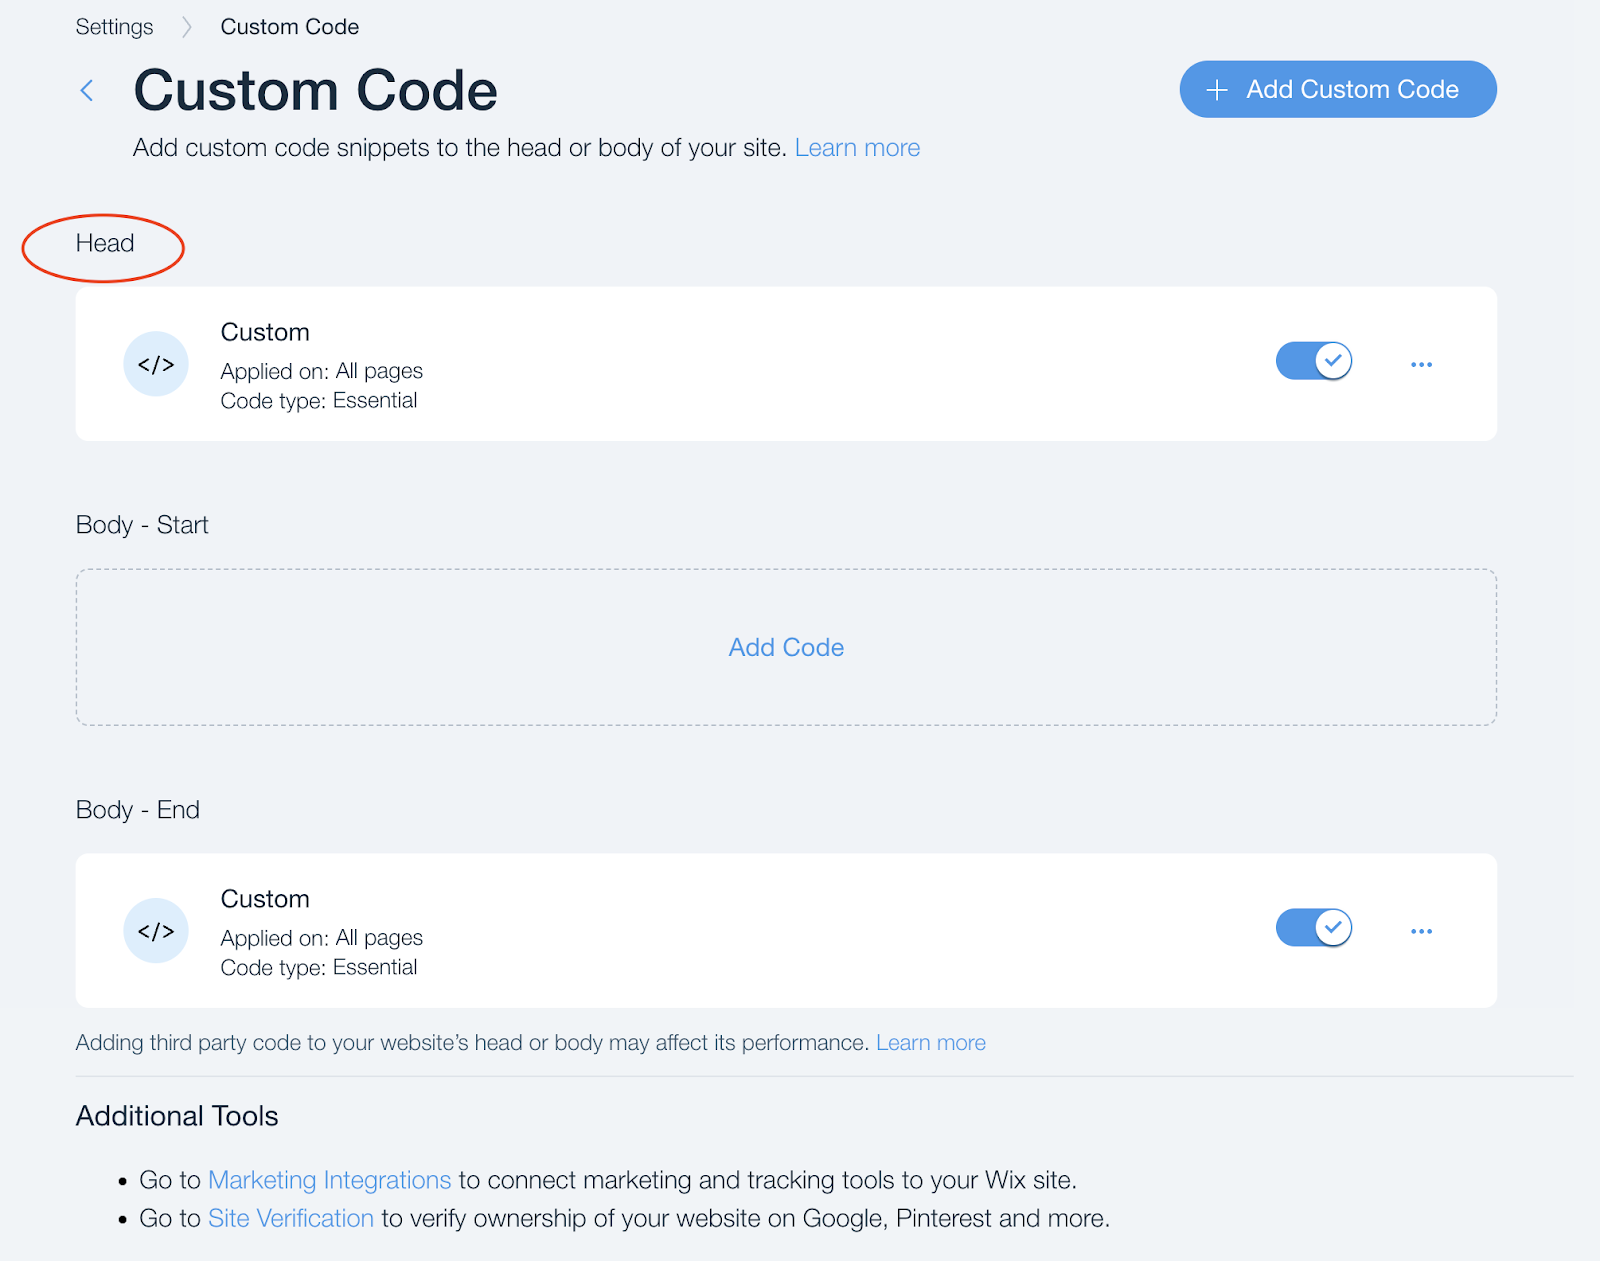
b. 前往 Custom Code 部分
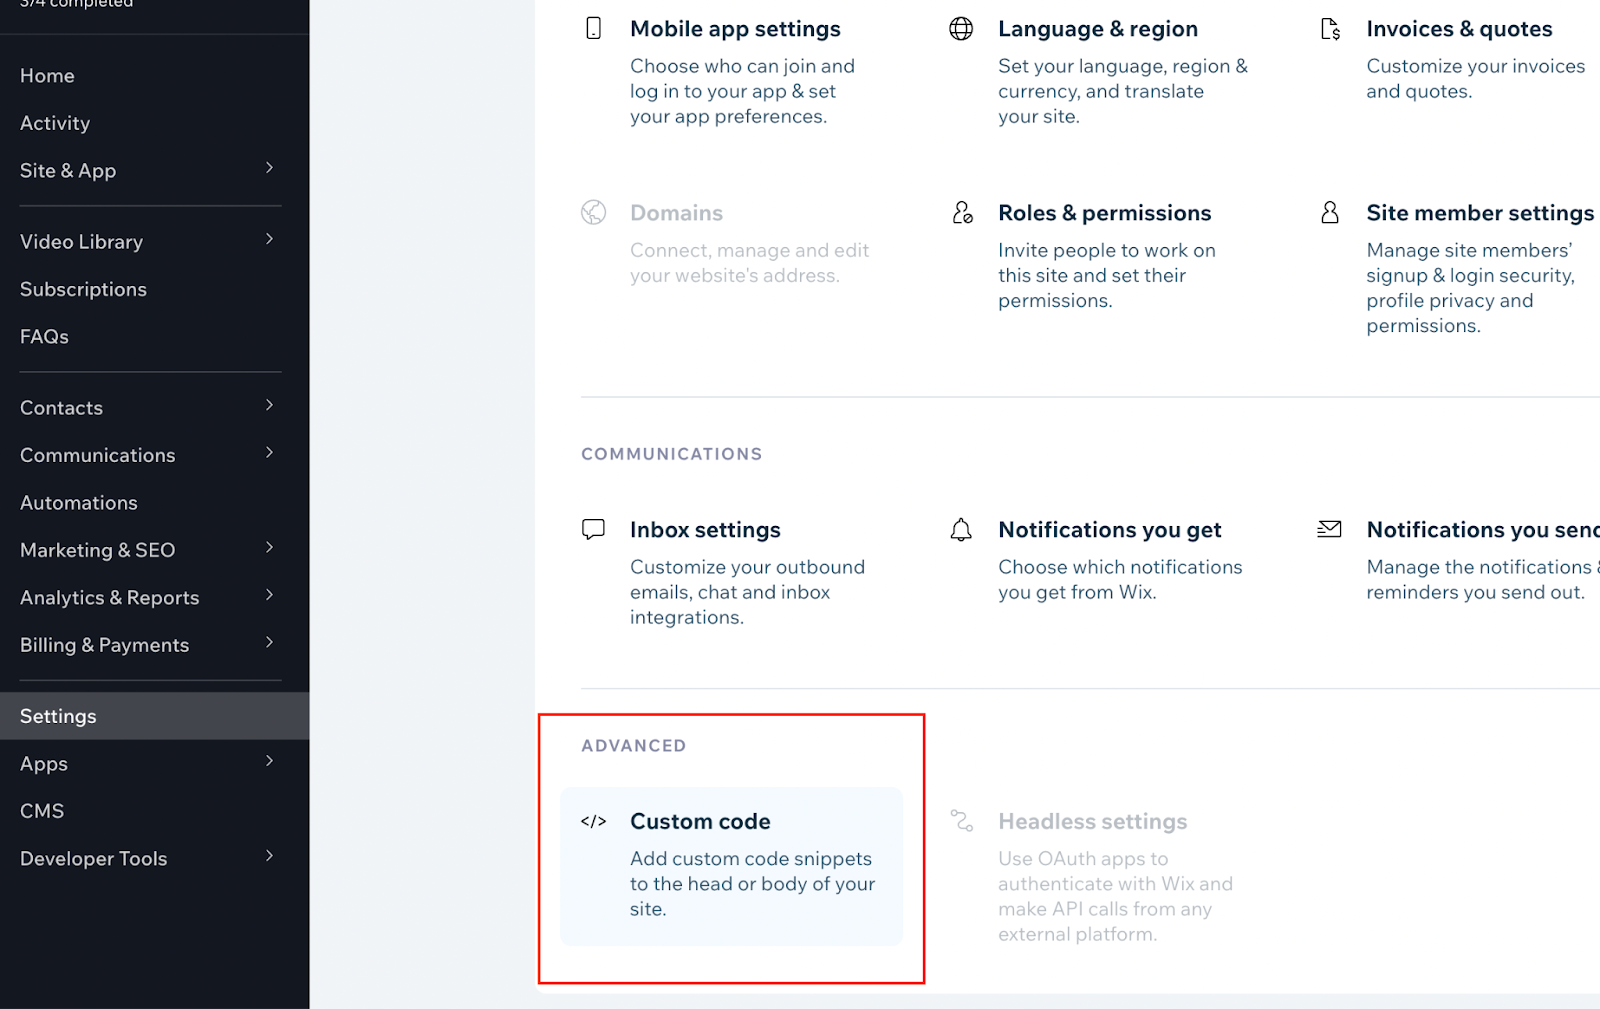
c. 将第 2 步中的小部件代码添加到 Head 部分
例如
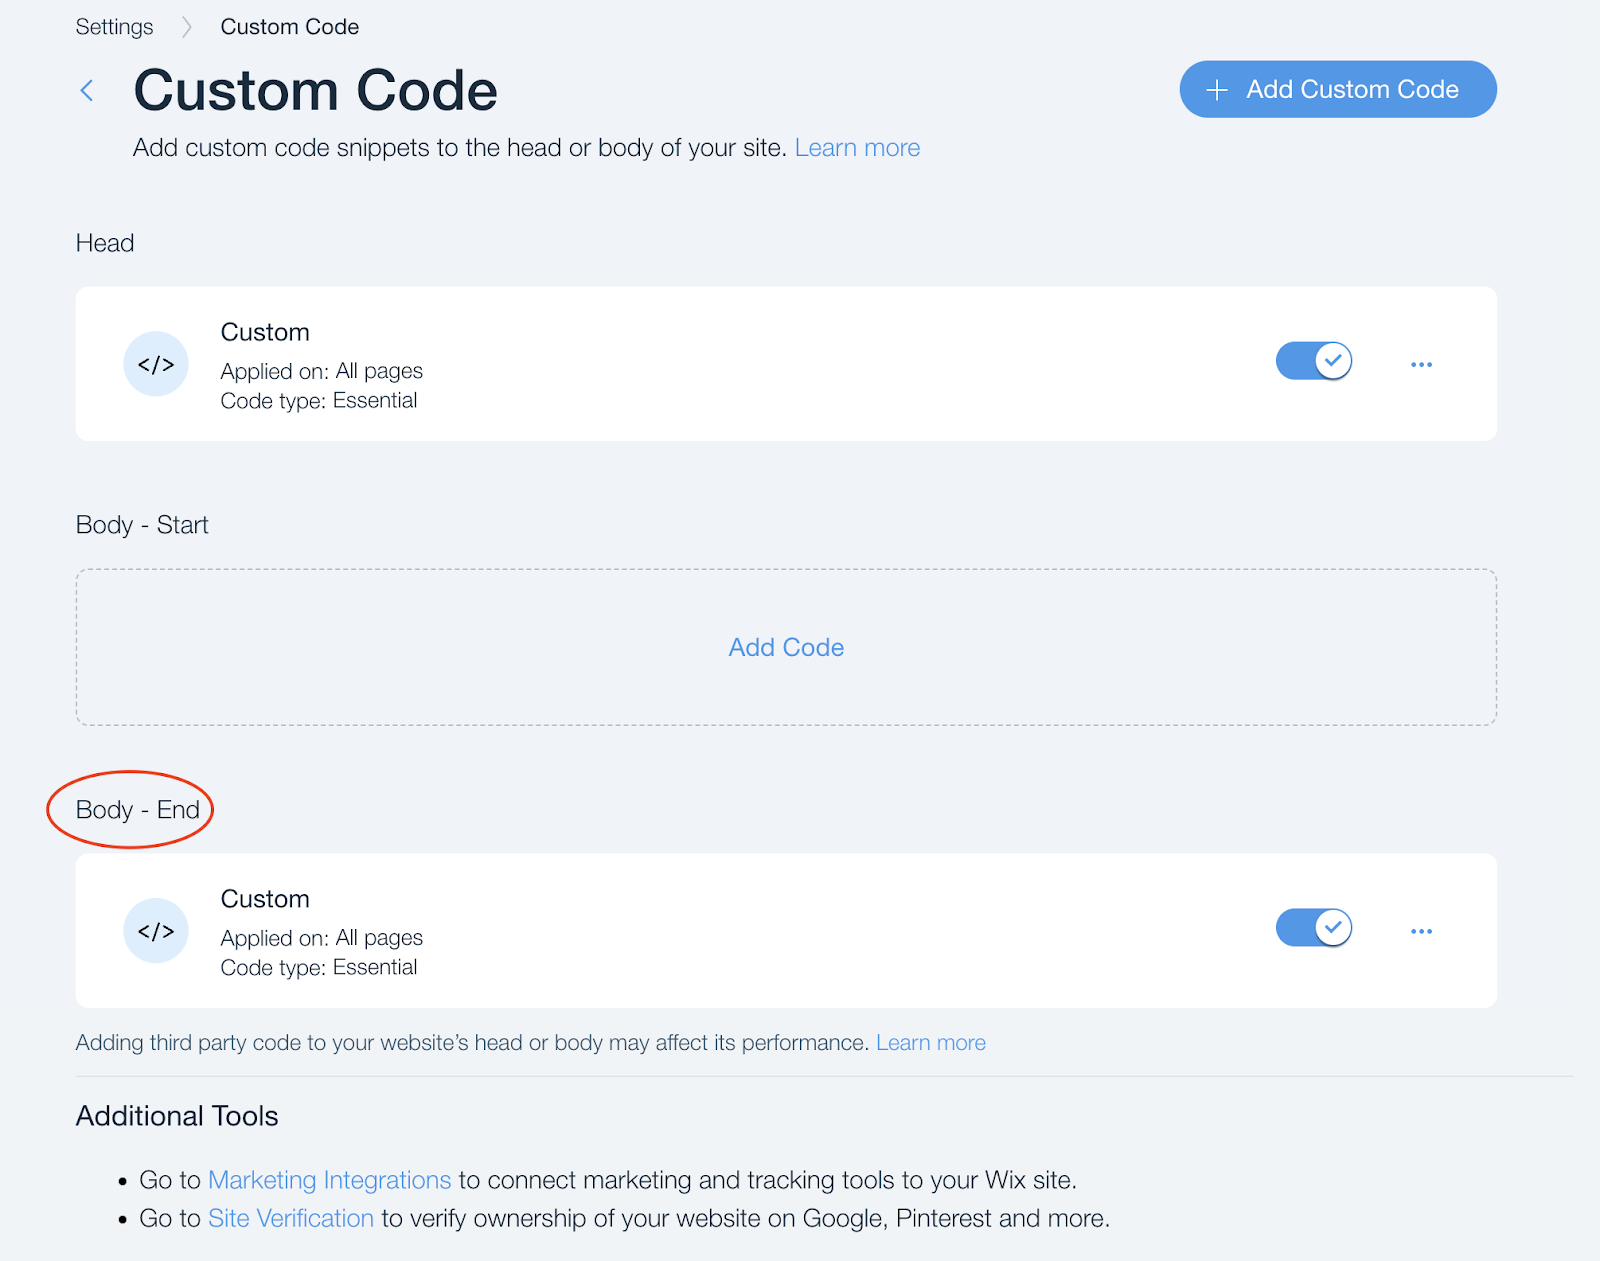
d. 将代码添加到 Body - End 部分
var els = document.querySelectorAll("a[href='https://test123.com']");
for(var i = 0, l = els.length; i
var el = els[i];
el.setAttribute("data-widget-handler","469778820");
el.removeAttribute("target");
el.setAttribute("href", "#");
}
其中:
1) 在这一行“var els = document.querySelectorAll(“a[href=‘https://test123.com’]“);” 中,你需要将值“https://test123.com” 替换为你在步骤 3 a) 中为按钮 URL 设置的值
2) 在这一行“el.setAttribute(“data-widget-handler”,“469778820");”中,你需要将值“469778820”替换为第 2 步中的 data-widget-handler 参数值
小部件中的计时器
如果你在小部件中使用计时器,那么落地页要正确加载有 2 种可能的方案:
-
将计时器与按钮分开
-
例如,在脚本中添加延迟,使小部件属性在 4 秒后应用到链接上(更新后的脚本版本):