Articles:
Learn how to create invitation links and set up notifications in a private group. Use our guide to manage access and keep members updated.
Invite links
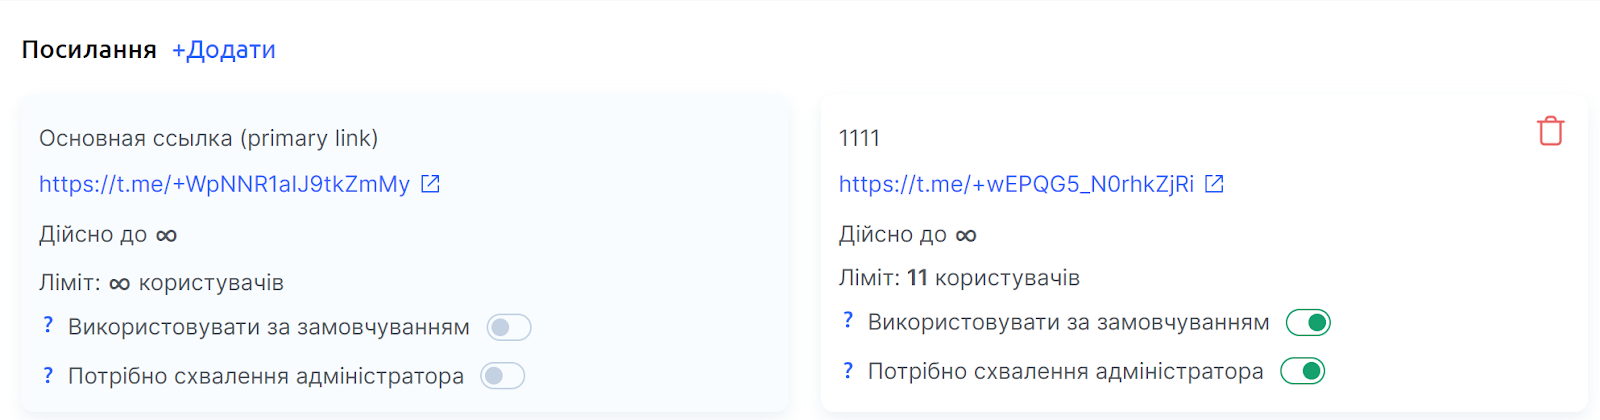
In the settings of a private group, you can add invite links to join the group so that you do not use the main link for joining the group that is generated by the Telegram service.
This functionality is similar to the functionality available in the Telegram app and allows you to create different invitations to join the group. It is most often used to track which advertising or traffic channel “brings” more new users. However, when using the private group product on the Kwiga platform, users must get access to the product to join the group (by accepting a free offer or paying for paid participation), and after that the first entry to the group must be made from the student's profile on the platform. Read more about this in the section How a student joins the group.
Therefore, invite links not assigned as used by default will allow your clients to join the group only if they have previously already joined the group through the platform.
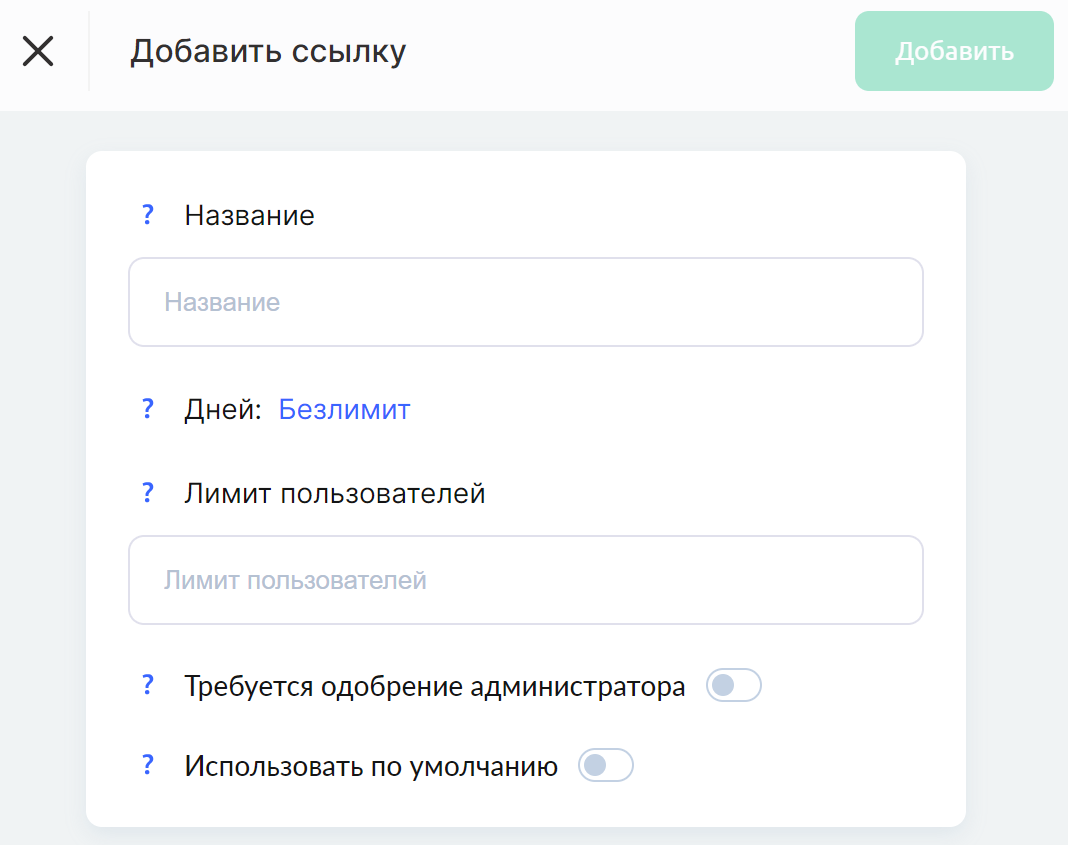
Name – this name is visible only to you and the group administrators, so use it to indicate which traffic source or advertising campaign is being used.
Days – you can limit the validity period of the link. 0 days means
User limit – here you can specify the maximum number of users who can use the link.
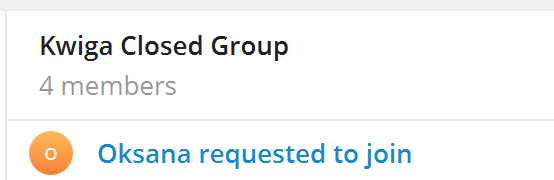
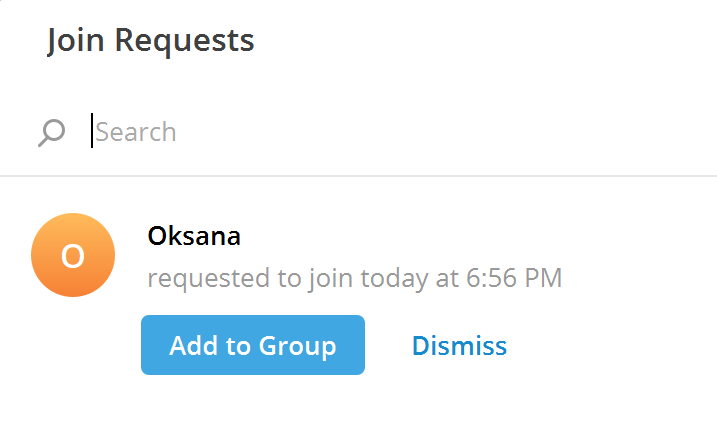
Additionally, you can mark whether administrator approval is required. If administrator approval is required, then after following the link the client will see a message that their request to be added has been sent to the administrator, and the administrator (or group administrators) will see a notification in their Telegram group that can be approved or rejected.
After adding a new link, you will be able to see its main settings.
Notification settings
You can change the text of the standard notifications in the group to the required one. If you do not want to change the standard notifications, do not fill in these fields. The switches next to the messages allow you to disable sending the message. At the moment, you can change:
Welcome message – the text of the message that will be sent when welcoming a user in the group when they join the group. Example of a basic message: "User", Welcome to the "Private Group":
Message for the subscription renewal button – the text of the message that will be sent when there is no active subscription. Example of a basic message: "You do not have a subscription to this group. Private group for this account "example@mail.com":
Message when there is no active subscription – the text of the message that will be sent when there is no active subscription. Example of a basic message: "You do not have a subscription to this group. Private group for this account "example@mail.com":
Message when the subscription expires – the text of the message that will be sent when the subscription expires. Example of a basic message: "The subscription to the product "Private Group" has expired for "User""
Message when the subscription is about to expire – the text of the message that will be sent when the subscription end date is approaching. Example of a basic message: "Your subscription to the product "Private Group" is about to expire"
Didn't find the answer? Contact the support service via online chat or Telegram