

Hi, dear readers! In this article, we want to share a solution to novice experts and producers that they face when creating a website or landing page. They often use different constructors. One of the most popular places for creating web pages is Tilda. Therefore, you may eventually want or need to transfer your website from Tilda to another hosting. Let's see how to do this and keep all the elements working. Enjoy this reading!
Preparation
Attention! You can download the site only on the "Business" pricing plan. Sadly, there are no other ways. It's enough to pay for a 1-month subscription to download the code for placing on your hosting.
We'll use a template site with an order form as an example. You can change the data defined below according to the needs of your website.

First, we will do a little work with your hosting. Create a “Transfer” subdomain on it and place the form.php file. You can also choose your name, but the file extension must remain .php!
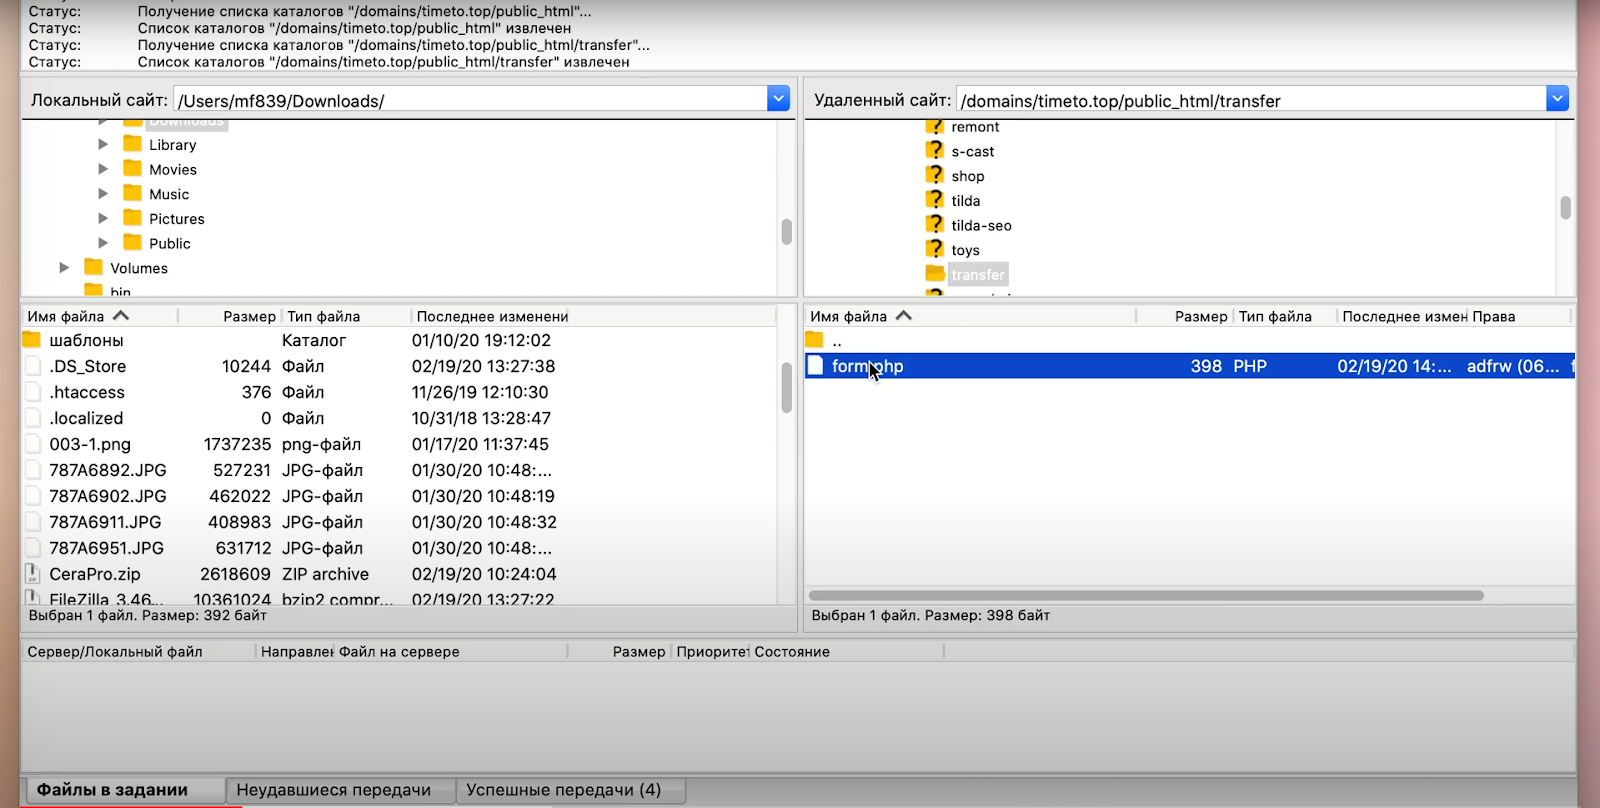
It contains the code for our form with all the critical data:
- e-mail that will receive applications;
- the server that will send them;
- filling out the form;
- display of all fields in the received letter;
- a message about a successful form sending or an error.
After that, provide data for your website and save the changes.
.png)
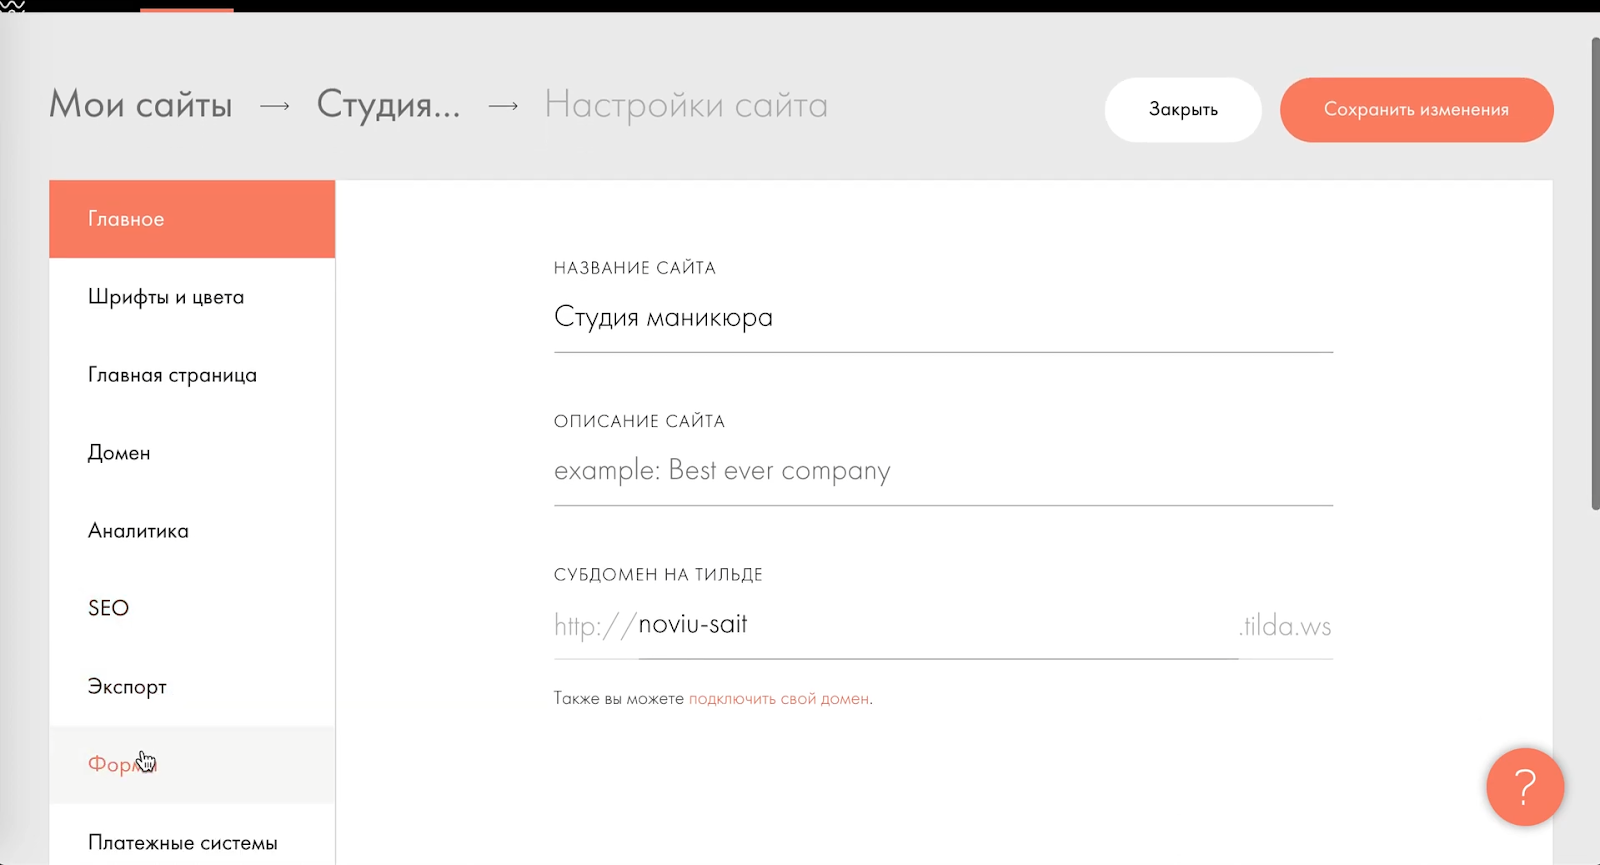
After having this work done, you need to go back to the site settings on the Tilda interface.

Go to the "Forms" section, find the Webhook at the bottom of the page, click on it and specify the URL of the .php file that we created earlier.
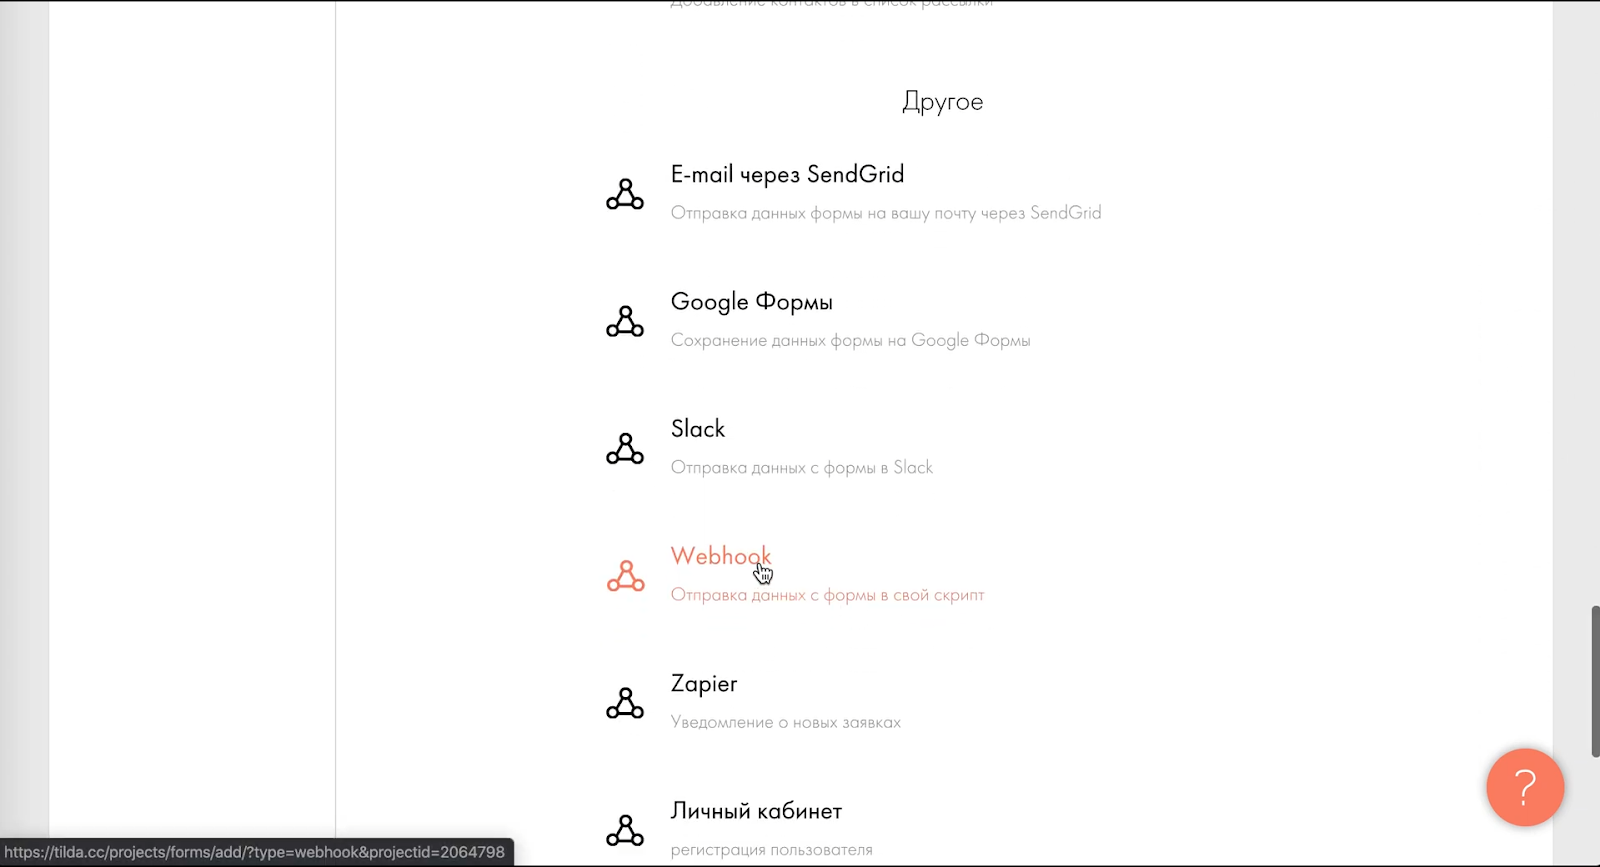
After typing the URL, click the "Save" button and wait for a message about the successful connection of the form.
.png)
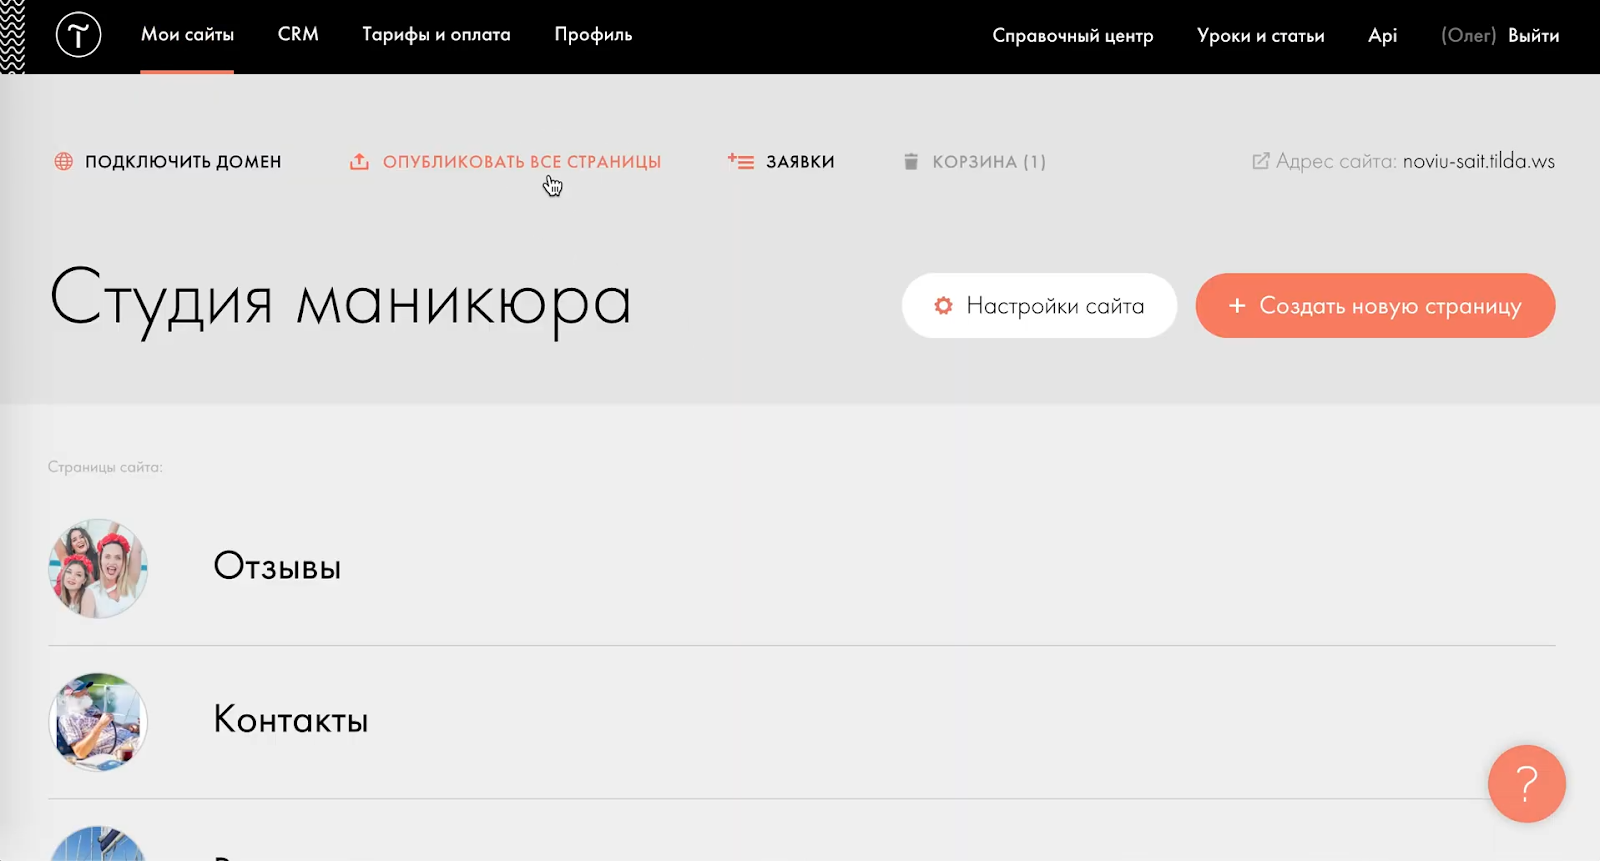
Don't forget to return to the main Tilda interface after the work is done and publish all pages so that Webhook connects to all forms. The site must work correctly after the transfer.
Website transfer
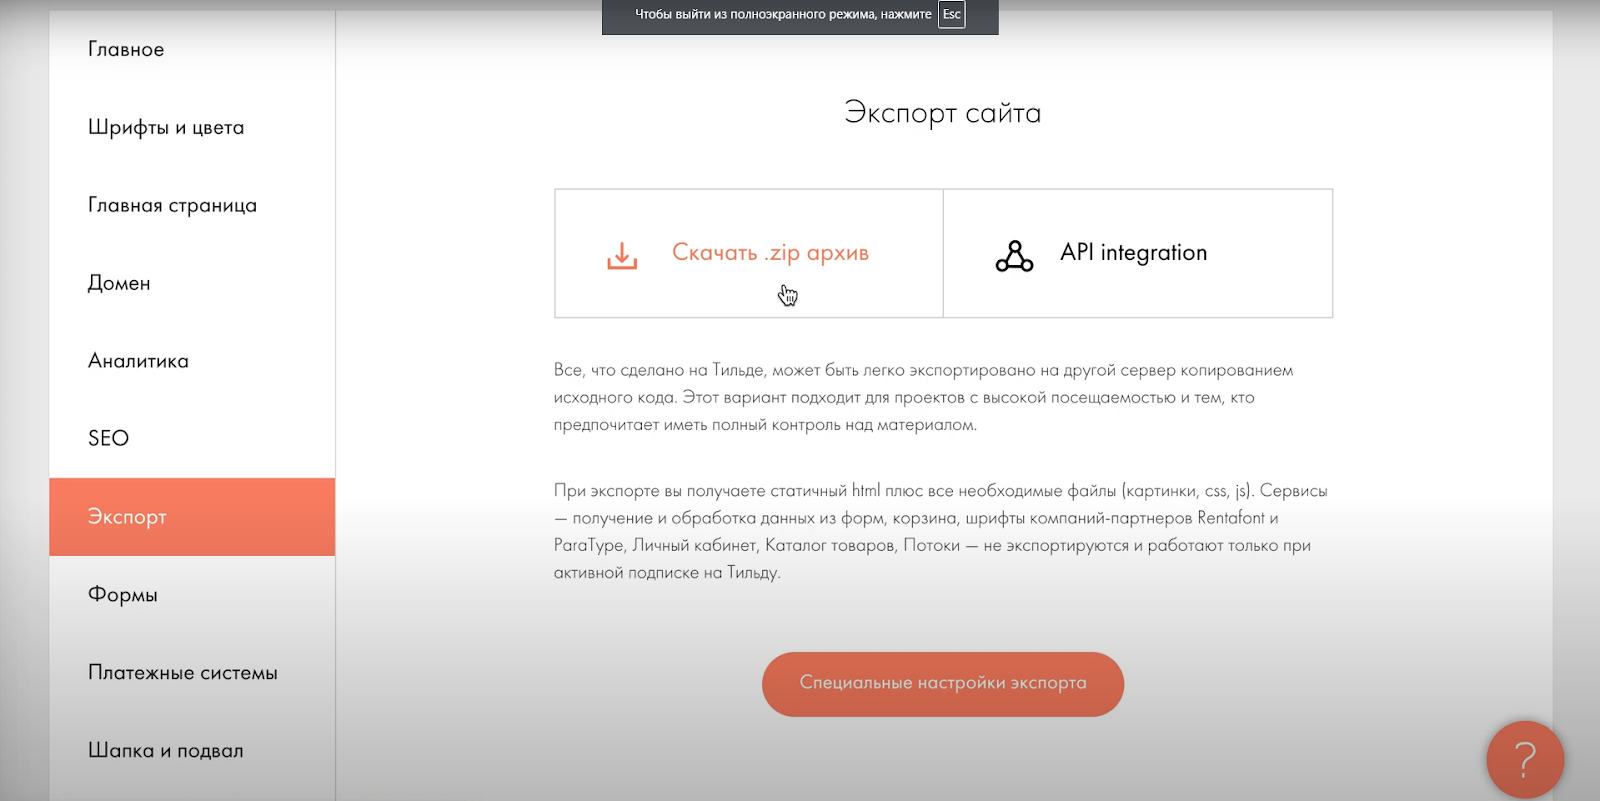
When we have done all this, go to the "Export" section on the page settings on Tilda.
It should be recalled once again that you must have a "Business" pricing plan activated. Otherwise, you'll waste your time :)
We select the item "Download Archive," read the export rules, and press the "Start Export" button.
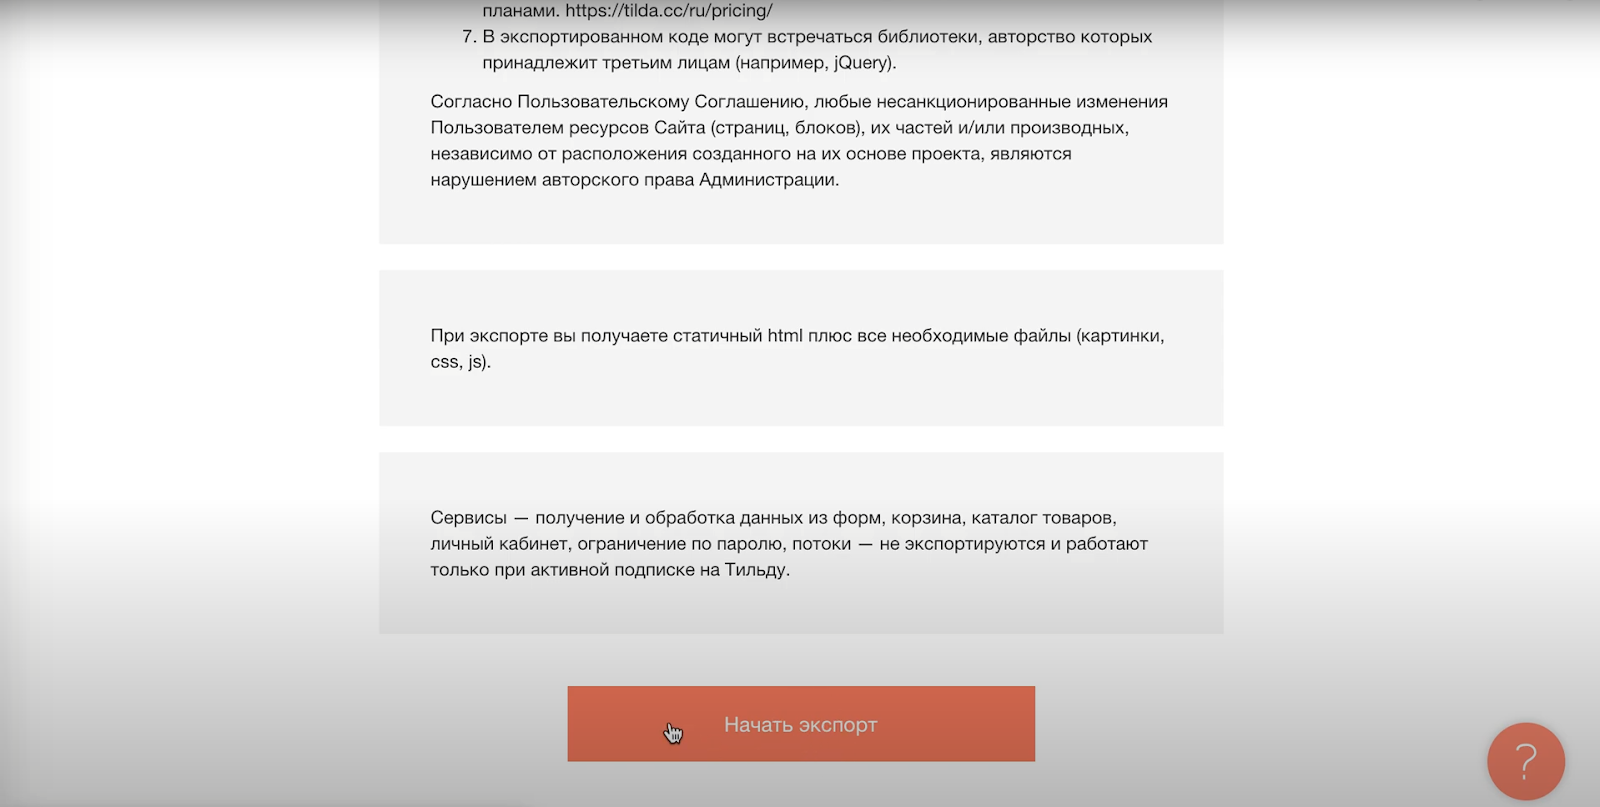
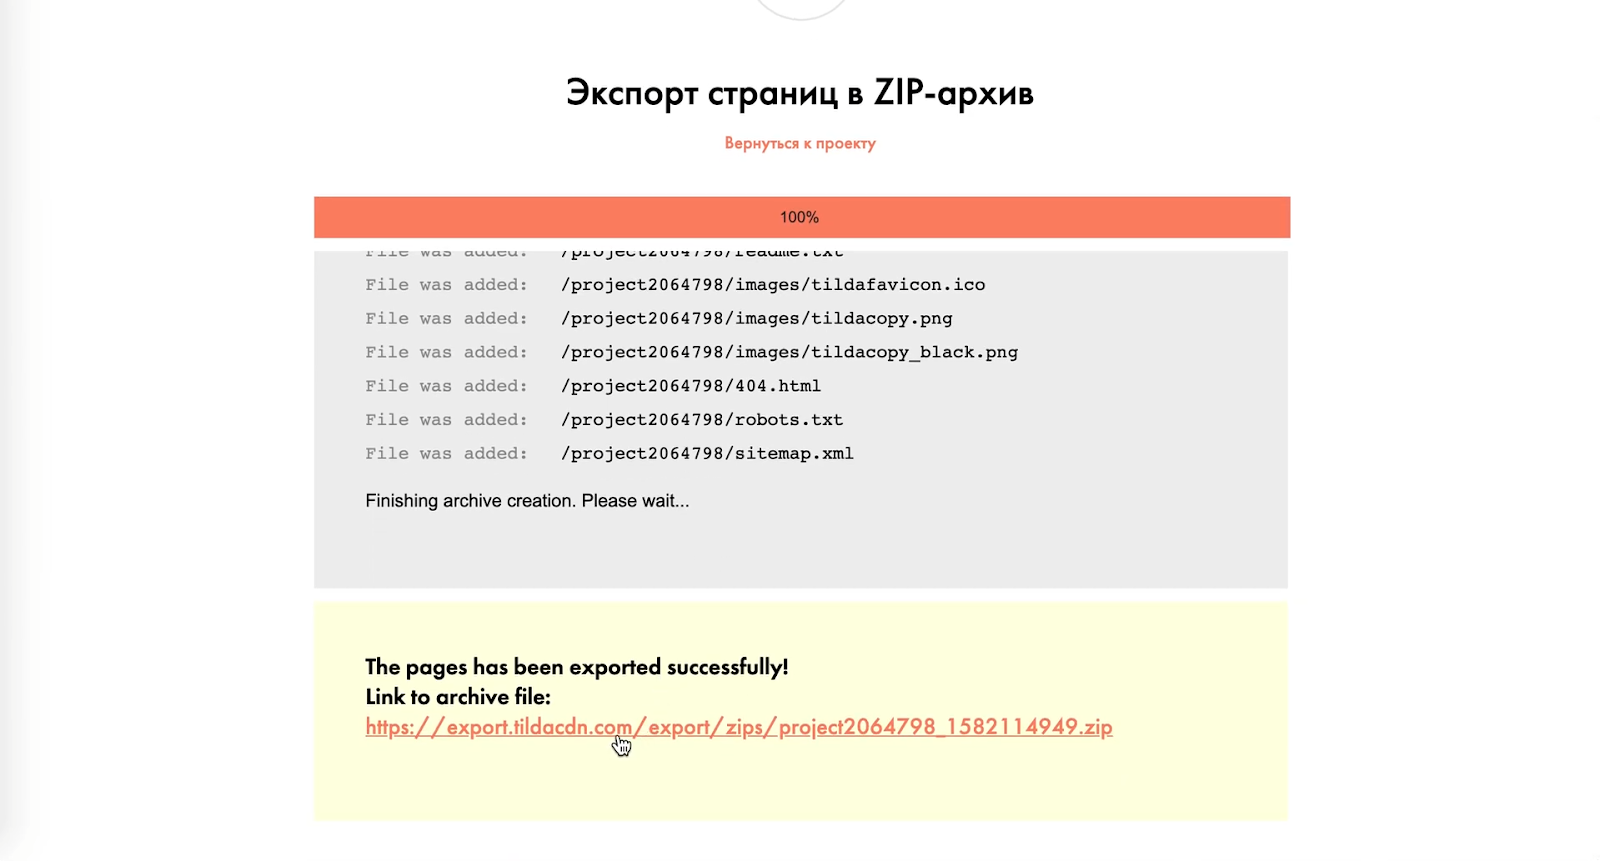
The export time depends on the complexity of the site. The more connected forms and blocks, the longer the pages will take to download to the .zip archive (that is, the speed depends on the content).
After exporting, you'll receive a link to the location of the archive. Go to it and download the files to your PC:
After receiving the archive, unpack it and go back to your server. There we find and open the folder that we just unzipped.

We select all the files and drag-and-drop them to your hosting. After that, wait for the files to be transferred.
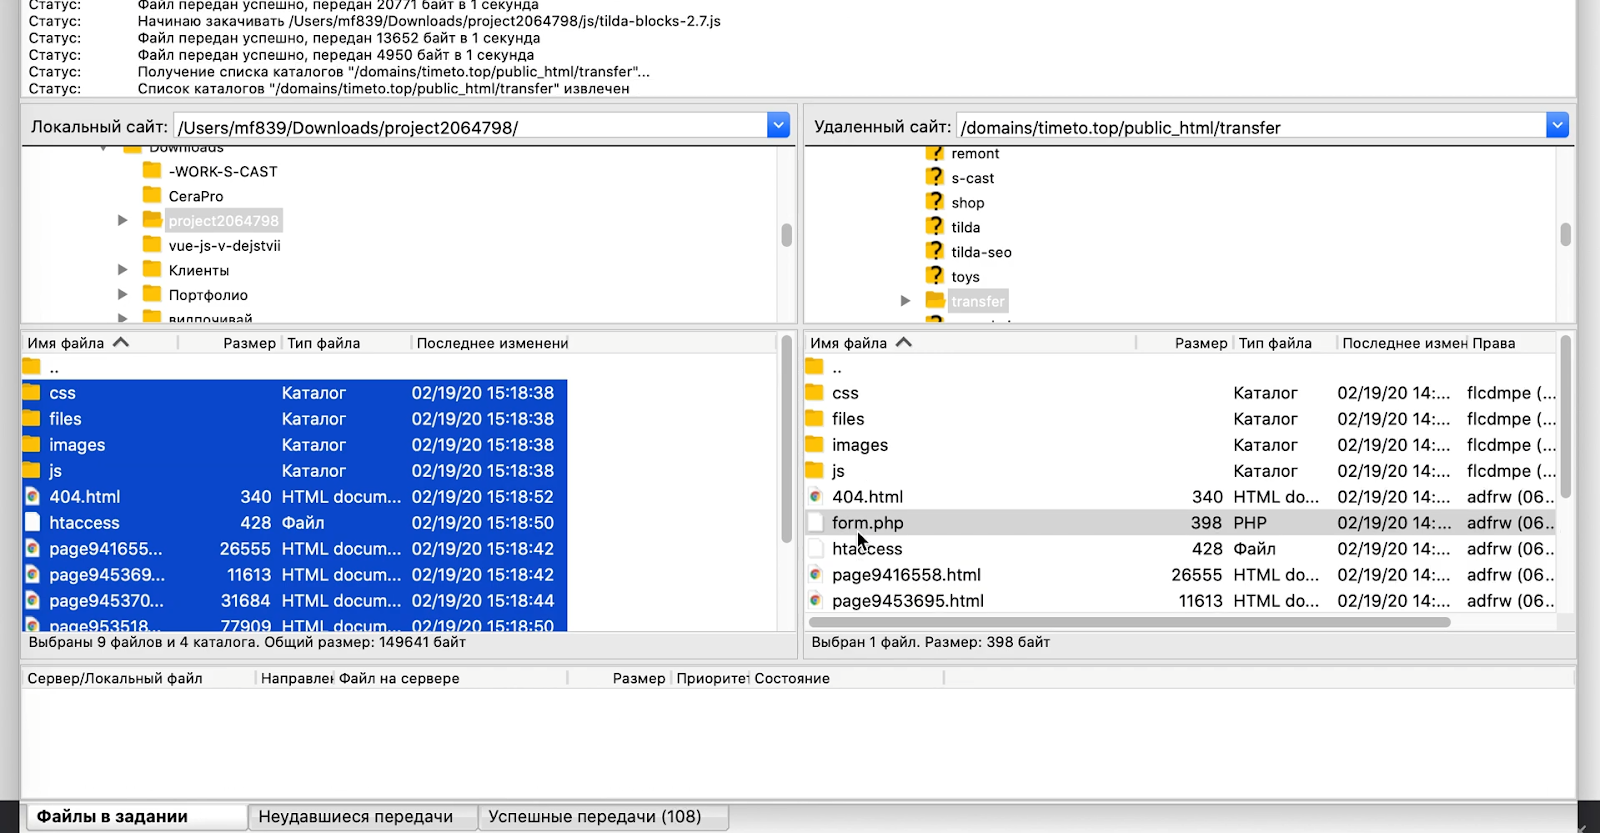
Next, we need to change the name of the htaccess file. To do this, double-click (with a break) on the name and add a period in front of it. Press "Enter" so that you should get the resulting picture.

So, the site has been moved. Now is the time to test how well it works.
Website check
Let's start your project, but from your server. To do this, type our Webhook URL in an address line of a browser used earlier. After that, press "Enter."

Done! Our website opens at the link. Now let's check the performance of the forms by typing random data into them and clicking the "Submit a request" button.

There's a problem! Data sending is not possible. Therefore, we need to specify in Tilda the domain that we are using.
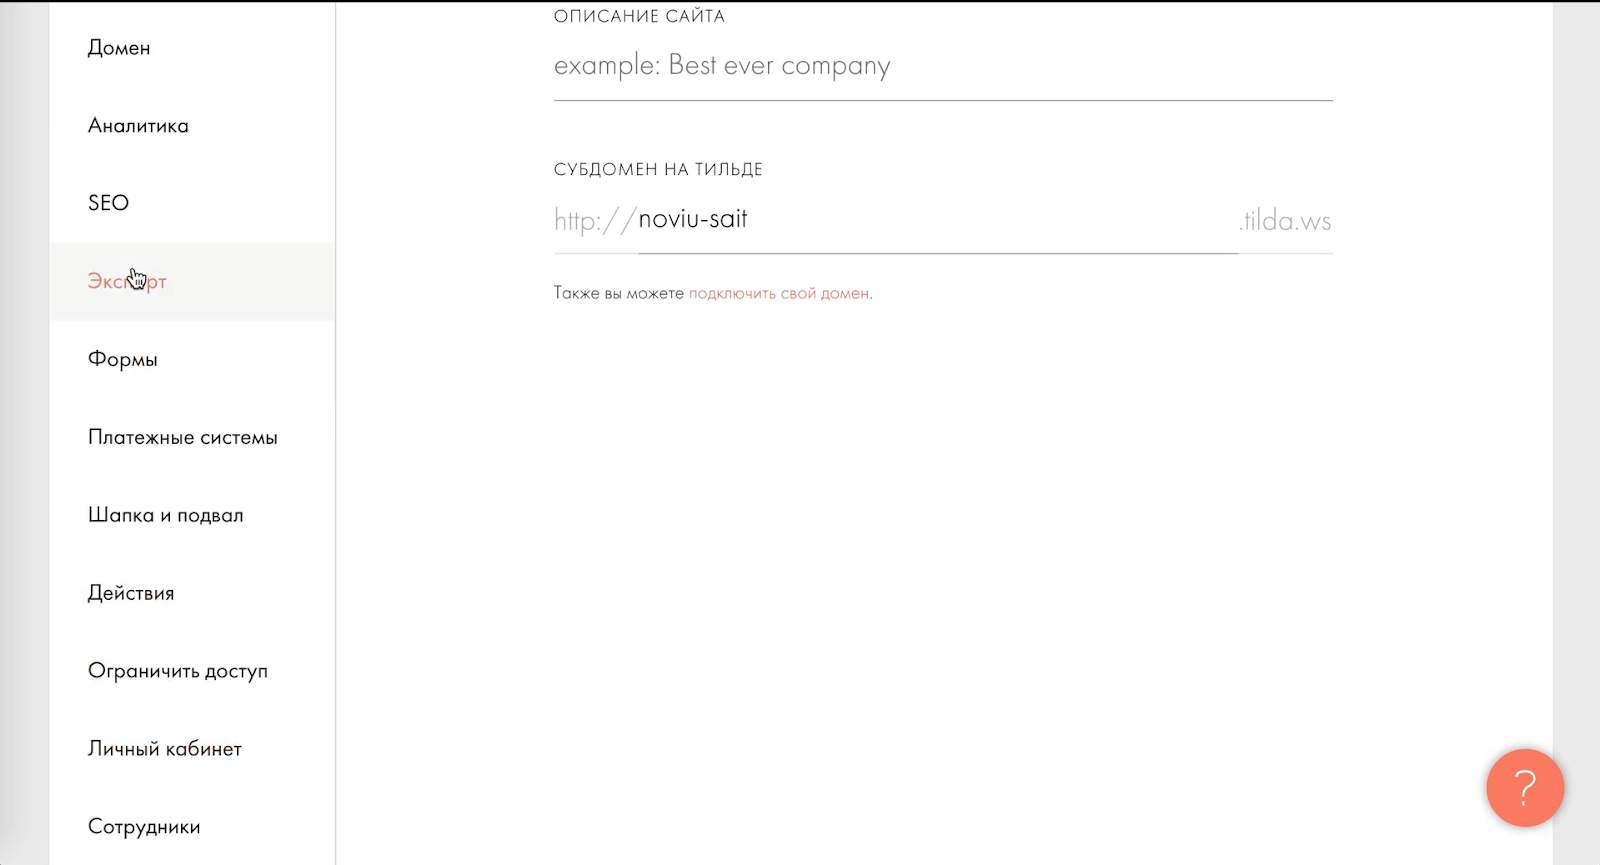
Go back to the settings of our page in Tilda and select the "Domain" item. After that, type the address of our domain and click the "Save Changes" button.
.png)
Now let's restart our site and try to fill out the form again.

The form has been submitted. Let's check the mail and see if we have received a letter with data.
.png)
Yes, we received the completed information (name, phone number, and recording time) by email. Now your site is entirely ready to work on another hosting.
Conclusion
Let's sum up what is required to transfer a site from Tilda to another hosting:
- domain;
- the form.php file (or any other name with the .php extension) on your hosting;
- connected Webhook on Tilda in the "Forms" section;
- the downloaded website code that will be placed on the hosting;
- the modified htaccess file.
Attention! The moved site must remain on your Tilda account. At the same time, the "Free" pricing plan will be connected to it by default (you won't be charged for its work). If you remove the site from your account, then the forms won't be sent to your hosting. Therefore, you won't receive requests from clients.
If you have any questions or wishes, write them in the comments below. We'll answer them promptly and analyze the most challenging ones in our following life hacks!