文章:
- 如何删除课程
- 在 Kwiga 上保护您的内容版权
- 公开课或试听课
- 如何将课程设为草稿状态并对学生隐藏
- 检查点的使用
- 如何将作业添加到课程中
- 如何创建需要助教强制审核的任务
- 如何为不同的优惠创建任务
- 如何创建带有分数和自动批准的测试
- 如何在课程中创建并开展学生调查
- 课程内容及各种课堂活动类型
- 下载视频文件
- 如何为视频添加时间码
- 如何向课程添加按钮
- 插入 iframe 代码
- 添加分数、数学函数和公式
- 如何在课程中添加带剧透的文本
- 如何在 Kwiga 平台上创建课程
- 如何创建马拉松
- 如何为课程添加封面
- 课程方案显示选项
- How to add a public face to a course
- 如何将团队添加到课程中
- 具有不同访问级别的课程预览
- 课程上方的区块(顶部横幅)
- 设置延迟、课程开启和关闭的时间表(内容逐步释放)
- 课程中的学生进度报告
- 课程作业完成情况分析
- 课程销售报告
- 如何创建课程副本
- 如何复制课程内容
- 助理对实践任务的访问权限
- 学生无法看到课程(马拉松,封闭小组)
- 如何设置测试,使学生在完成后看到评论
- 邮件投递:为什么邮件未送达以及如何解决
- 如何自定义课程外观
- 管理活动可见性
How to add a public face to a course other than the owner of the account on Kwiga. The functionality is useful both for online schools to personalize courses and for smaller projects that bring together multiple experts.
在这篇文章中:
为课程添加公开形象有助于让学生感觉课程更具个性化。这是一个简单直接的工具,在线学校可以用它来突出作者的个人风格,或用于涉及多位专家的项目。
什么是公开形象,为什么要添加
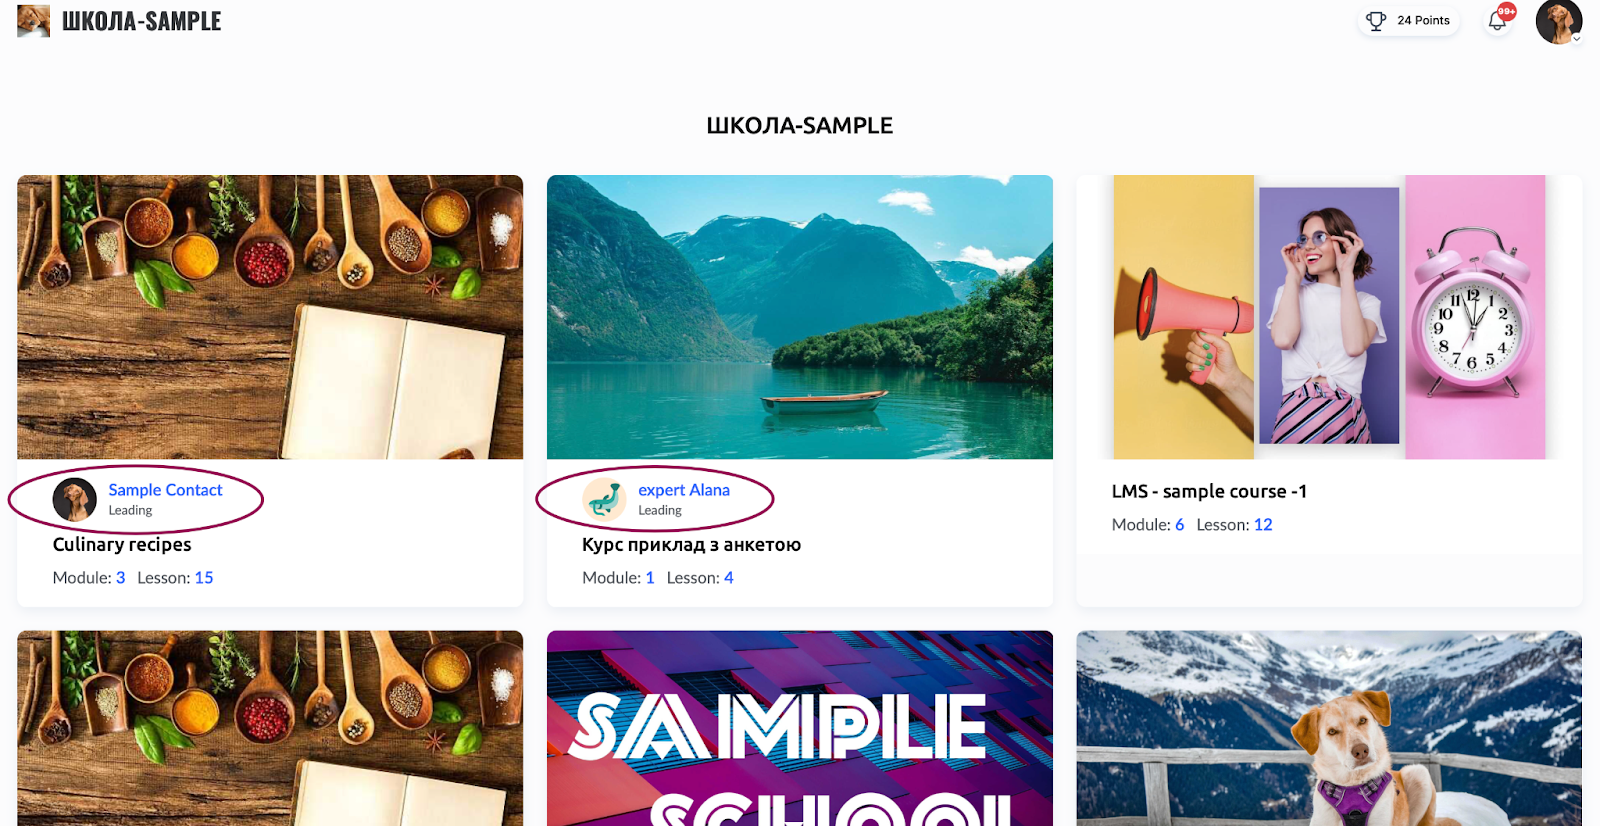
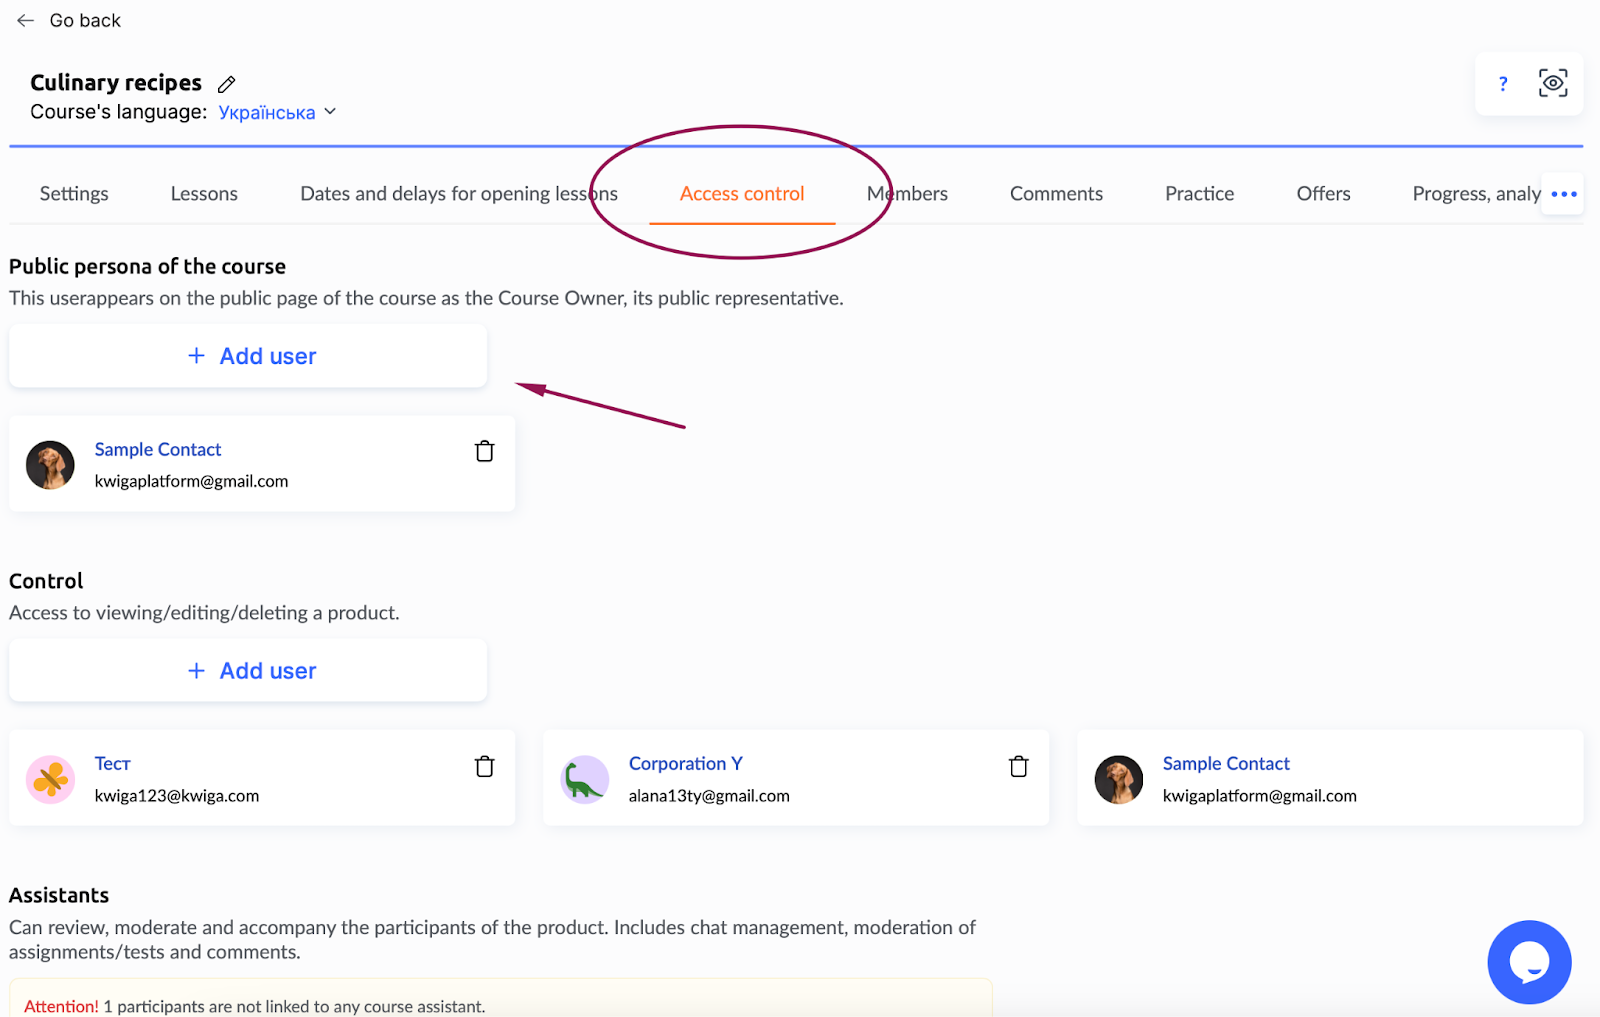
公开形象是指在学校的公开页面、课程展示页以及学生控制面板中显示为课程作者的个人。默认情况下,课程作者是 Kwiga 账户的所有者。不过,如果你希望展示其他作者,也可以轻松调整设置。
如何添加公开形象
步骤 1:添加用户
-
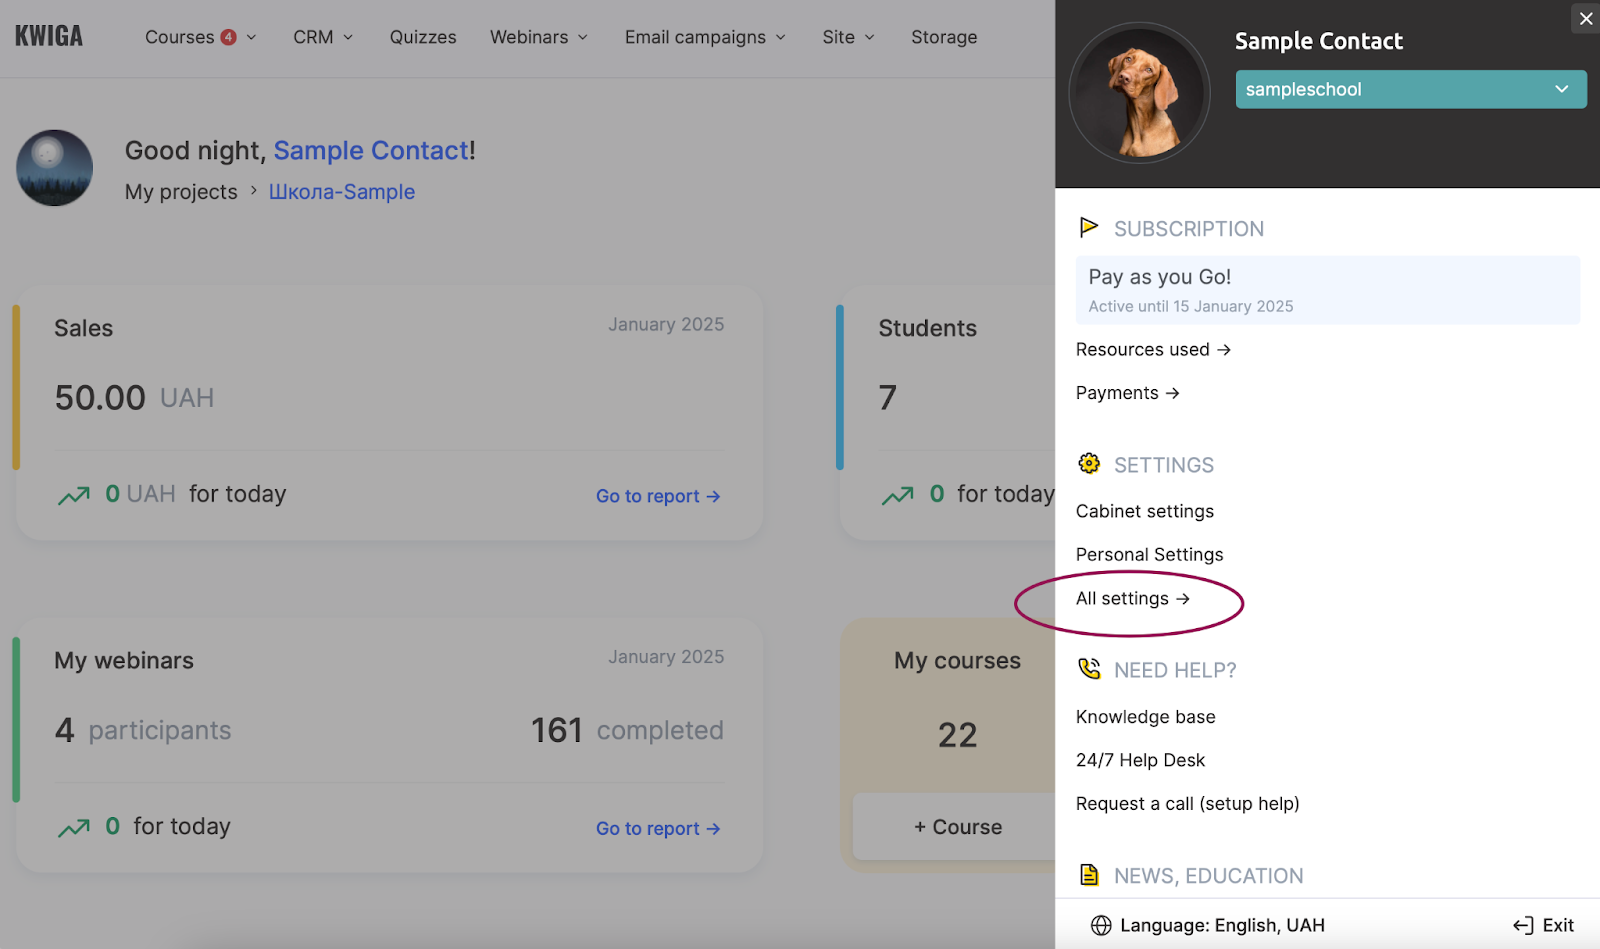
点击右上角的个人资料图标,然后进入 设置。
-
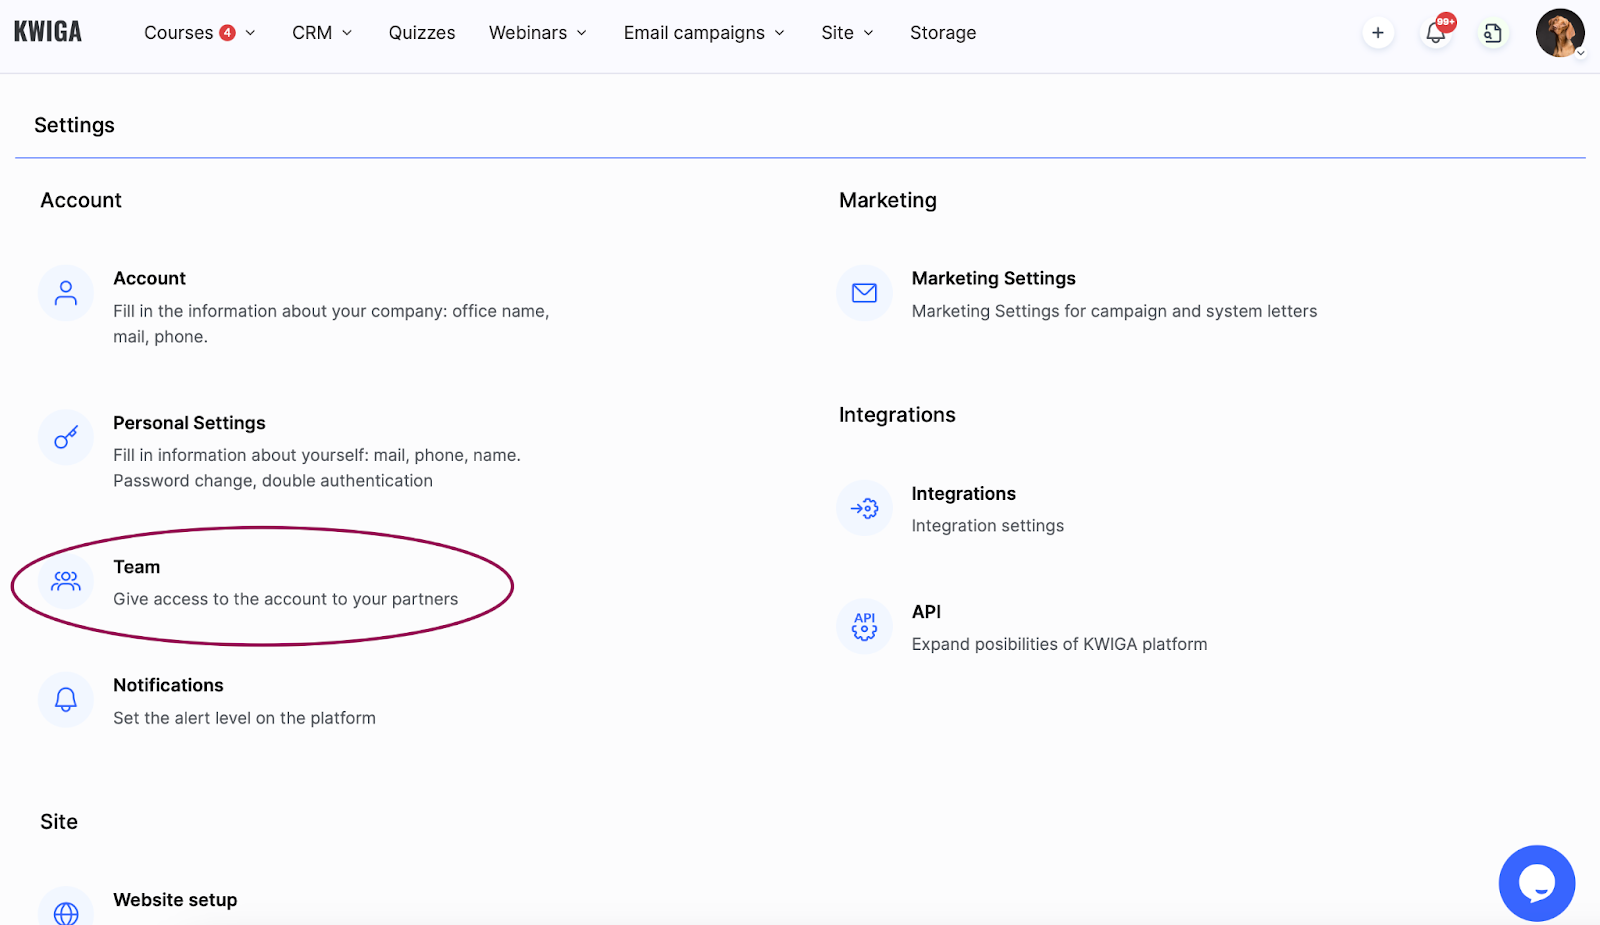
选择 所有设置,然后进入 团队。
-
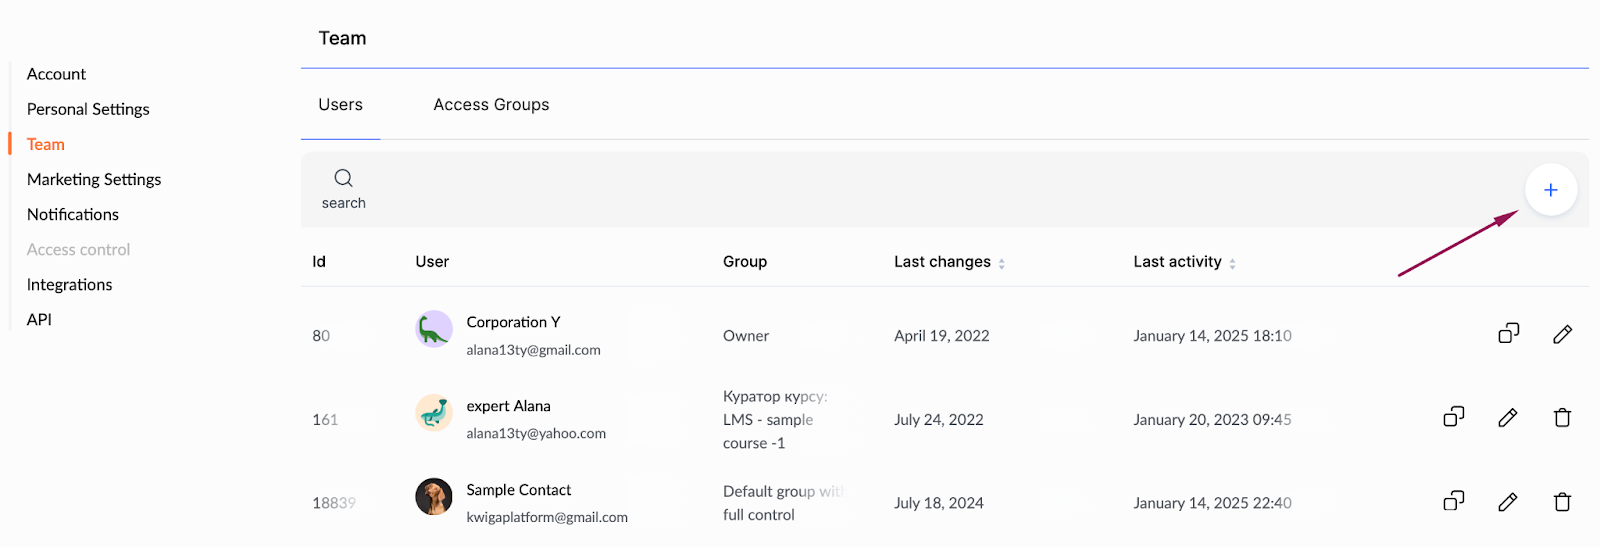
点击 +(添加用户)。
-
向新用户发送邀请,并为其分配课程访问权限。
有关详细步骤,请参阅关于添加团队成员的文章。
步骤 2:分配公开形象
-
打开 课程 菜单。
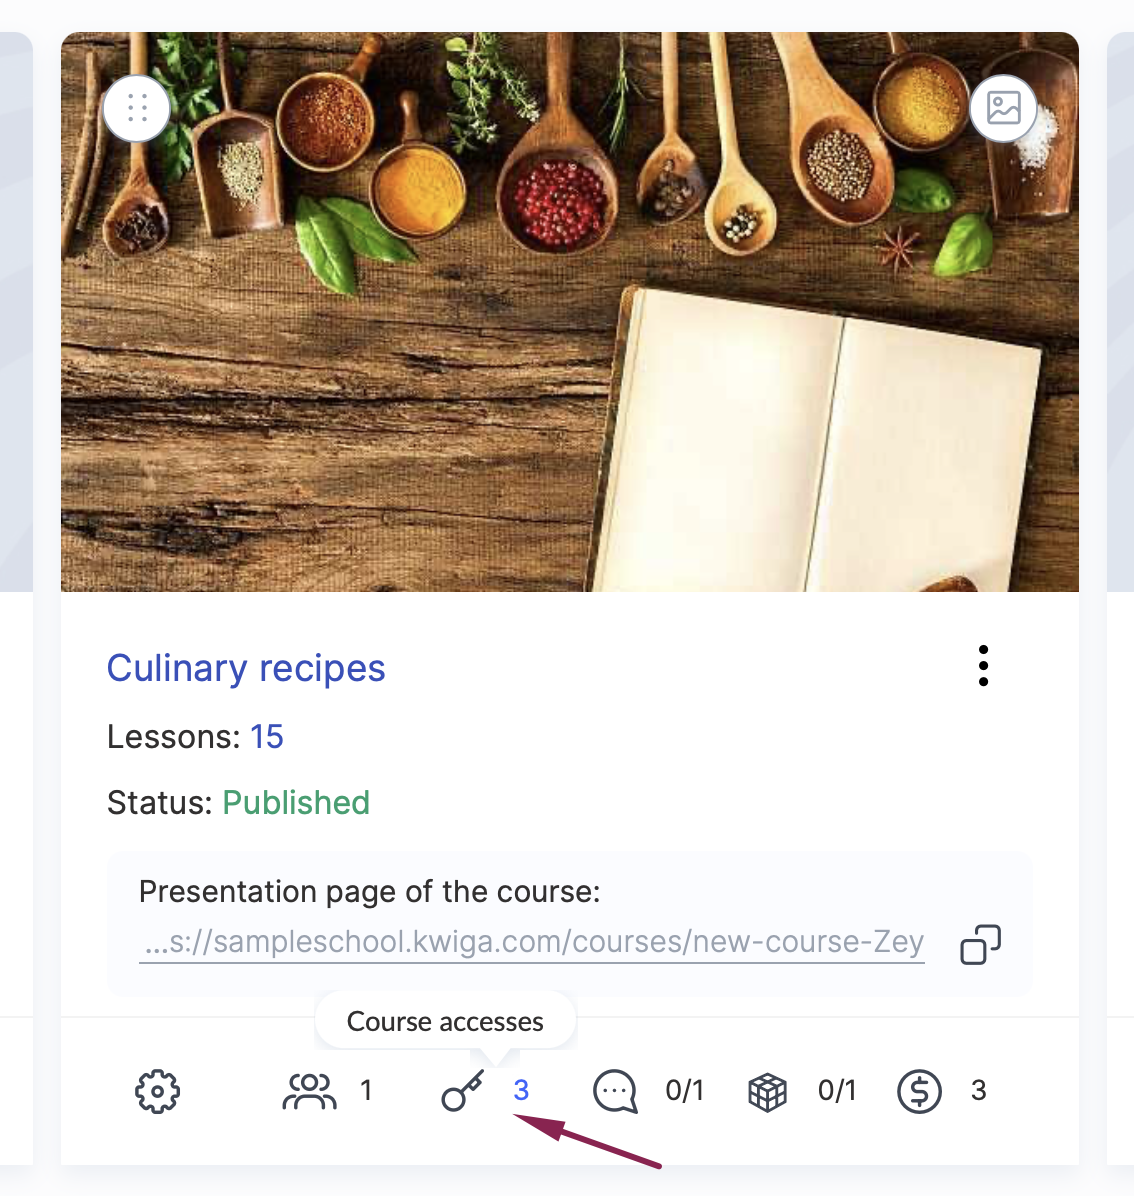
-
选择所需课程,然后转到 访问控制 选项卡。
-
在 公开形象 部分中,指定你希望显示为课程公开形象的用户。
注意: 如果看不到该用户,请使用更新按钮刷新列表。如果仍然无效,请返回步骤 1 并确认该用户已添加。
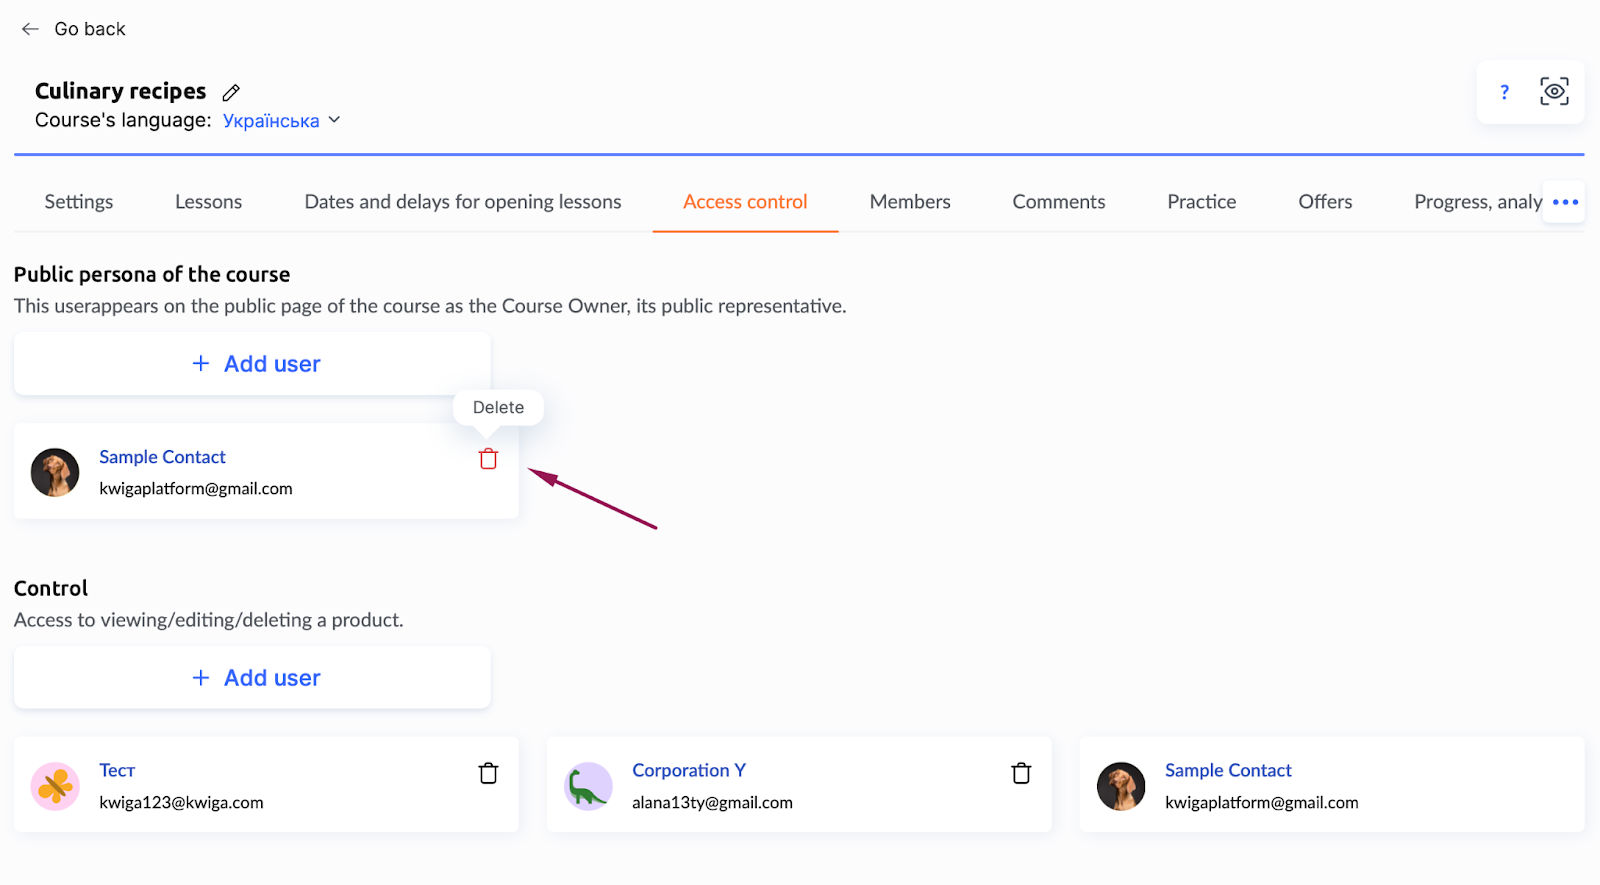
如何移除公开形象
如果你不希望课程显示作者,请在 访问控制 选项卡的 公开形象 部分中移除所有用户。
或者,你也可以编辑账户所有者的个人资料,改为设置一个通用的学校名称。这种方式非常适合团队协作课程,因为这类课程不需要突出某一位特定作者。
为什么这很有用
当学生看到是谁创建了课程时,会增加他们对内容的信任。展示公开形象会让课程更有亲和力,也有助于它从其他课程中脱颖而出。作者的身份还能成为额外优势,帮助你突出课程的独特性,并与受众建立更紧密的联系。