Articles:
- How to Create an Email Marketing Campaign
- How to segment an audience and launch a mailing list by segment
- How to find a system (service) email and edit it
- How to add emails from the file to campaign
- How to schedule an email for the first day of the course
- Mailing with a link to the Zoom lesson
- How to add a video to an email
- Transactional Emails: How to Track if a Message Was Delivered
- How to set up a chain of emails
- How to set up reminder emails about the end of product access
We will explain the features of creating a segment or selecting a specific group within the audience and creating a mailing for that group.
On the platform, regardless of the package or pricing plan you choose, you can create two types of customer lists:
-
Static, which is created at the time of creation and does not change afterwards
-
Self-populating list - a segment that is filled with contacts when certain conditions are met.

Please note that in both cases, you have the ability to segment your audience, i.e., specify certain criteria for including contacts in the list. These can be the date of registration, product purchases, participation in a webinar, and much more. You can use additional (custom) fields on the contact, purchase history, interaction with your products (% of course completion, task completion), page visits, etc.
Creating a static (regular) list
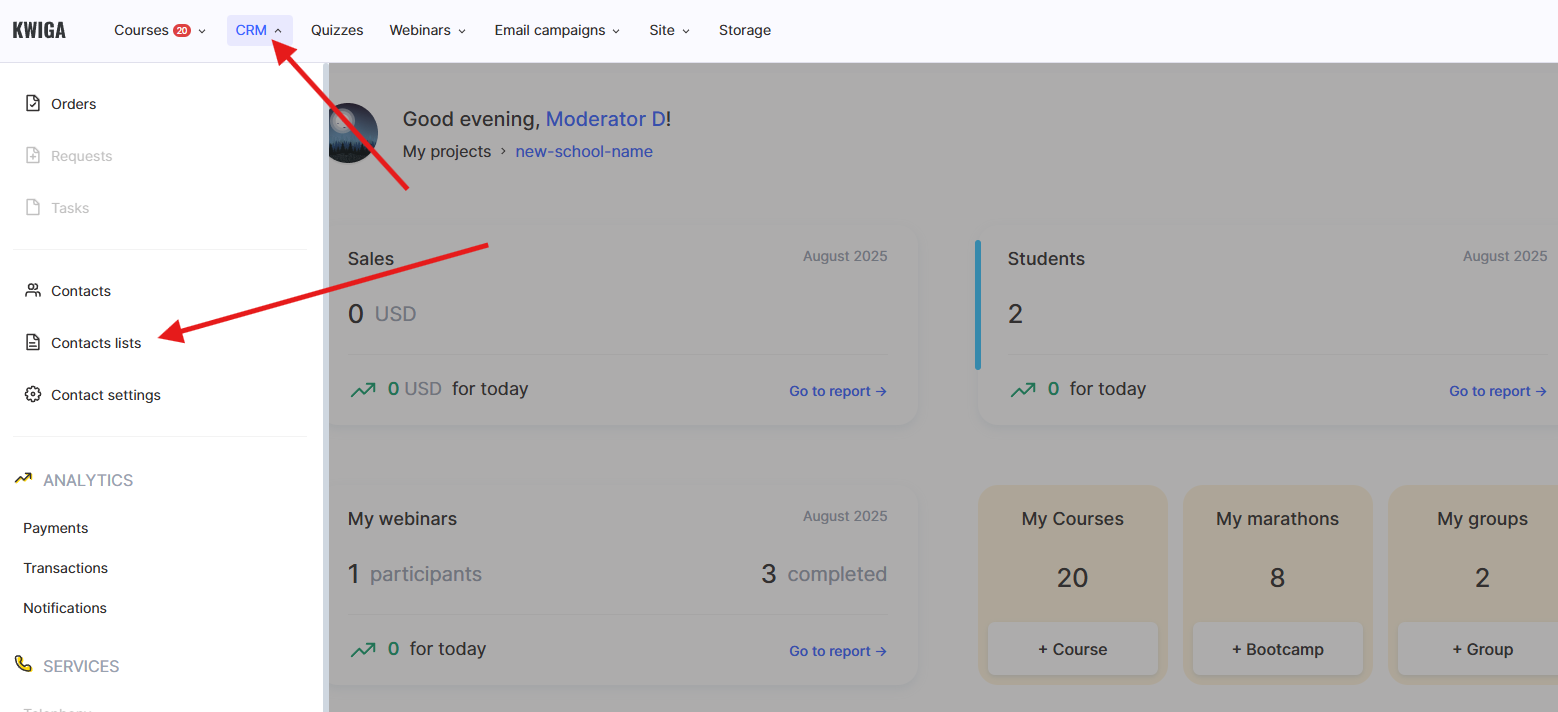
In the top menu, select CRM - Contact Lists
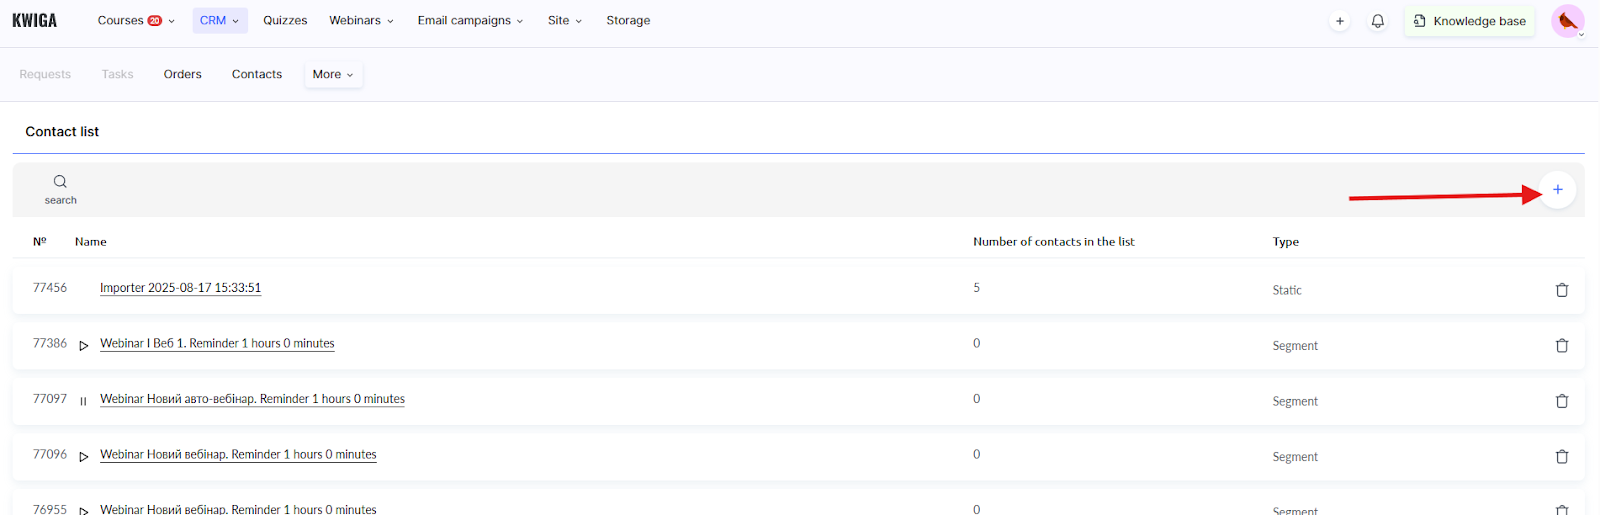
On the page, select + and in the window that appears, select Create a regular list.
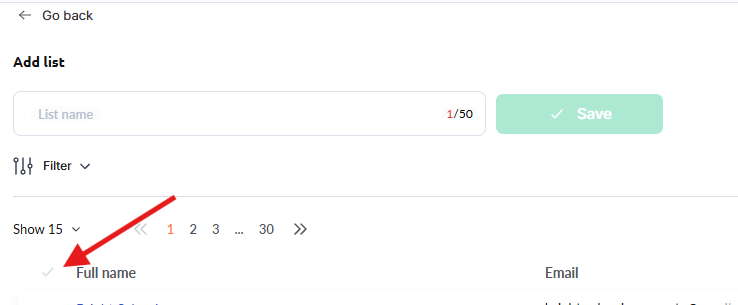
Using the filter, select the contacts you want to add to the list, and only then add a name for the list and save it. Once you save the list, it cannot be edited.
Examples of using the filter:
-
Create a list of all contacts
Make sure that nothing is specified in the filter. You can refer to the text Selected: All, or to the green check mark at the top of the table above the contacts.
-
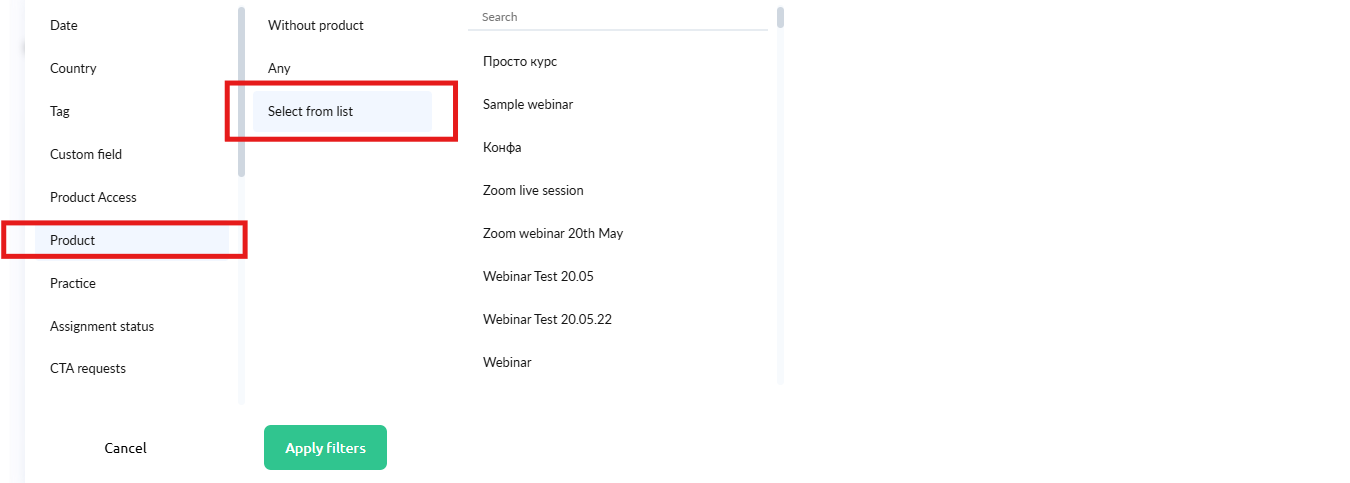
Create a list of contacts who have access to a product (course, webinar, etc.)
In the filter, select Product, select the desired course, marathon, webinar, or closed group from the list of products. You can specify several products.
-
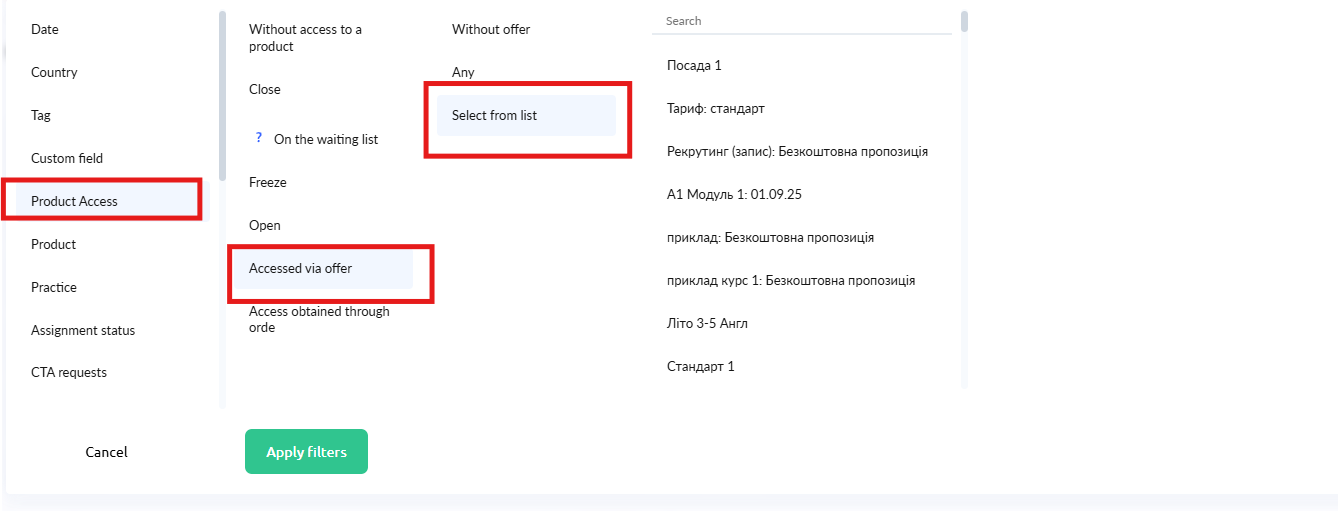
Create a list of contacts who made a purchase based on a specific offer
In the filter, select Access to product, Access obtained through an offer, and specify the desired offer. You can select several offers, in which case all contacts who have access through one of the specified offers will be included in the list.
-
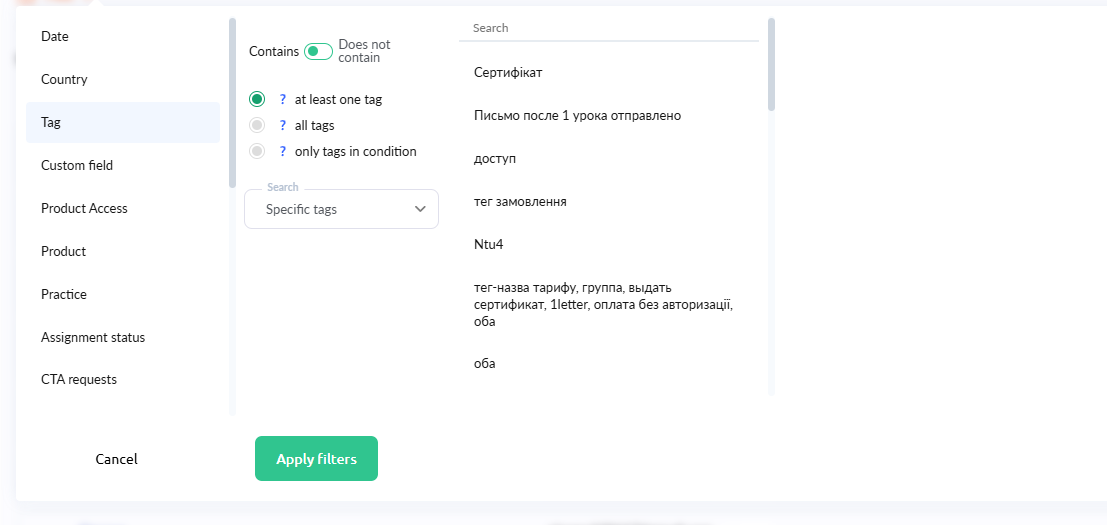
Create a list of contacts with a specific tag
In the filter, select Tag, the Contains slider. The most commonly used option is “at least one tag.” Select the specific tags and select the desired tag (or tags) from the list of tags.
-
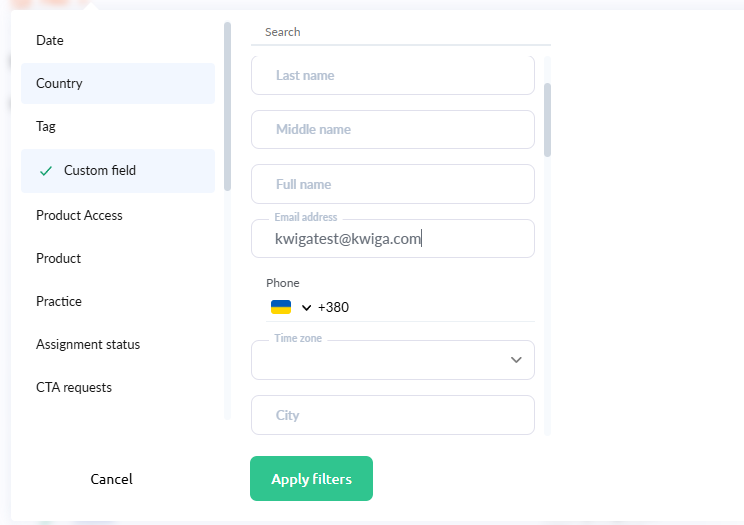
Create a list of 1 contact with a specific email address
In the filter, select User field and enter the desired email address in the Email address field. The example shows the address kwigatest@kwiga.com - in this case, a contact with this email address will be added to the list. If you do not see the desired contact, it means that the contact with this address has not been added to your account.
Creating a list by segment
Use this option to create a list only if you plan to send mailings that are not date-dependent. For example, you want to send a welcome letter to students when they are added to your account, or fill a list of those who have ever registered for a webinar and send them a newsletter about new webinars. If you are not sure which list is right for you, contact support, and we will help you choose (usually a regular list).
Creating a mailing
Once you have created your lists, you can proceed to the next step and schedule the mailing. For more details on how to do this, see the article.
Please note that if a static list is specified in the mailing list, the mailing status will be completed after all emails have been sent. If a segmented list is specified, this mailing can be stopped manually, otherwise it will not be completed, and when a new contact is added to the segment list, the email will be sent.
Didn't find the answer? Contact the support service via online chat or Telegram