Articles:
- How to Add an Assistant to a Course
- How to remove a course assistant (but not from the project!)
- How to remove an assistant from the platform
- Assistants on the Project: Team Structure and Access Settings
- How to Assign a Senior Assistant and Configure Their Access
- How to Add a Team Member
- How to Remove a Team Member
- How to Set Assistant Visibility for Students
- Automatic Assignment of Assistants and Students to Groups
- How to Create a Participant Group and Assign it to an Assistant
- How to Add or Change a Public Figure on a Course
All the steps required to add an assistant and assign him a group of students.
In this article:
An assistant is a user who supports course participants, reviews their assignments, and moderates their interactions in the product's comments.
Adding an Assistant to a Course
To add an assistant, you need to:
-
Go to the Courses menu

-
Open the desired course

-
Go to the Access control tab

-
Click the Add an Assistant (+) button

-
Select a user from the list or add a new one

Note: If the user you want to assign as an assistant has not yet been added to the workspace, you must first add them as a team member in the workspace settings. More details can be found here.
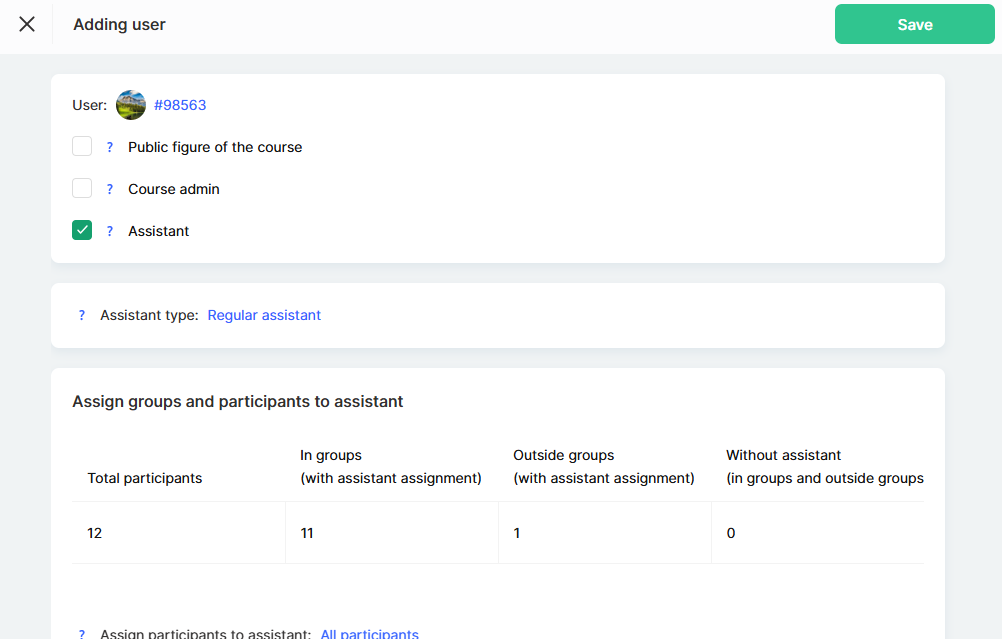
Choosing the Assistant Type
After adding an assistant, you need to define their type:
-
Regular Assistant – works only with participants of their group.
-
Senior Assistant – has other assistants on their team and sees all participants who belong to their team. They may also have their groups.
If the course is small, a regular assistant may be sufficient. However, if it's a large-scale program involving several assistants, the role of a senior assistant can help streamline the process. More details on setting up a team for a senior assistant can be found in a separate article.
Setting Access for Participants
To establish effective interaction between assistants and students, it's essential to determine which participants the assistants can see. This is especially crucial when a course is divided into separate groups or when several assistants work with different access levels.
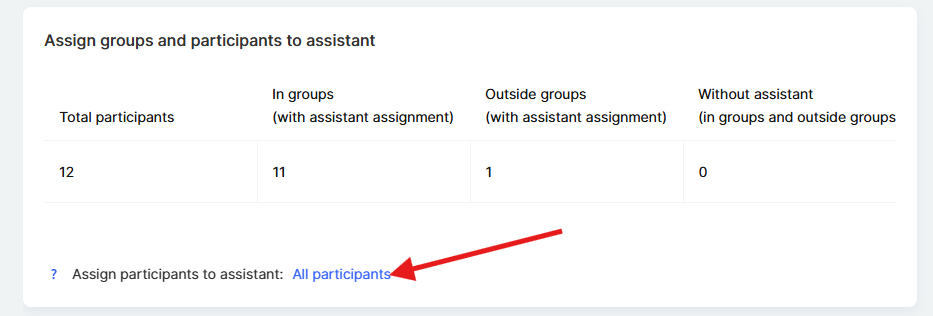
You need to choose which participants the assistant will be able to see:
-
All participants – the assistant has access to all course participants. This is suitable for courses where the assistant needs to see the entire student flow, regardless of their distribution.
-
Outside groups – sees only those who are not part of personalized groups. This is a helpful option if there are customized groups in the course, but the assistant should work only with those who haven't been assigned yet.
-
No access – complete isolation of the assistant from participants. This option is helpful for administrative assistants who perform technical tasks but do not interact with students directly.
-
Specific groups – the assistant sees only the participants assigned to them. This is the best choice if a course has several parallel groups or streams, and each assistant is responsible only for their portion of the students. For example, if a course has groups for beginners and advanced participants, the assistant will work only with their assigned category.
More details on how to create a participant group and assign it to a specific assistant are available in a separate article.
Access to Practical Assignments
An assistant can have either full or limited access to practical assignments.

This feature is useful when a course includes specific practical tasks intended only for certain assistants. For example, if one assistant is responsible only for the theoretical part of the course and another is in charge of practical work, you can configure the appropriate access level for each. If you need flexible access management to practical assignments, you can learn more about it in a separate article.
Assistant Visibility
You can configure whether the assistant will be visible to participants in the list of assistants.

If hidden, students will not be able to contact the assistant directly. However, the assistant will still have access to their assignments and can review them. They will remain invisible in the list of assistants for participants while still being able to oversee the learning process and the quality of task completion.
After configuring the settings, you need to Save Changes.
Once the settings are saved, the assistant will access participants’ practice work and comments according to the assigned permissions. They will receive notifications about new assignments to review and comments requiring responses. This allows for a quick reaction to students’ needs and helps maintain a high-quality learning process where everyone has their role and works in comfortable conditions.
Didn't find the answer? Contact the support service via online chat or Telegram