Artigos:
- Pedidos: criação e edição de pedidos
- Como adiciono um link de pagamento individual a um aluno
- Transações
- Como configurar o envio do seu próprio e-mail após a compra
- Integration with the Sendpulse chatbot
- Como integrar um sistema de pagamento no Kwiga
- Como definir um idioma específico para a página da oferta
- Important Project Settings
- Como conceder acesso aos alunos se as vendas não foram feitas na Kwiga
- Pagamento sem autorização
- Como criar um novo grupo com o seu próprio cronograma
- Como dar acesso a um aluno
- Como alterar o acesso para um aluno
- Como configurar o acesso demo a um curso, dia de portas abertas na escola
- Configuração de assinaturas (pagamentos recorrentes)
- Automação: Sequências de e-mails de acompanhamento (pedidos e inscrições não pagos)
- Créditos e parcelamentos, pagamento em partes
- Oferta promocional
- Cupons de desconto e configurações possíveis
- Como lançar o registro do curso com pré-pagamento
- Como criar ofertas de venda cruzada na Kwiga
- Como começar a vender na Kwiga: criando um plano de preços
- Criação de múltiplos planos de preços
- Venda de consultas e sessões individuais
- Como alterar o plano de um aluno (Pagamento adicional no Kwiga)
- Como vender (conceder acesso a) partes do curso
- Como implementar vendas de renovação de acesso
- Venda através de um formulário de registro em um site de terceiros
- Selling through a mini-landing page created on Kwiga
- Como adicionar um vídeo a uma página (mini-landing, página do curso)
- Como criar um link com um cupom aplicado
- Ofertas e pagamentos na Kwiga: como funciona
- Vendas recorrentes: configuração de condições e envio de cupom com base no número de compras
- Configurar notificações em um canal do Telegram
- Envio de e-mails com códigos promocionais (pedidos não pagos)
- Loja de Cursos: Configurações e Funcionalidades
- Configuração da página de oferta pública
- Organização de CPD no Kwiga: guia passo a passo
- Como configurar uma página de agradecimento após o pagamento
- Configure o acesso às aulas, seções e módulos
The article outlines the key parameters that need to be checked and configured before launching.
Neste artigo:
Before launching a course or bootcamp and inviting your first student, we recommend verifying the following settings in your project:
Name and Cabinet Address
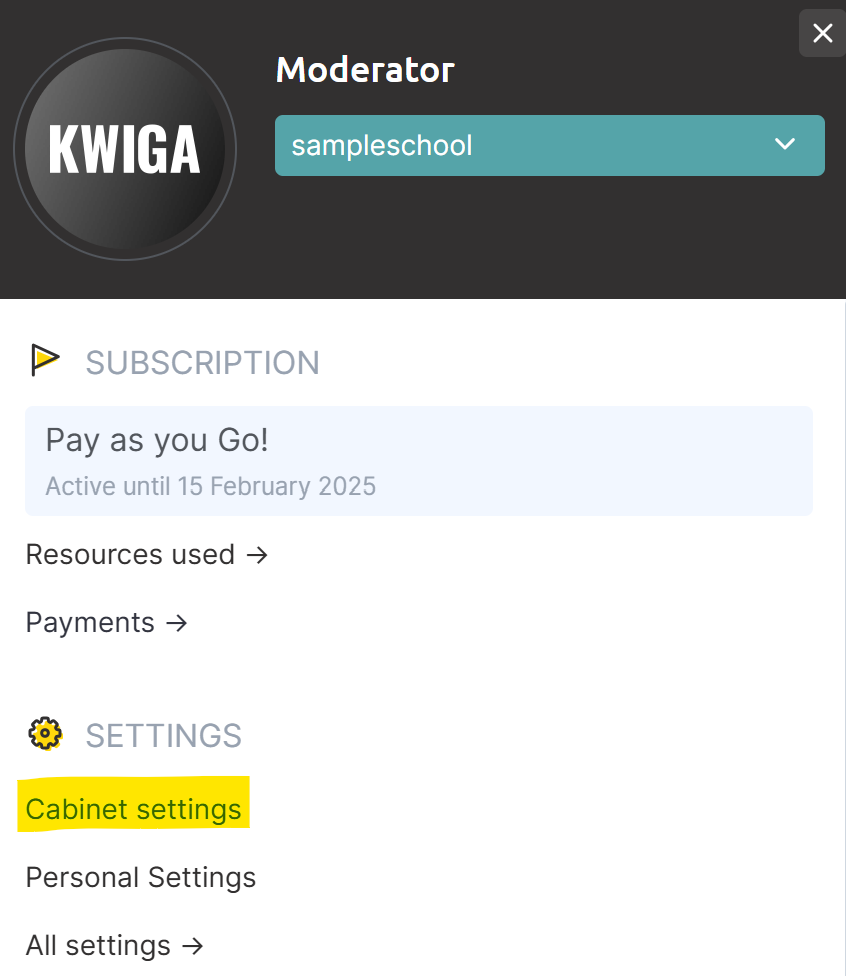
Click on the avatar and select the cabinet settings option:
On the page that opens, check the account name and address:
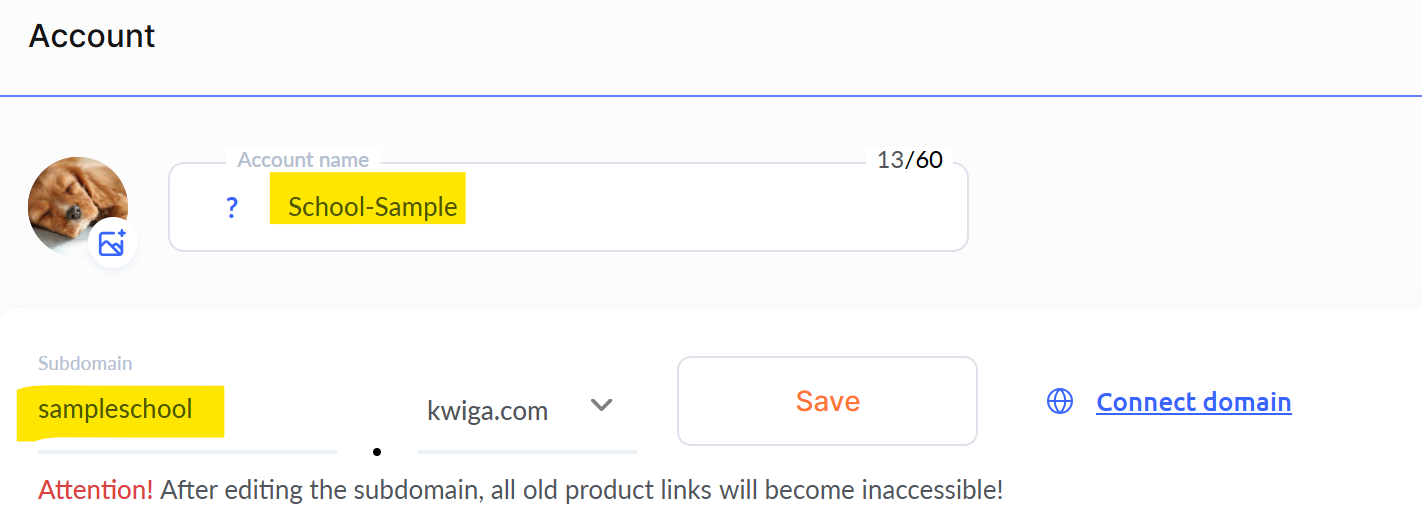
If you plan to use your own domain/subdomain, it is advisable to do so in advance, as changes may take up to 24 hours to take effect. This period is typical for major registrators and cannot be expedited. During the domain/subdomain linking process, your students will not be able to access the course, so it is essential to complete this step before launch.
Marketing Settings
Marketing settings include the logo displayed in emails, the sender's name, and footer information. It is important to ensure these fields are filled out before starting sales or granting access. Additionally, you can set the language for emails: it can be a specific language or one that matches the student's interface language.
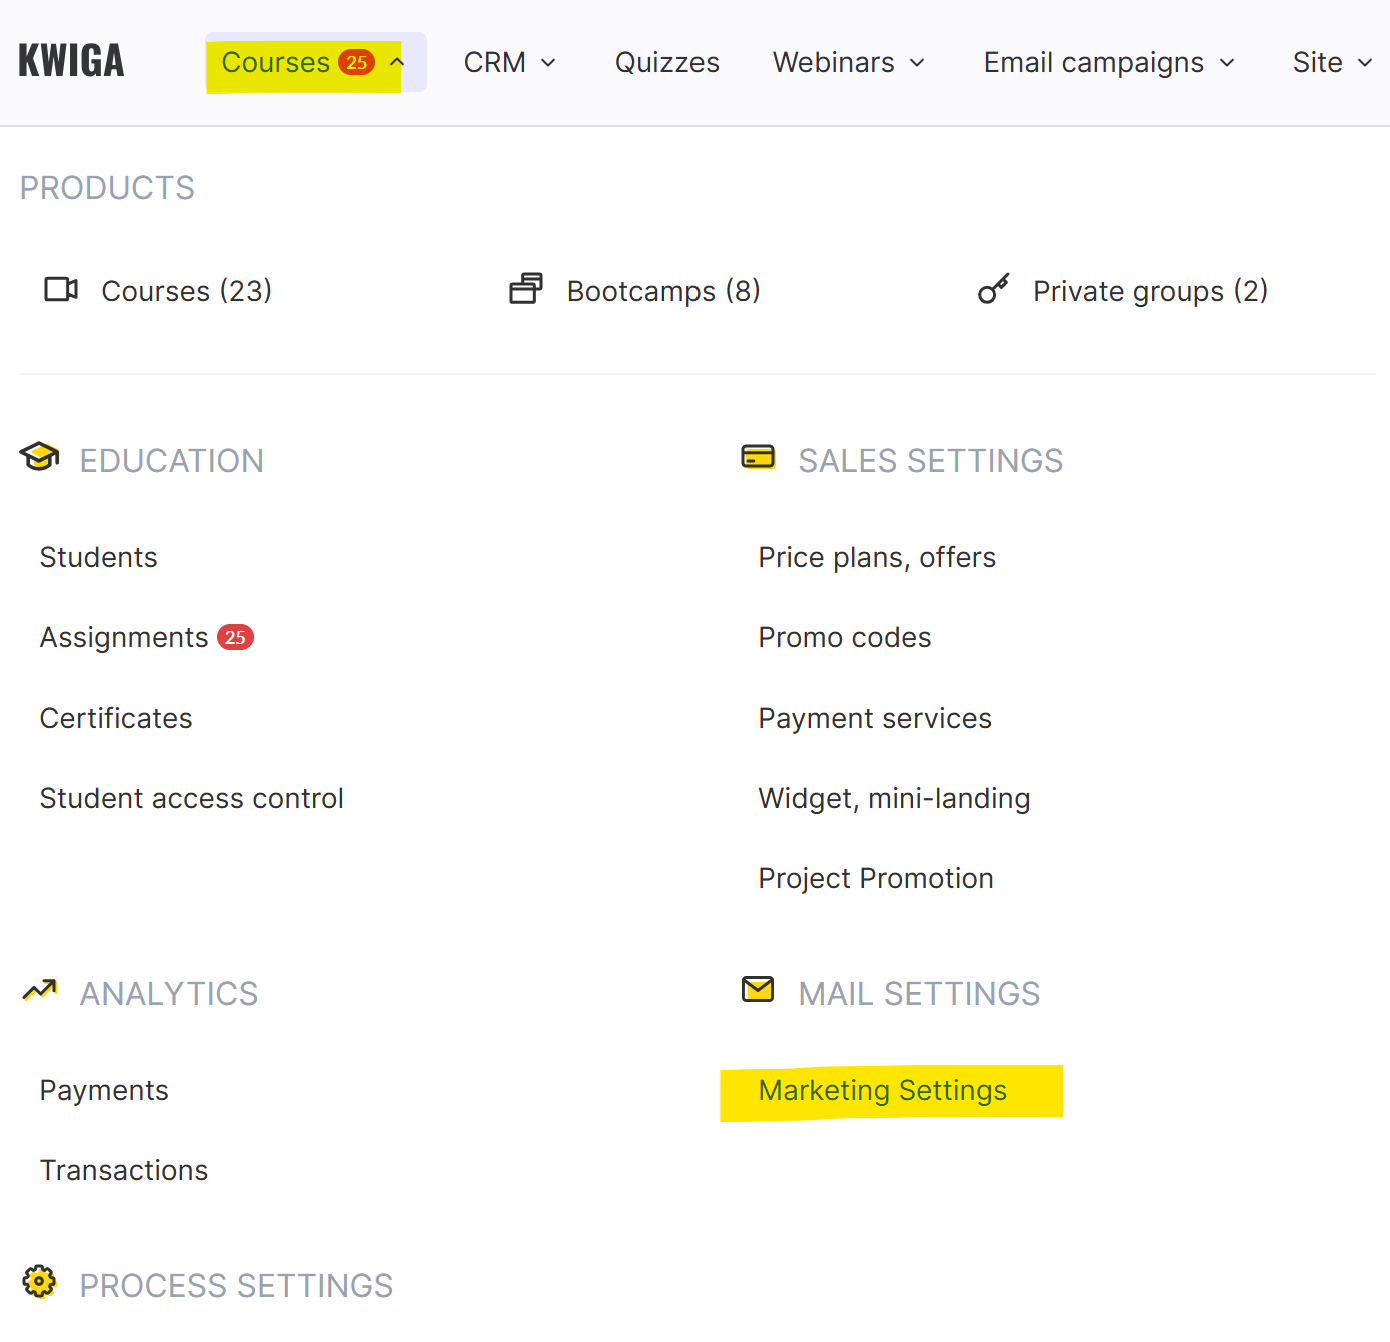
In the top menu, select Courses, then go to Marketing Settings:
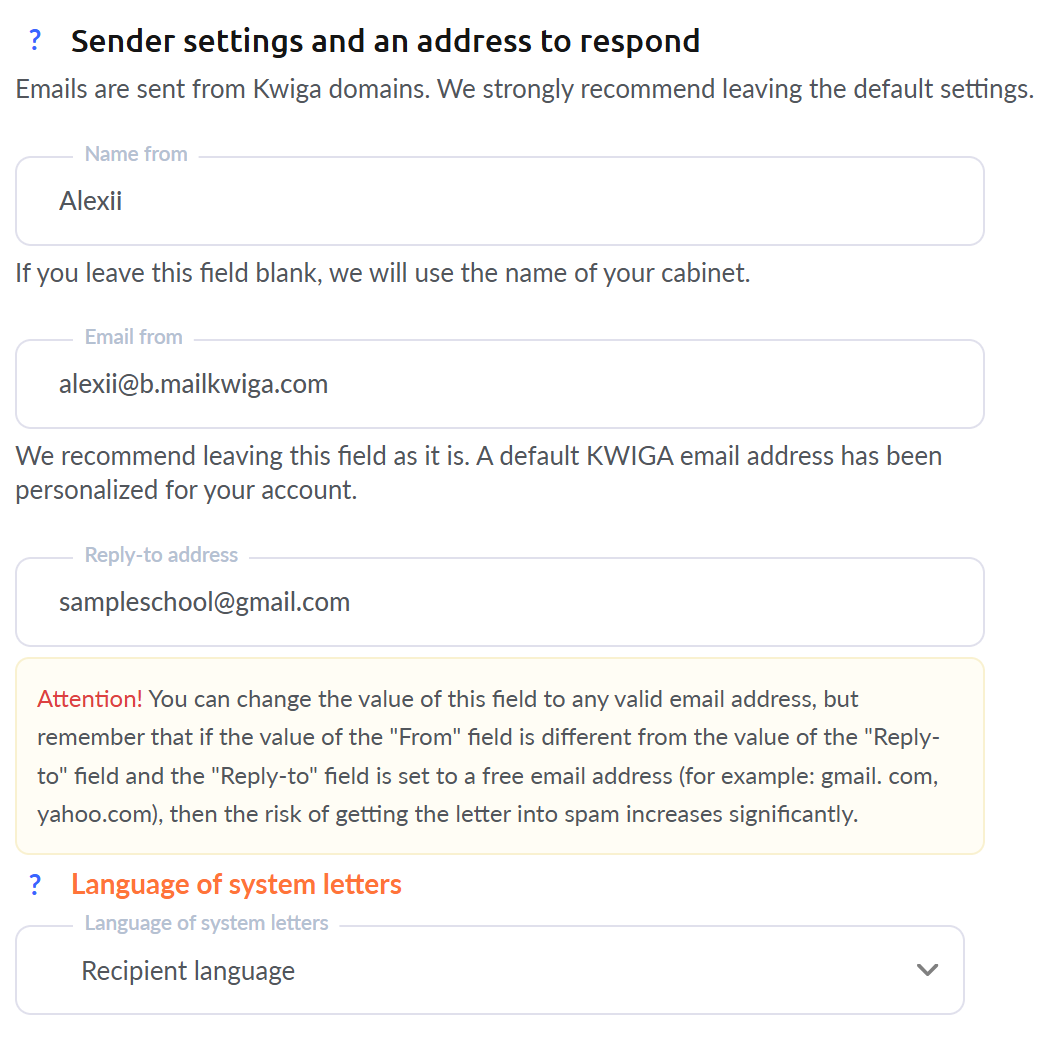
In the "From Name" field, you can specify your name or the name of your school/project. This name will appear as the sender.
If you want to receive replies from students to your emails, it is recommended to enter the address where responses should be directed in the "Reply-to Address" field. The default value shown in your settings is a technical address, not monitored by support.
The contact information in emails includes details about the school or course author. You can fill this in multiple languages or just one, and use that language across all emails.
Full Address — this is the postal address of the school. You can enter only the country or the full legal address of a sole proprietor.
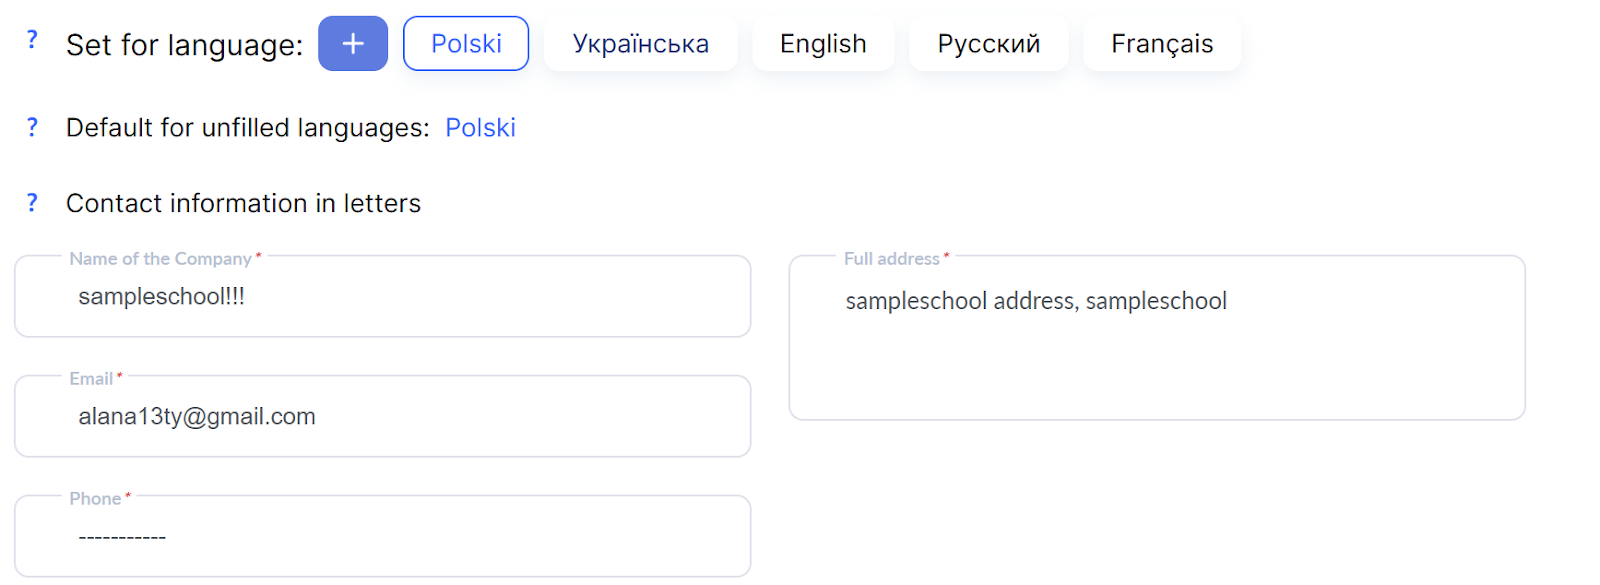
Logo — the uploaded image will be automatically added to emails.
Контроль доступов
Access Control
To enhance material protection and reduce the risk of pass-sharing (when clients share their login credentials with others), it is recommended to limit the number of devices that can access your courses. For more details about how this works and the necessary settings, read the article Access Control.
Não encontrou a resposta? Entre em contato com o serviço de suporte via chat online ou Telegram