Articles:
- How to give access to the course
- How to access a student's account
- How to see the progress of participants
- How to Create a Certificate and Add It to a Course
- Automation: Awarding points upon completing lessons
- Conducting surveys (reactions, ratings, NPS)
- How to view all test attempts
- How to set up a test retake
- How to update a student's rate and keep their progress
- How to change access settings for a single student
- How to change the expiration date of the course
- The student entered wrong email
- How to extend access to the course
- Automation: Setting up reminders if a student does not log into the platform
- How to unblock a user
- How to "freeze" access to a course
- How to find an email with a code needed to access Kwiga account
- Viewing the course as a student
- Pre-registration or waiting list.
- Importing and transferring the student database
- Comments: a convenient tool for user interaction
- Certificate Issuance After Passing a Test
- How an Expert Can Access Their Student Profile
- Student Registration and Authorization
- Certificates Report
- Manual issuance and reissuance of a certificate
Learn how to create a personalized certificate on Kwiga, customize it to your needs, and add it to your course to highlight your participants’ achievements.
In this article:
- What Is a Certificate on Kwiga
- How to Create a Certificate
- How to Edit a Certificate
- Certificate Features and Personalization
- Data from CRM
- Data from the User Profile
- Certificate Number
- Custom Font
- Certificate Preview
- How to Add a Certificate to a Course
- Certificate Issuance Conditions
- How to Set Up a Separate Certificate for a Pricing Plan
- How Students See Certificates in Their Profile
A certificate is a simple and effective tool for online learning. It highlights successful course completion and motivates your participants. This article explains how to create a certificate, customize it, and add it to a course.
What is a Certificate on Kwiga
A certificate is a personalized document that participants receive after completing a course. On the Kwiga platform, you can upload your design or use ready-made templates. This is an excellent opportunity to showcase your professionalism and add aesthetics to your educational content.
Information about issued certificates will be available in contact cards and in the overall Certificates report.
How to Create a Certificate
-
Go to the Courses section → Certificates.

-
Click the + button to create a new certificate.
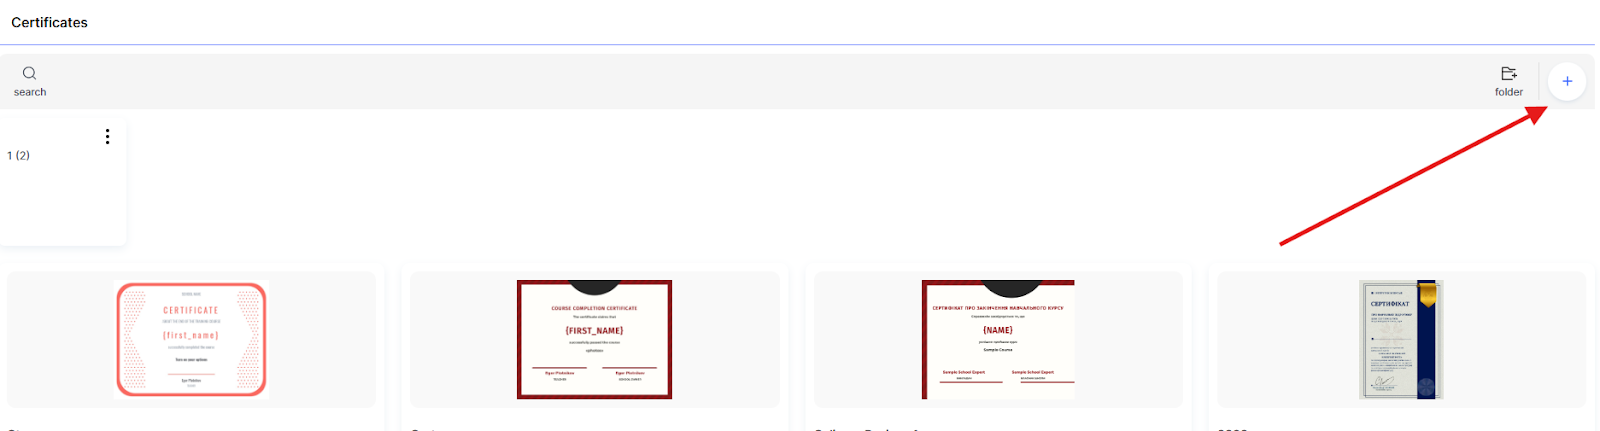
Note: If your project includes several different certificates, you can group them into folders.
-
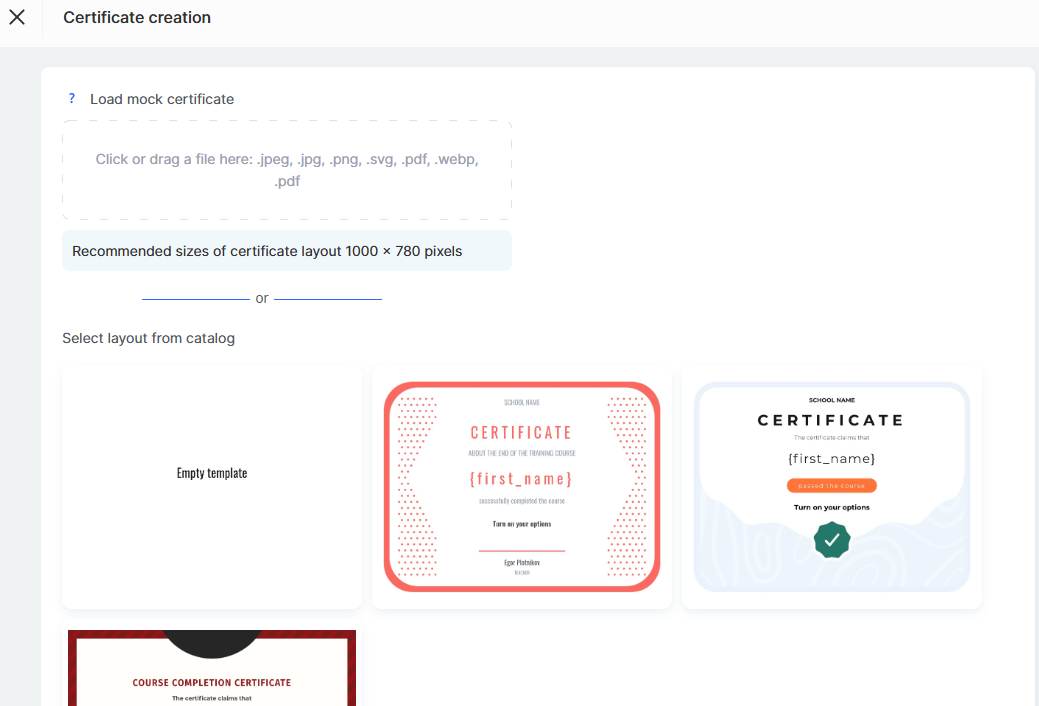
Please enter the certificate title (we recommend using the course name for convenience) and select the certificate's language.
-
Click Next.
-
Upload your own certificate layout in .jpeg, .jpg, .png, or .svg format, or choose a template from the catalog of ready-made designs.
-
-
How to Edit a Certificate
After adding or choosing a layout, you can customize the certificate's content. Add any text and format it as needed.
You can add a new text block to the certificate using the yellow button labeled Drag me to the template on the right.
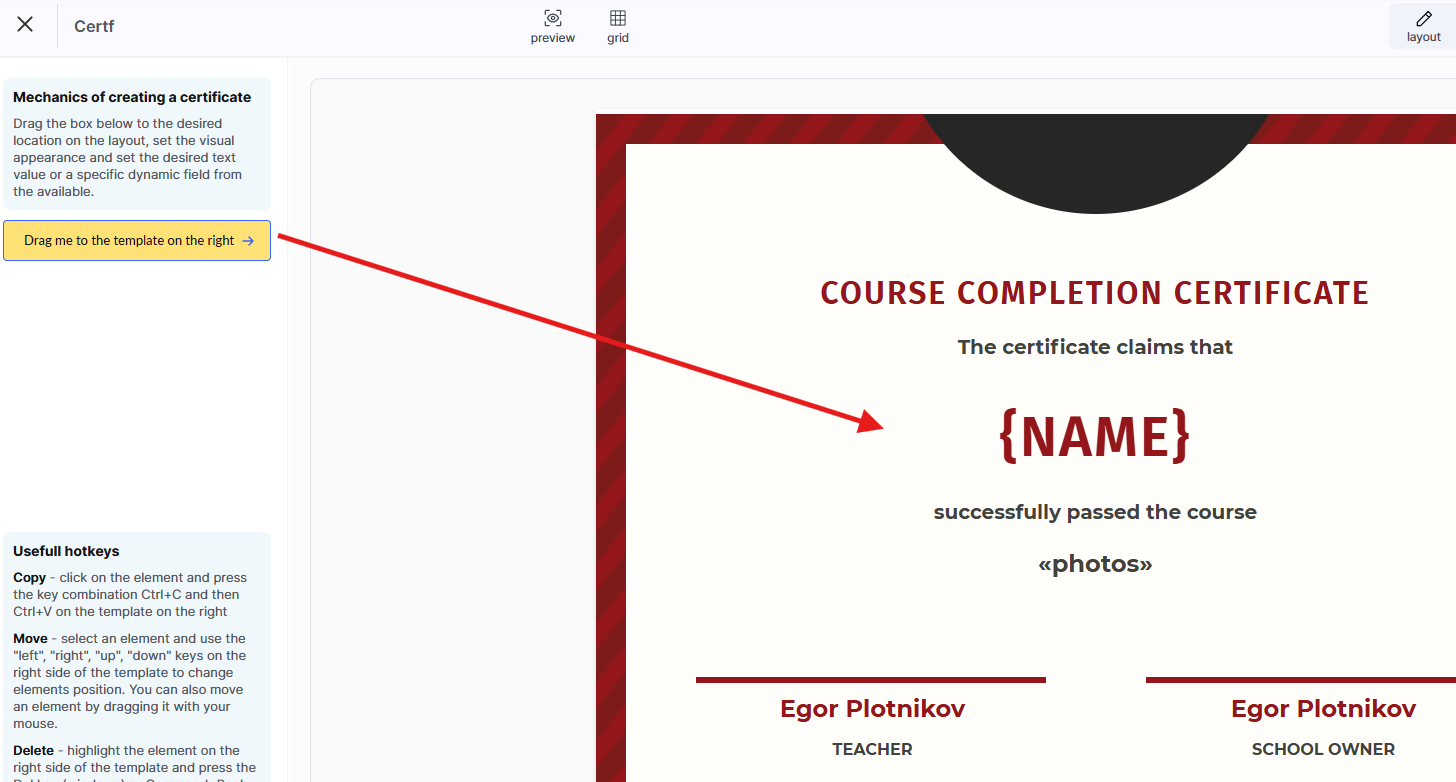
You can add several such text blocks, and set individual parameters for each of them. 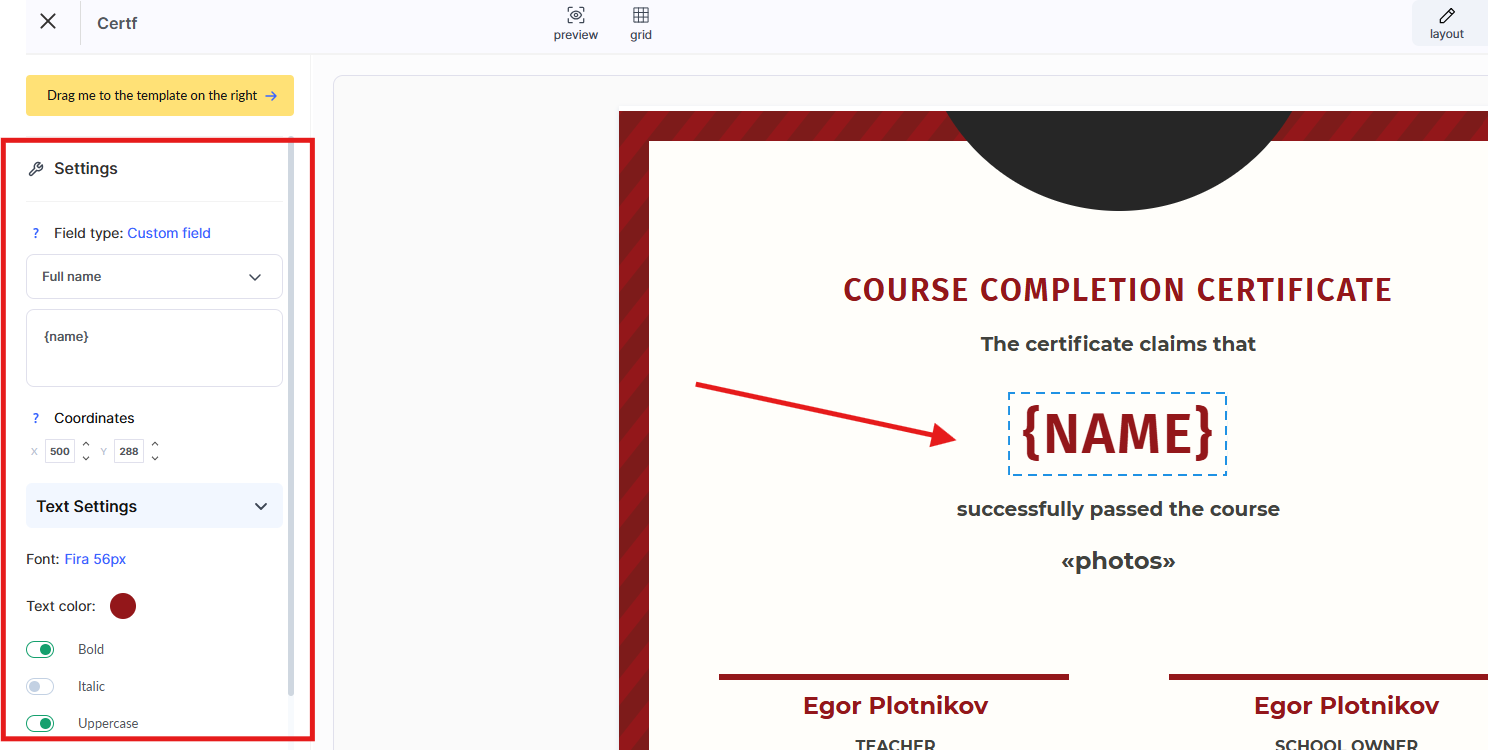
In addition to regular text, you can add a variable (custom field) — that is, choose which data will be automatically inserted into the certificate based on the student’s information.
You can also adjust the font, size, color, and text background, and if necessary, change its position.
If you’ve added an extra block, simply click on it, and then in the settings panel on the left, select “Delete.”
Certificate Features and Customizations
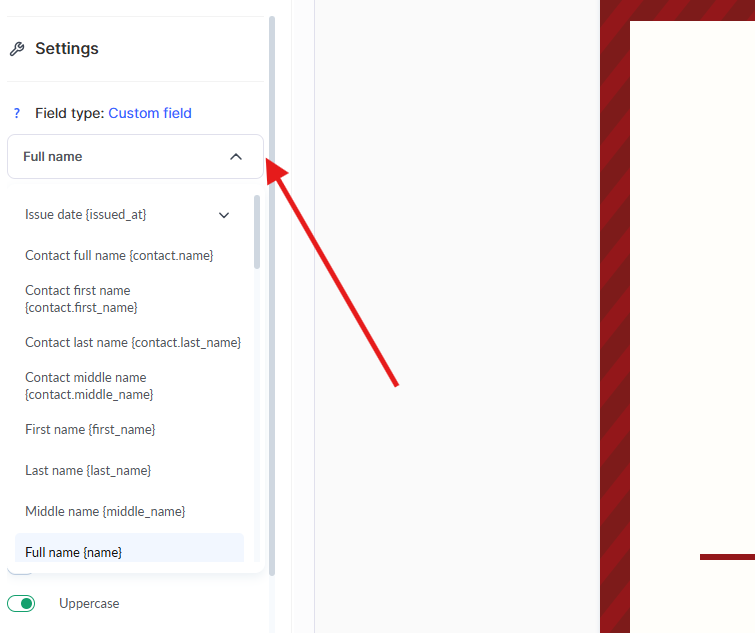
Automatic Insertion of the Student’s Name
You can add the student’s name to the certificate using variables.
Data from CRM
If you want to manually control which name appears on the certificate (for example, to edit it or specify it when importing a list of students), use variables from the contact card in your CRM:
-
Full contact name — {contact.name}
-
First name — {contact.first_name}
-
Last name — {contact.last_name}
-
Middle name — {contact.middle_name}
These variables automatically pull data directly from your CRM system.
Important: The display format of the full name (for example, First Last or Last First) can be customized in your CRM.
For more details on formatting settings, see the dedicated article.
Data from the User Profile
If you want students to choose how their name appears on the certificate, use variables from their user profile:
-
Full name — {name}
-
First name — {first_name}
-
Last name — {last_name}
-
Middle name — {middle_name}
Users can edit this information themselves in their profile.
For example, if a student changes their name after registration, this update will automatically be reflected on the certificate.
You can also set a name separately for a specific language version of the certificate — useful if, for example, an international course requires a Latin-script version of the name while other versions remain Cyrillic.
If the certificate has only one language version and it hasn’t been manually edited, the system will automatically insert the current name from the user profile.
After editing, a “Restore value from profile” button will appear, allowing you to revert to the original name.
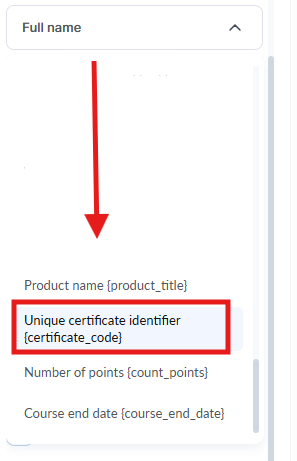
Certificate Number
Add a unique identifier to each certificate — its number — to prevent forgery.
To do this:
-
Add a text field where the certificate number should appear.
-
In the menu on the left, select the option “Universal certificate identifier” instead of regular text.
Certificate Number Format
The certificate number is generated according to the following scheme:
first comes the unique product identifier, followed by the sequential number of the certificate issued for that product:
{product_id}-XXXX
where:
-
{product_id} — the unique identifier of your course or program,
-
XXXX — the sequential number of the certificate issued for that product.
Example: For a course with the identifier 12435, the first certificate will have the number 12435-0001, and the 112th certificate will have the number 12435-0112.
Adding an Image to a Certificate
You can add images to a certificate to make it more personalized or to include additional visual elements such as logos, signatures, or stamps.

How to add an image:
-
Drag the yellow “Drag me” button onto the certificate template and place it where you want on the layout.
-
In the left sidebar, under Settings, change the field type from Text Block to Image.
-
Upload the required image in .jpeg, .jpg, .png, or .svg format and adjust its size.
-
Use high-quality images for better display on the certificate. The .png format with a transparent background is ideal for logos and stamps. Make sure the image size matches the overall certificate design.
If you added an extra image, click on it and select Remove in the settings panel on the left.
Custom Font
You can use your own Google Font in your certificates by providing a link to the chosen font.
To do this, go to Certificate Settings in the upper-right corner.
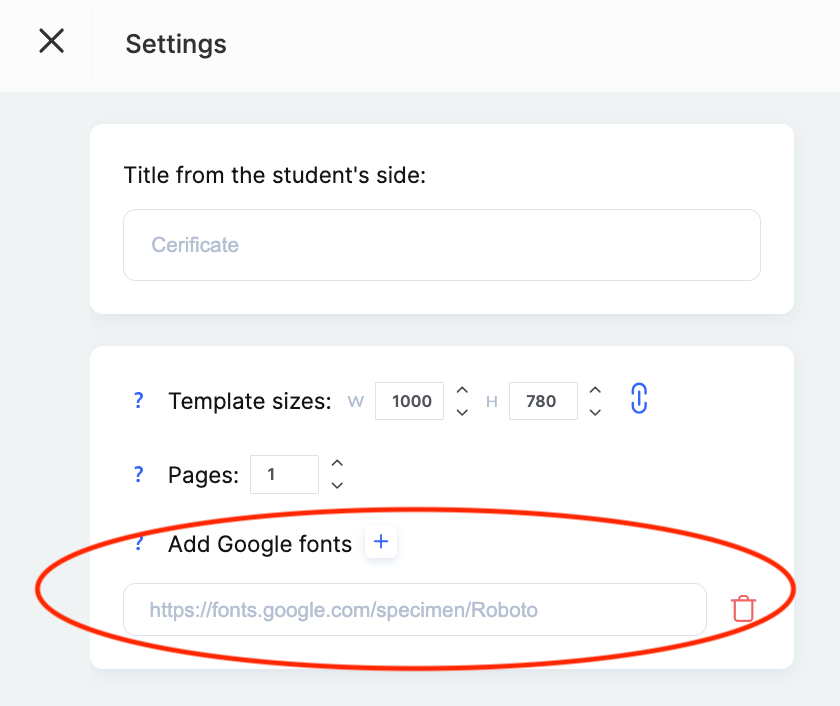
After adding the font link in the certificate settings, you’ll be able to select this font when editing the text.
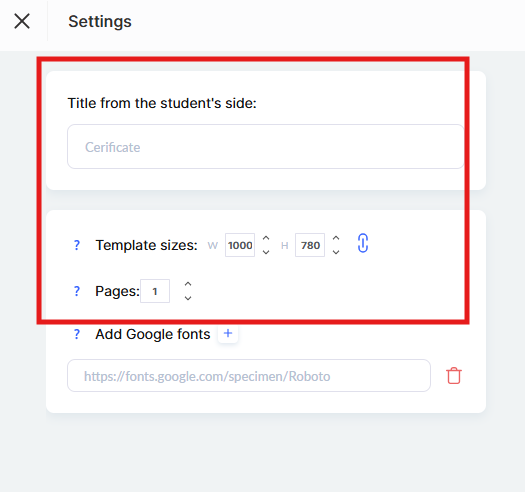
Additional Certificate Settings
In the Settings section (in the upper-right corner), you can specify additional certificate parameters:
-
Title visible to the student — enter the name of the certificate that participants will see in their profile.
-
Template size — specify the desired template dimensions in pixels. This is important for correct display and downloading of the certificate.
-
Pages — if your uploaded certificate layout consists of multiple pages, indicate the number of pages in this field.
Certificate Language Versions
You can configure the certificate in multiple language versions (by adding a new one using the +Language button), independently of the template’s own language.
If the student’s profile language doesn’t match any of the available certificate language versions, the system will automatically use the default version.
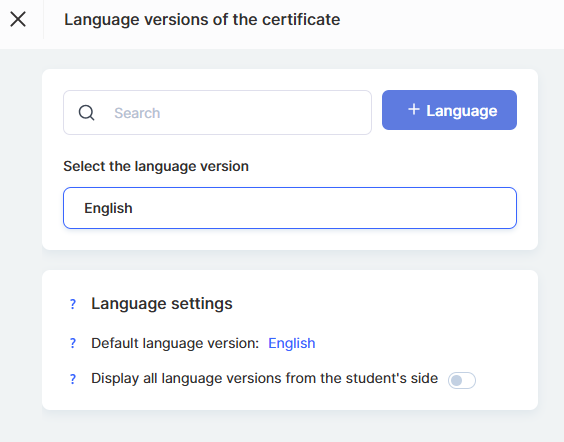
You can also allow students to view all language versions of the certificate in their profile.
If this option is disabled, the student will only see the certificate version that matches their profile language — or, if there’s no match, the default version will be displayed.
Certificate Preview
To make sure your certificate looks exactly the way you want, use the Preview feature.
Here’s what to do:
-
Click the Preview button to see how the completed certificate will look.
-
Select the participant whose data you want to check and the product name.
Then click the blue Preview button.
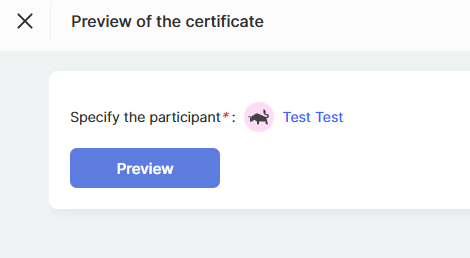
This allows you to check the accuracy of the data, the graphic style, and the overall appearance of the certificate before issuing it.
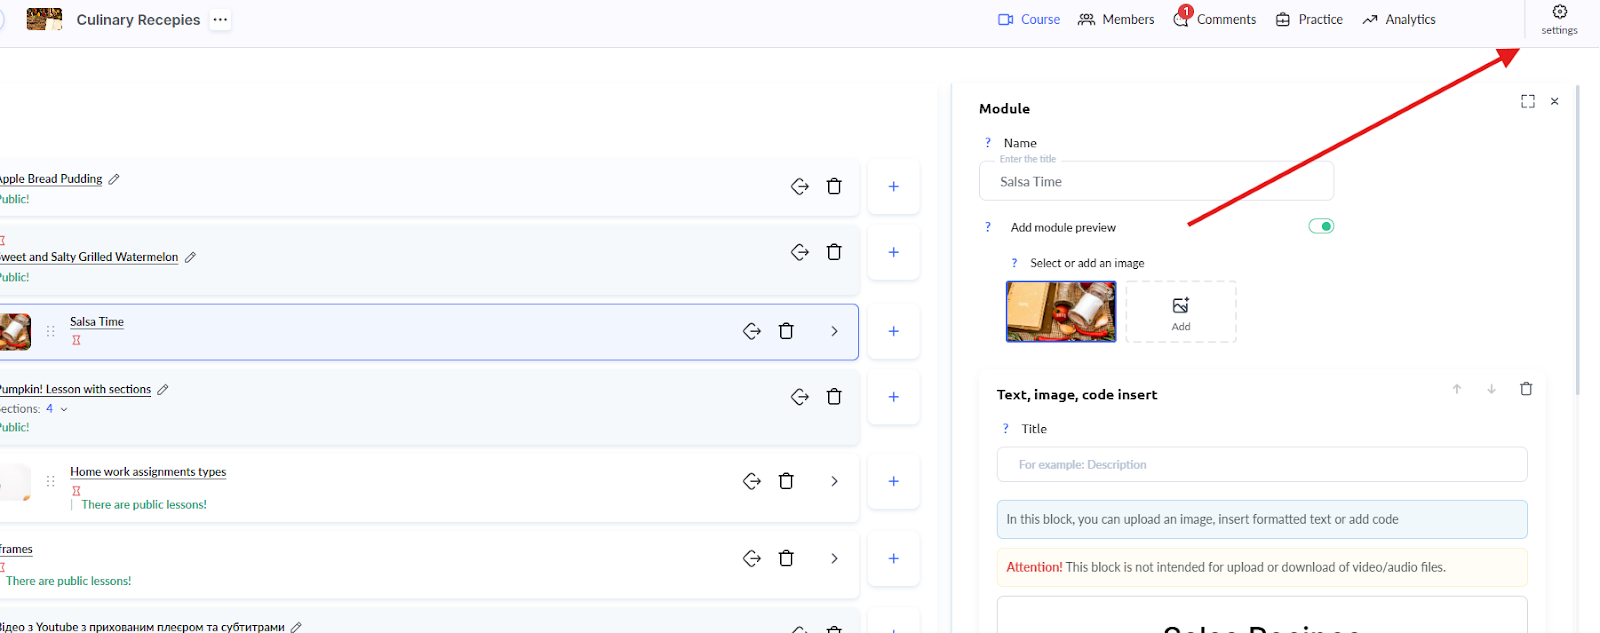
How to Add a Certificate to a Course
Adding a certificate to a course helps highlight participants' achievements and provides official confirmation of their success. Follow these simple steps to set up this feature:
-
In the Courses menu, find the desired course and open its Settings.
-
Go to the Education tab.
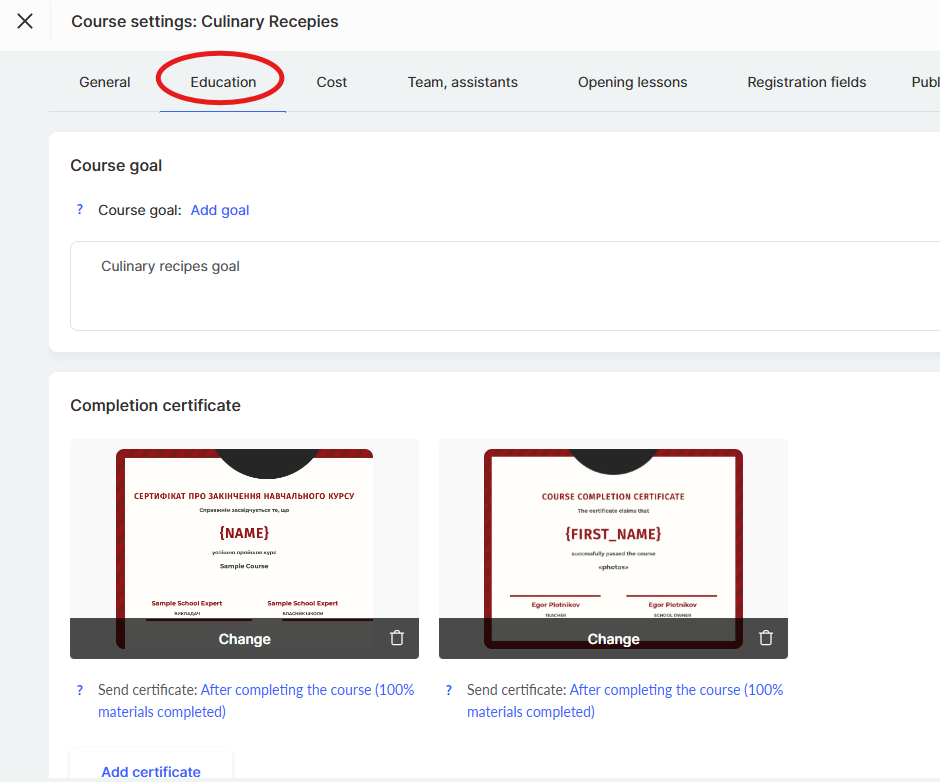
-
Click the Add Certificate button, select a template from the list, and click Add.
-
Set the certificate issuance conditions according to your needs, and then click Save.
Note: It is possible to override the certificate for a specific pricing plan by selecting a different layout and configuring the issuance conditions.
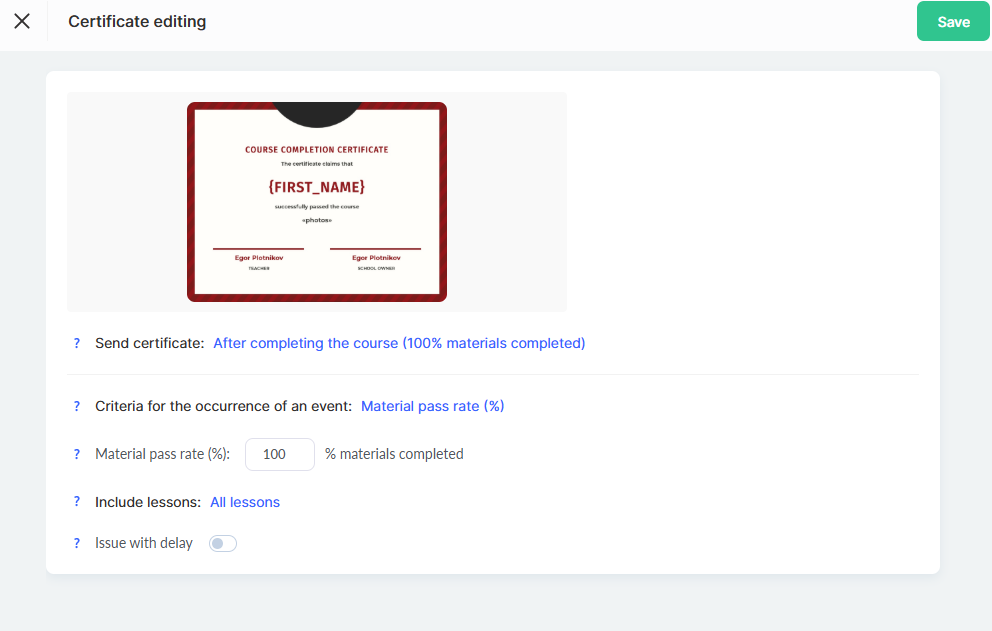
Certificate Issuance Conditions
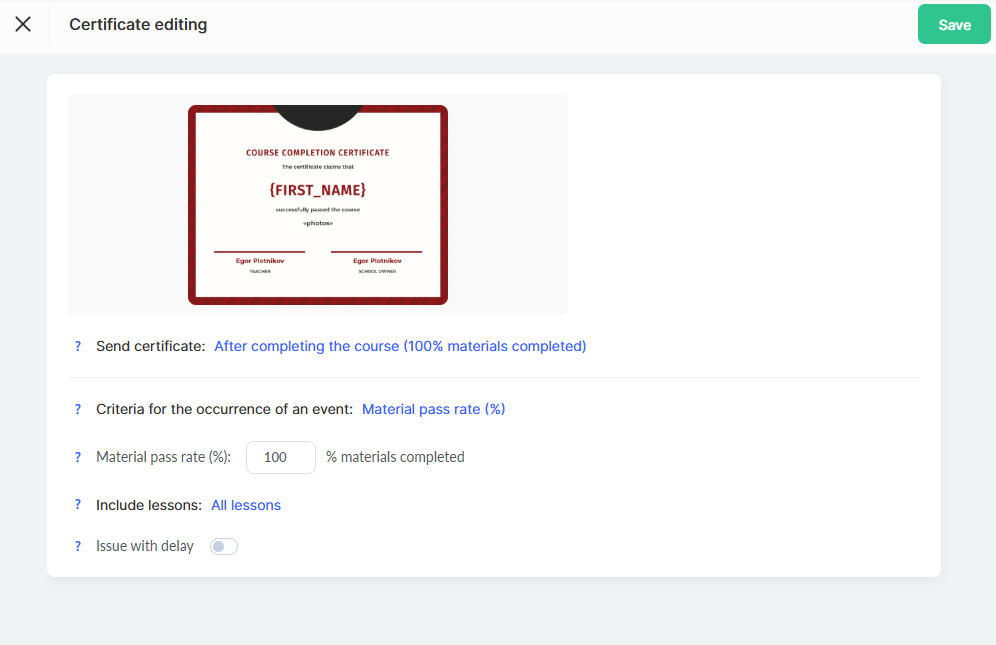
When to send the certificate
After completing the course: The certificate will be automatically sent when the participant views all lessons and completes all tasks. The timing may vary for each participant, depending on their pace of learning.
- After a specific lesson: The certificate becomes available after completing a designated lesson.
Note: Detailed information on how participant progress is calculated can be found in a separate article.
- On a specific date: You can set a particular date and time when certificates will be sent to all participants who meet the requirements.
Certificate Issuance Criteria (Trigger Event)
-
Progress through materials (%).
By default, the certificate is issued after 100% of assignments are completed and all lessons are viewed. -
Earned points.
The certificate is awarded when the participant earns a specified number of points.
Points can be granted for completing assignments and finishing lessons.
Lesson Tracking
-
All lessons.
The certificate is issued based on full course completion. -
Only selected lessons.
You can specify particular lessons that must be completed to receive the certificate. -
Skipping certain lessons.
If some lessons don’t affect certificate issuance, they can be excluded from the criteria.
Delayed Issuance
Add a delay (in days) between the moment the conditions are met (for example, “Course completed”) and the actual sending of the certificate.
You can also specify the exact sending time.
How to Set Up a Separate Certificate for a Pricing Plan
The Kwiga platform allows you to assign a separate certificate to a specific pricing plan.
This is useful if you want to issue different certificates depending on the participant’s level or subscription type.
-
Find the desired offer (pricing plan) and open its Settings.
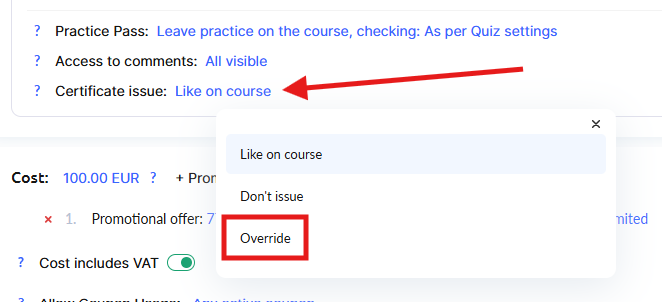
-
In the offer settings section, find the “Assign Certificate” option and click “Override” (or “Assign Another”).
-
Select a different certificate template from the list.
-
Set up the certificate issuance conditions for this pricing plan (if necessary).
Note: If a separate certificate is assigned to a specific pricing plan, it will take priority over the general course certificate.
This allows you to create premium offers with exclusive certificates.
For more details on configuring offers, see the dedicated article.
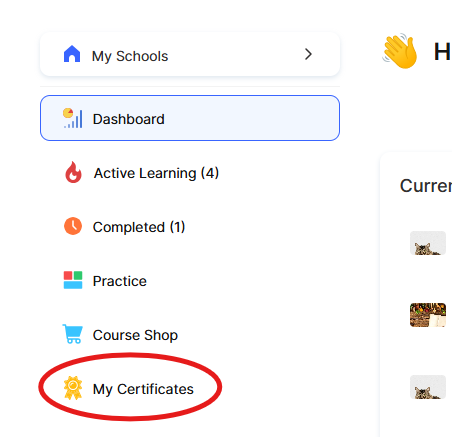
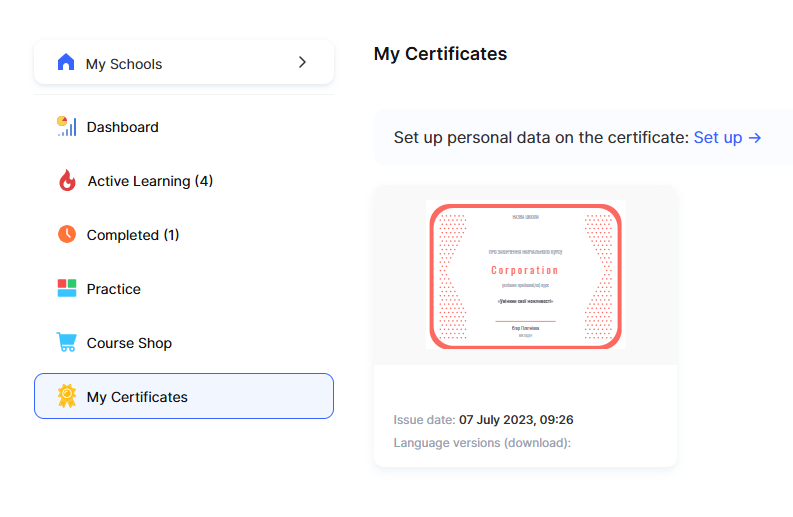
How Students See Certificates in Their Profile
After successfully meeting the certificate requirements, participants can view their achievements directly in their profile, under the My Certificates section.
If the certificate settings include the option to display all language versions, the student will be able to view the certificate in different languages and choose the preferred language version to download.
A properly configured certificate not only motivates participants but also validates their knowledge and achievements.
It’s an excellent way to increase the value of your course and leave students with a positive, lasting impression.
Didn't find the answer? Contact the support service via online chat or Telegram