Articles:
- How to delete a course
- Copyright protection of your content on Kwiga
- Public or trial lesson
- How to change the status of a lesson to draft and hide it from students
- Usage of checkpoints
- How to Add Practice to a Lesson
- How to create a task with mandatory review by an assistant
- How to create a task for different offers
- How to create a test with scores and automatic approval
- How to create and conduct a quiz among students on the course
- Contents of the lesson, all types of activities in the lesson
- Downloading video files
- How to add time codes to the video
- How to add button to the lesson
- Inserting iframe code
- Adding fractions, mathematical functions, formulas
- How to add text with spoiler to the lesson
- How to create a course on the Kwiga platform
- How to create a marathon
- How to add a cover to a course
- Course Program Display Options
- How to add a public face to a course
- How to add a team to a course
- Course preview with different access levels
- Block above lesson or module pages (top banner)
- Setting delays, schedule for opening and closing lessons (dripping content)
- Report on student progress on the course
- Analytics of assignments completion on the course
- Course sales report
- How to create a copy of the course
- How to copy lesson content
- Assistant’s Access to Practical Assignments
- Student Can't See the Course (Marathon, Closed Group)
- How to set up a test so that students see comments after completion
- Letter delivery: why letters don't arrive and how to fix it
- How to Customize the Appearance of a Course
- Manage activity visibility
What to do if your course implies mandatory verification of tasks by the assistant. Learn more about how to attach an assignment as a simple question and how it will appear in the lesson.
In this article:
Creating an Assignment
First, you need to create an assignment that will later be used in the course. Assignments are created separately from the course. Go to the Quizzes section and create a new assignment.
You can read about the different types of assignments available on Kwiga in the article Quizzes, Practices: Question Types.
To create a new assignment, click the + button.

Next, select Standard Quiz, enter its name, and proceed to fill in the quiz.
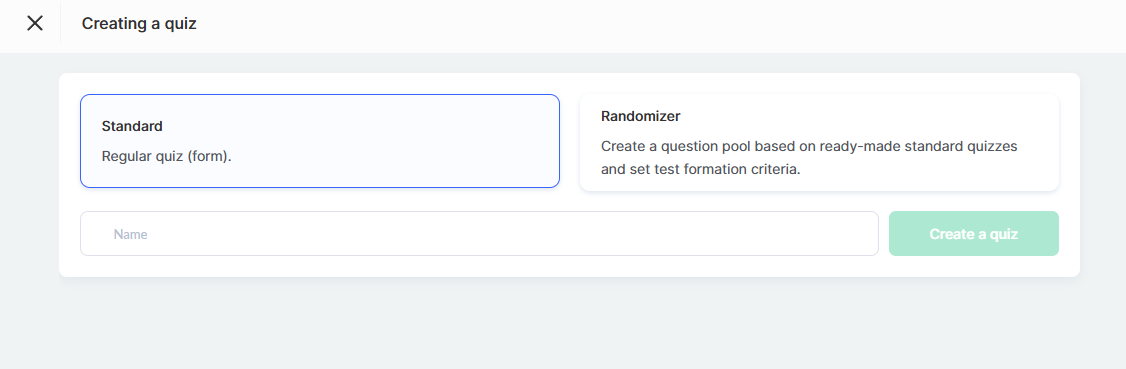
Note: The Randomizer is covered in a separate article.
How to Add a Question to a Quiz
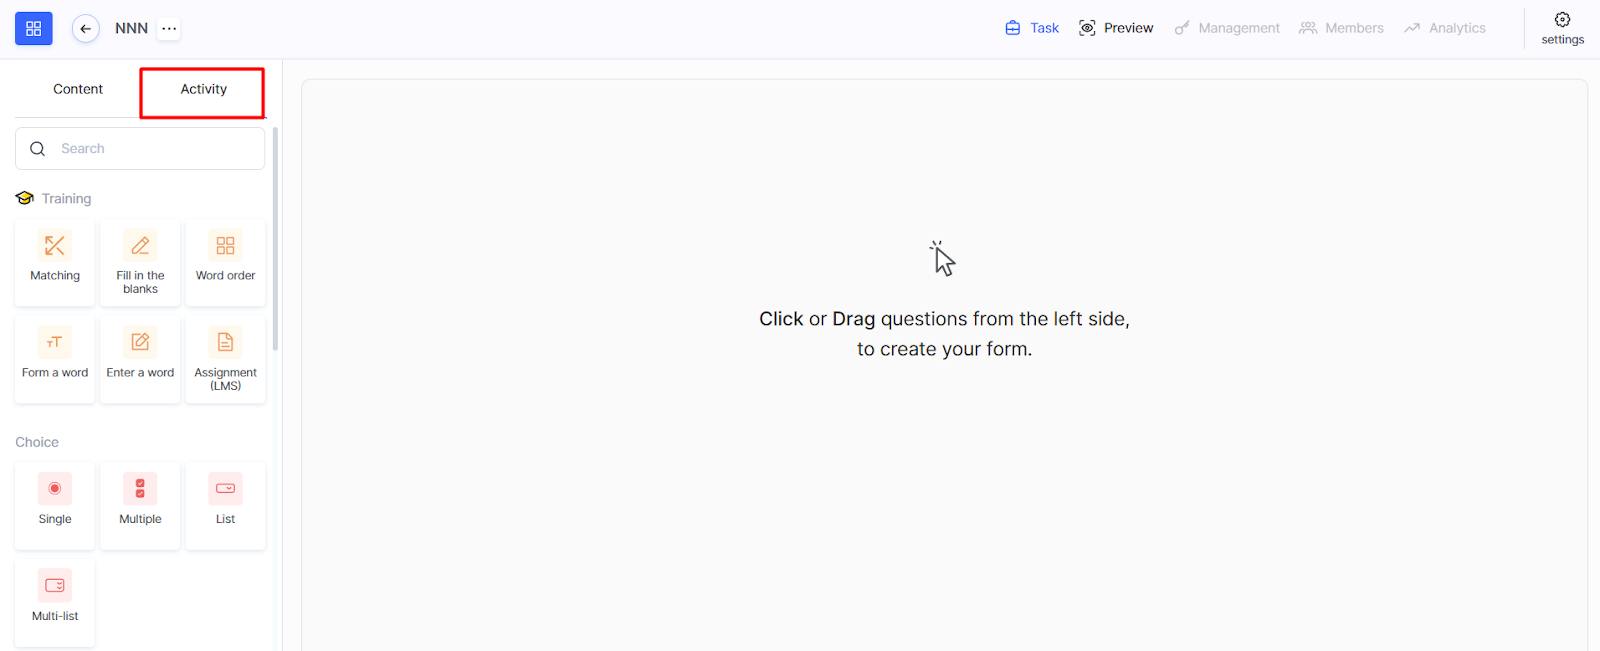
The left panel displays all available question types, organized into categories for easier navigation.
To add a question to your quiz:
-
On the left panel, go to the Activity tab.
-
Select the desired question type from the available categories.
-
Click on the question type or drag it into the central workspace.
-
Fill in and configure the selected activity—for example, add questions and answer options.
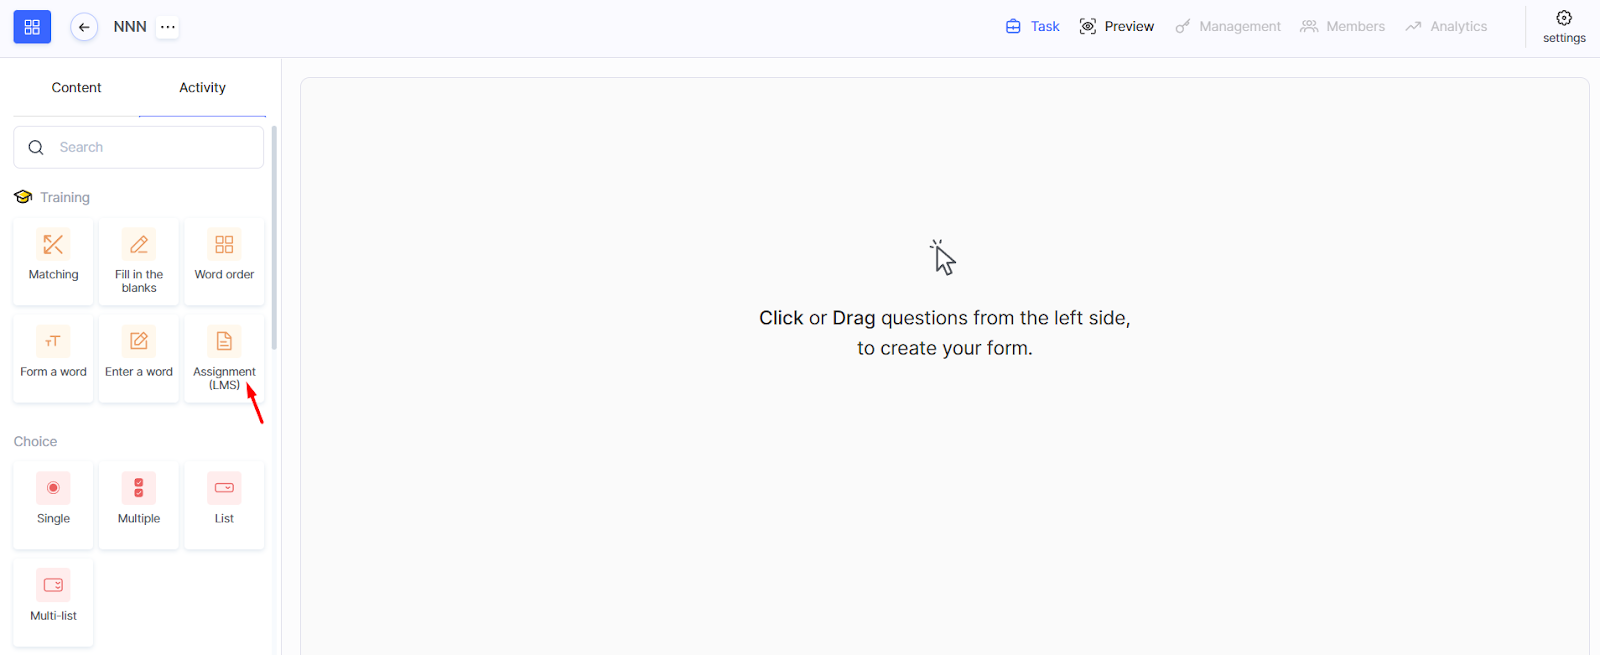
Recommendation: If this is not a test or a survey, and you need an open-ended response, we recommend using the Assignment (LMS) question type.
Configuring a Question
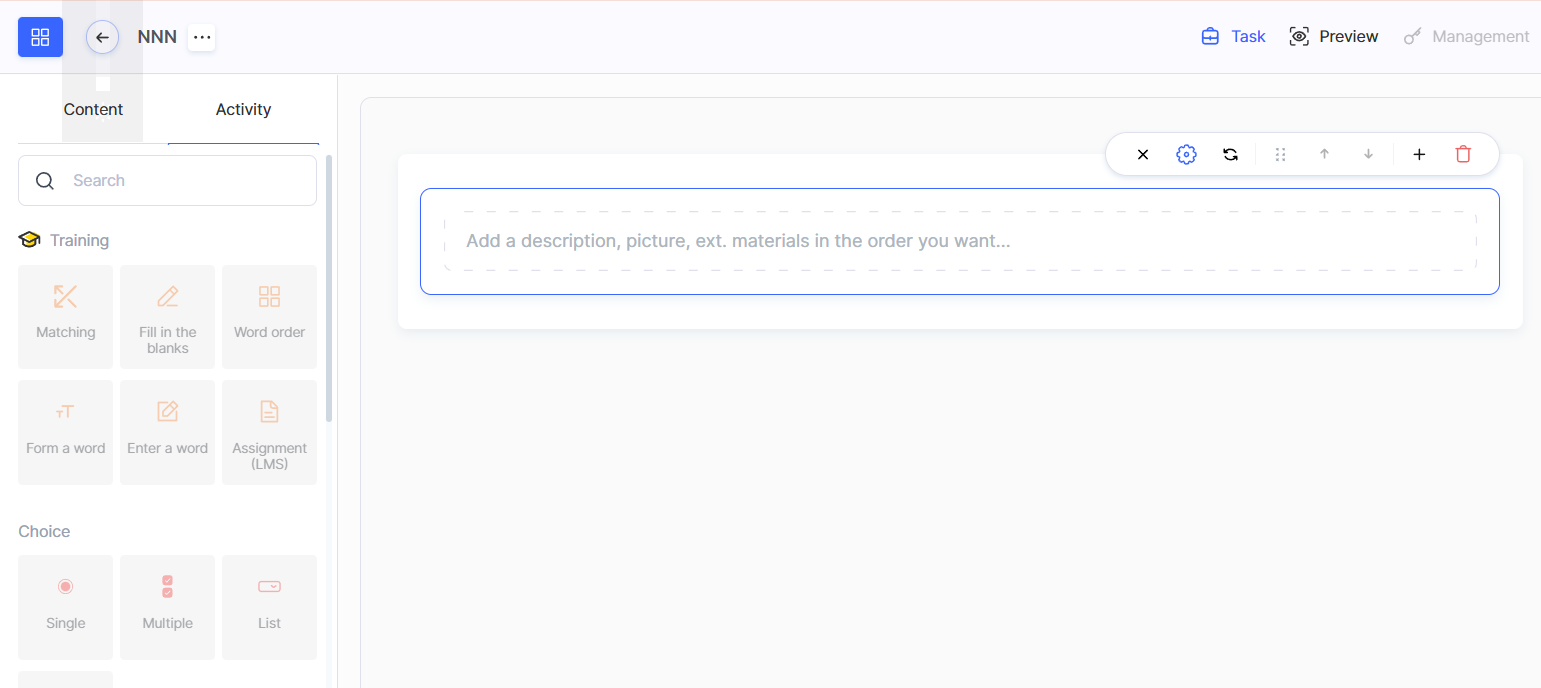
To start editing, hover over the question block and click it.
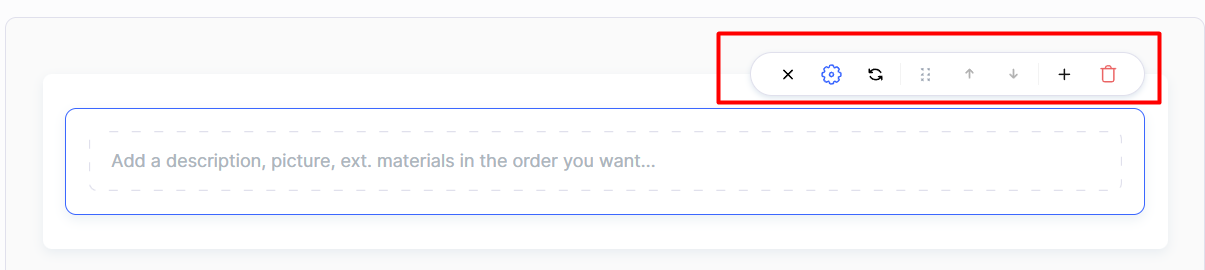
When you hover over the added question, a toolbar appears that allows you to:
-
Close editing
-
Open additional settings (via the gear icon)
-
Copy the question
-
Change the question order (move up/down)
-
Duplicate the question
-
Add a new question
-
Delete the question
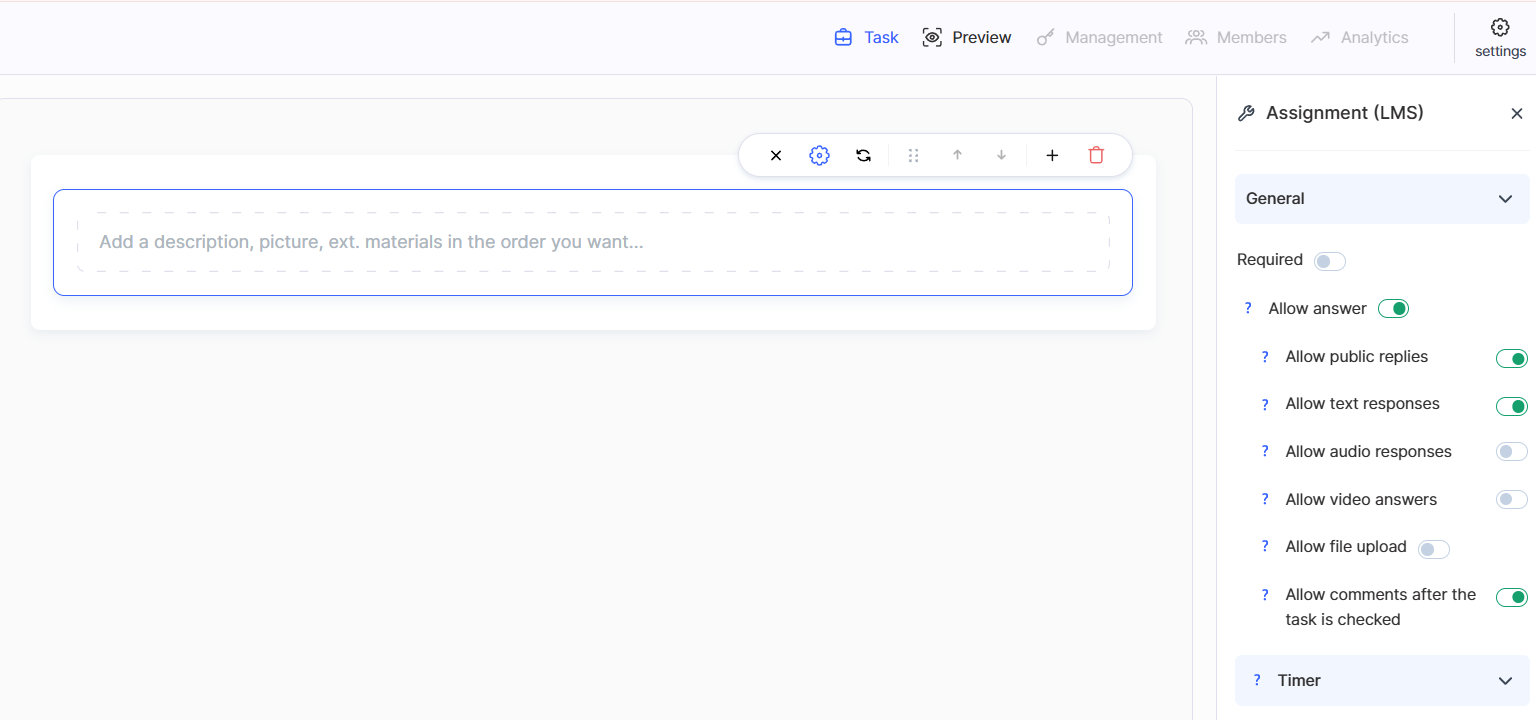
On the right settings panel, you can:
-
Make the question mandatory
-
Enable answer randomization
-
Set a time limit
-
Configure the number of days, hours, minutes, and seconds for completion
-
Set grades and points for the question
-
Add a comment to the question
Recommendation: For the Assignment (LMS) type, it is not possible to add additional questions. Use this type when you expect a detailed response or when students should read and reply to curator comments.
To add another activity (question), click + in the settings above the question
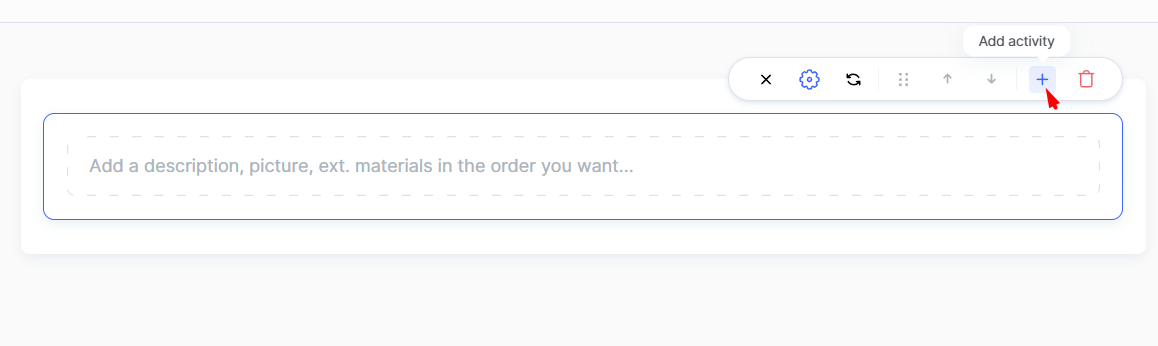
or click on the question type in the left sidebar.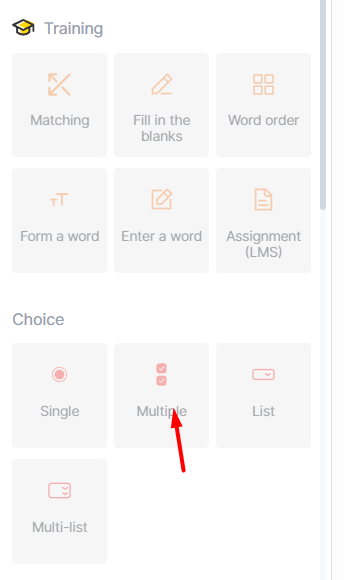
Tip: If your course includes many practical assignments, immediately include the lesson number or title in the assignment name—this will simplify future editing and organization.
Setting Mandatory Curator Review
For assignments that require manual review, you must enable Approval – By Curator in the quiz settings.
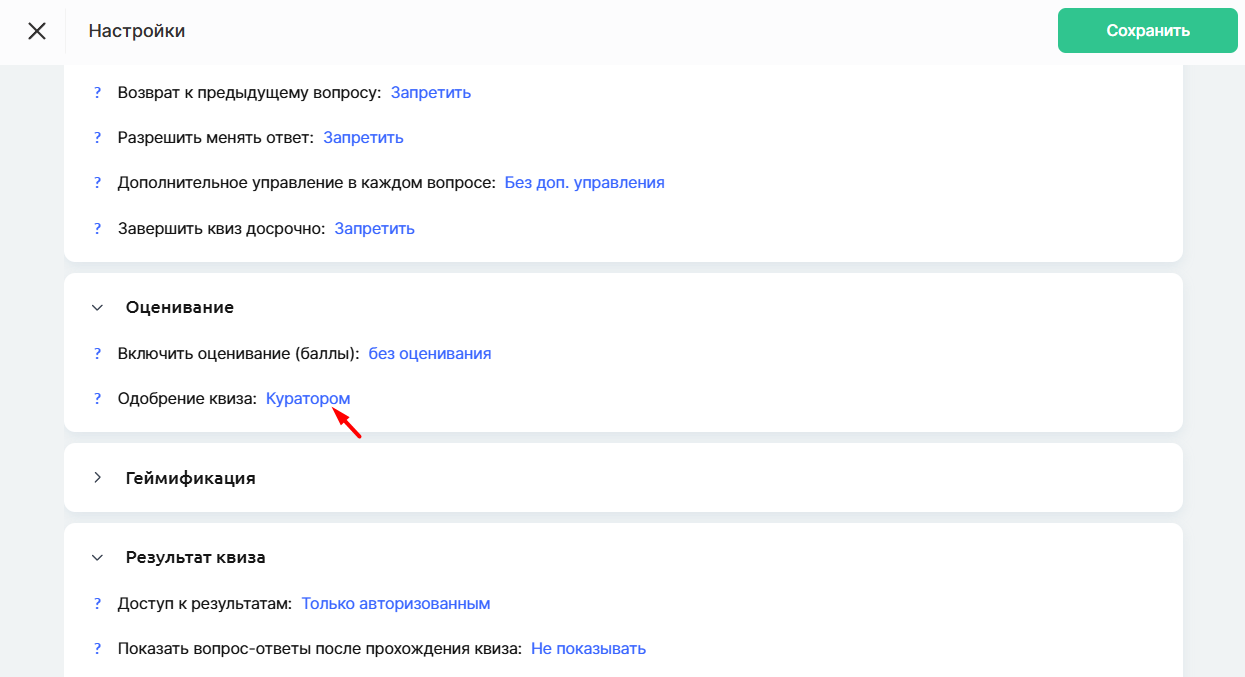
This feature allows the curator to view student responses, leave comments, and determine completion status.
After creating the assignment, add it to a lesson through the lesson builder. To do this, find the required course in the Courses menu and open the desired lesson. A detailed guide on this is available in a separate article.
The assignment will be integrated into the lesson as part of its content, allowing students to complete it directly while studying the material.
If you want curator review enabled for some course pricing plans, and automatic review for others, this can also be set up on the platform.
More details can be found in the article How to Create Assignments for Different Pricing Plans.
How Students See the Assignment
After the assignment is added, students will see it in the lesson content. To ensure everything looks correct, use the Preview function. Open the lesson builder, switch to preview mode, and check how the assignment appears from the student’s perspective.

Once a student completes an assignment requiring curator review, the status Quiz is awaiting curator review will appear.

Only after the curator checks it will the status change to Passed, Not Passed, or Needs Revision. Students will also be able to see the curator's comments, feedback, or recommendations.
How to Review a Completed Assignment
Important: Assignment review is available only in the curator's workspace, not in the student's. The curator must ensure they are logged into the correct project as a curator (or administrator), not as a student.
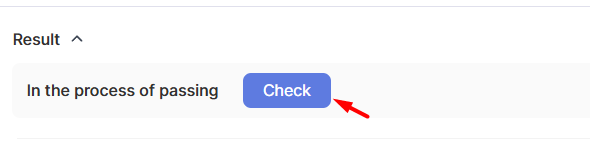
After the student submits the assignment, it becomes available for review in the Practice menu within the course.
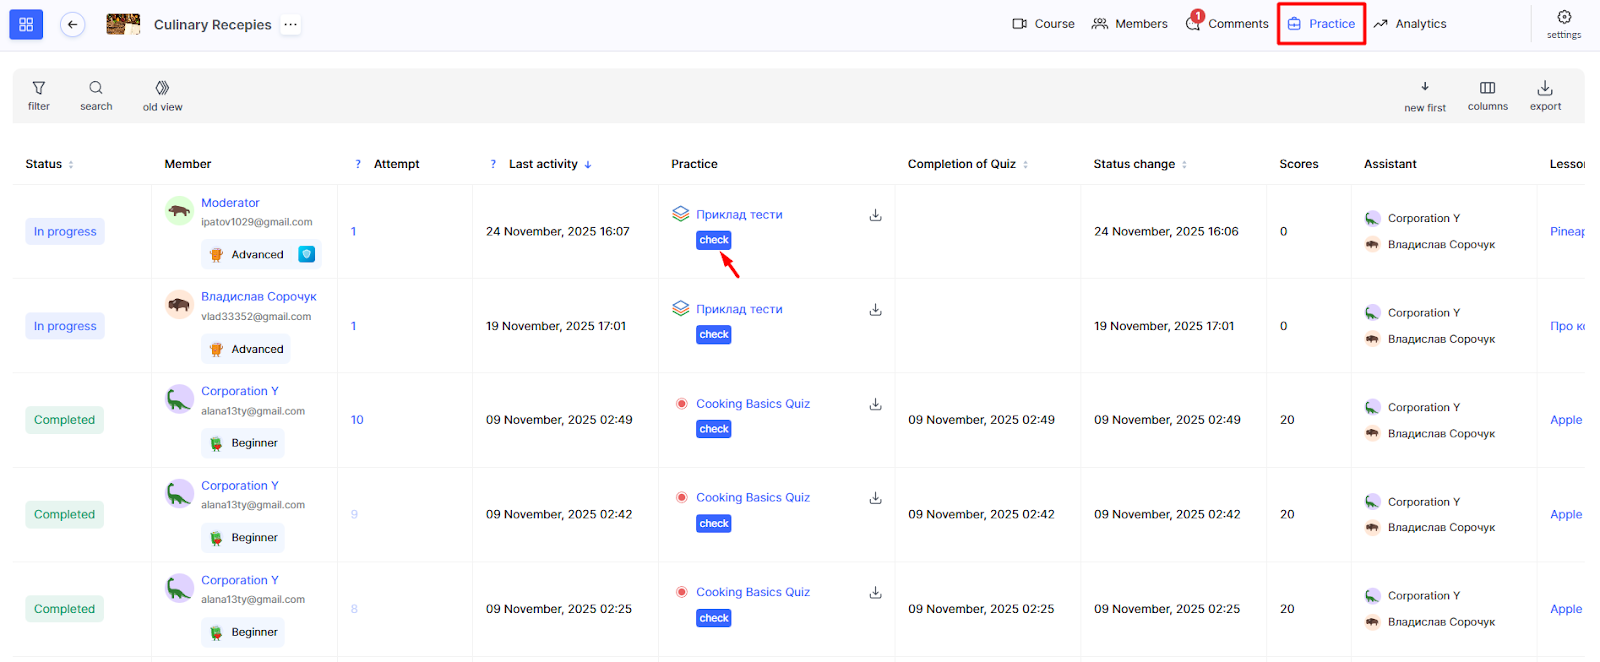
Click Review, choose the result, add comments or points if needed, and click Save.
Mandatory curator review helps ensure high-quality assessment of student knowledge and enables individual work with each student. This improves learning outcomes and strengthens communication between students and curators.
Didn't find the answer? Contact the support service via online chat or Telegram