Articles:
- Orders: creating and editing orders.
- How do I add an individual payment link to a student
- Transactions
- How to set up sending your own email after purchase
- Integration with the Sendpulse chatbot
- How to integrate a payment system on Kwiga
- How to set a specific language for an offer page
- Important Project Settings
- How to grant access to students if the sales were not made on Kwiga
- Payment without authorization
- How to create a new stream with your own schedule
- How to give access to one student
- How to change access for one student
- How to set up demo access to a course, open house day at the school
- Setting up subscriptions (recurring payments)
- Automation: Follow-up email sequences (unpaid orders and applications)
- Promotional offer
- Credits and installments, payment in parts
- Discount coupons and possible settings
- How to launch course registration with prepayment
- How to create cross-sell offers in Kwiga
- How to start selling on Kwiga: creating a price plan
- Offer: what is it for
- Creating multiple pricing plans
- Selling consultations and one-on-one sessions
- Як змінити тариф учневі (доплата на Kwiga)
- How to sell (give access to) parts of the course
- How to implement access renewal sales
- Selling through a registration form on a third-party site
- Selling through a mini-landing page created on Kwiga
- How to add a video to a page (mini-landing, course page)
- How to create a link with an applied coupon
- Selling on Kwiga: accepting regular payments, instalments, instalments and subscriptions
Option to accept payments from students through integrations with payment systems.
In this article:
On the Kwiga platform, you can integrate payment systems to configure student payment acceptance. This allows you to automatically receive payments from participants' cards, offer installment plans, and provide access via subscription.
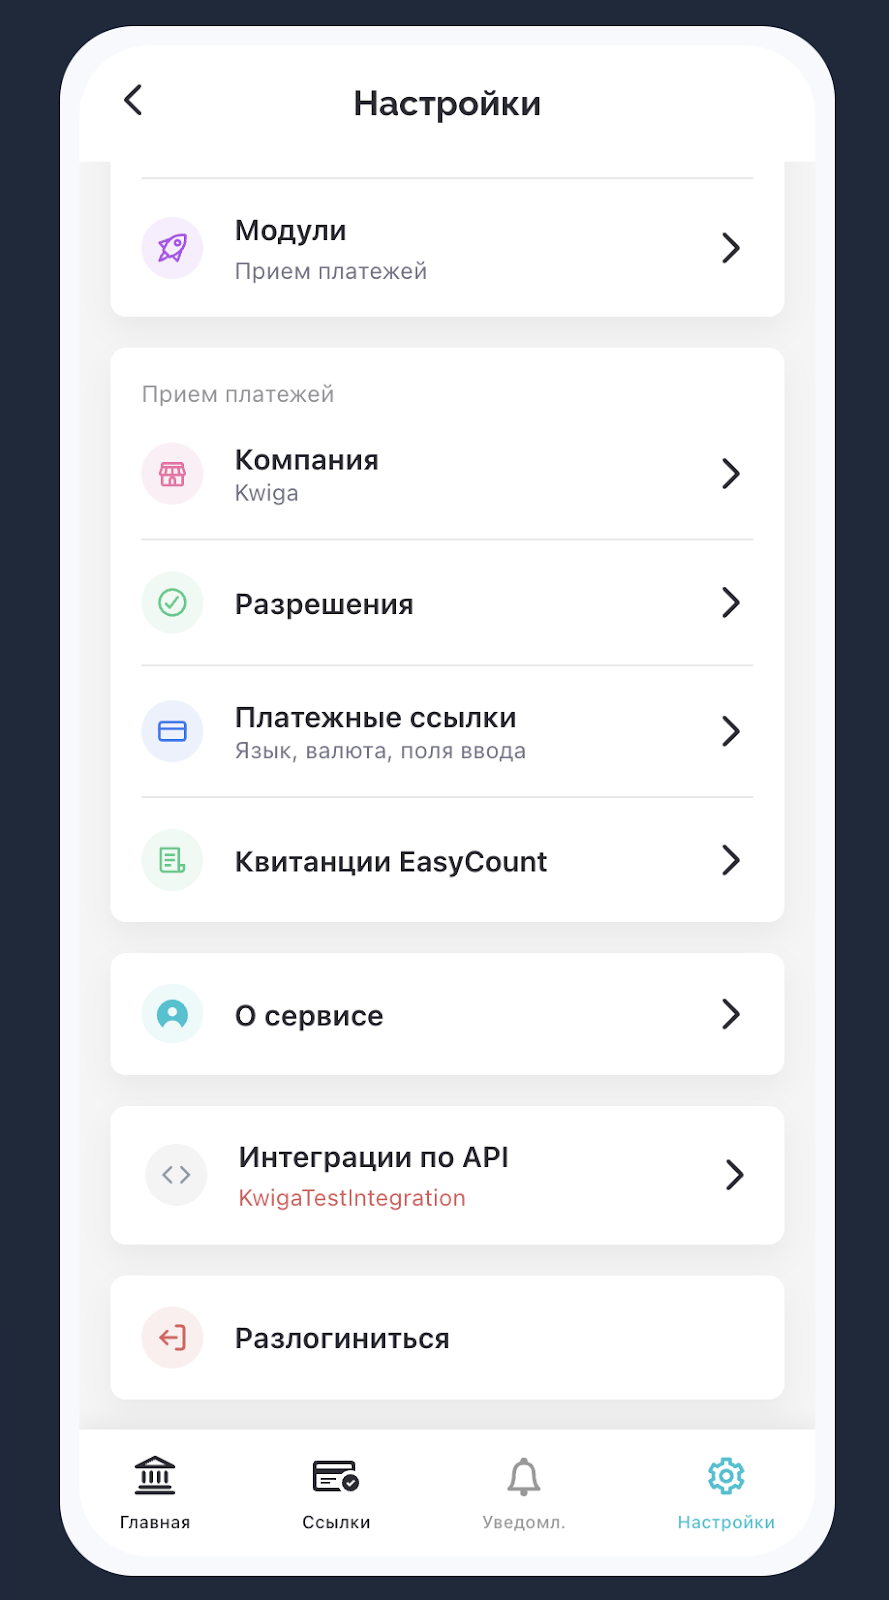
To set up integration with a payment system, open your profile settings.
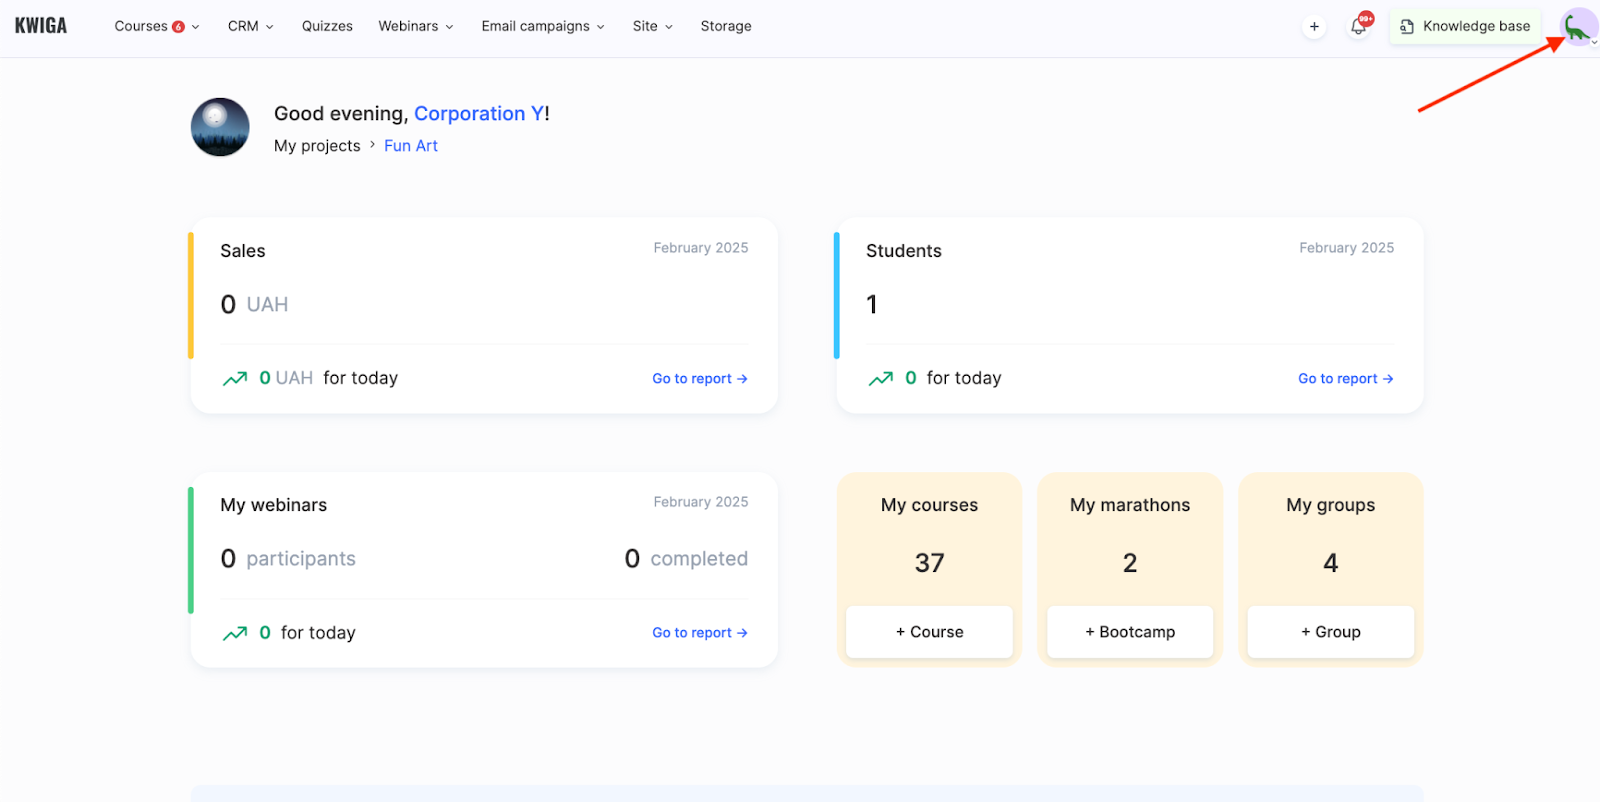
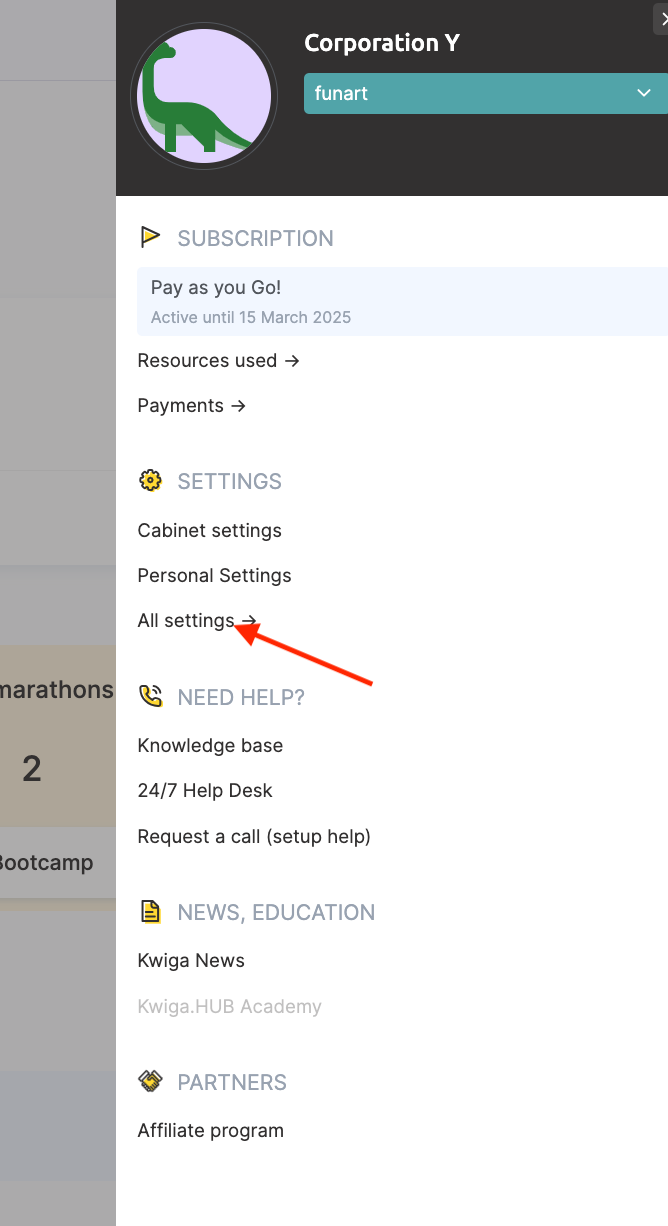
Click on your avatar in the top right corner of the platform and select All Settings.
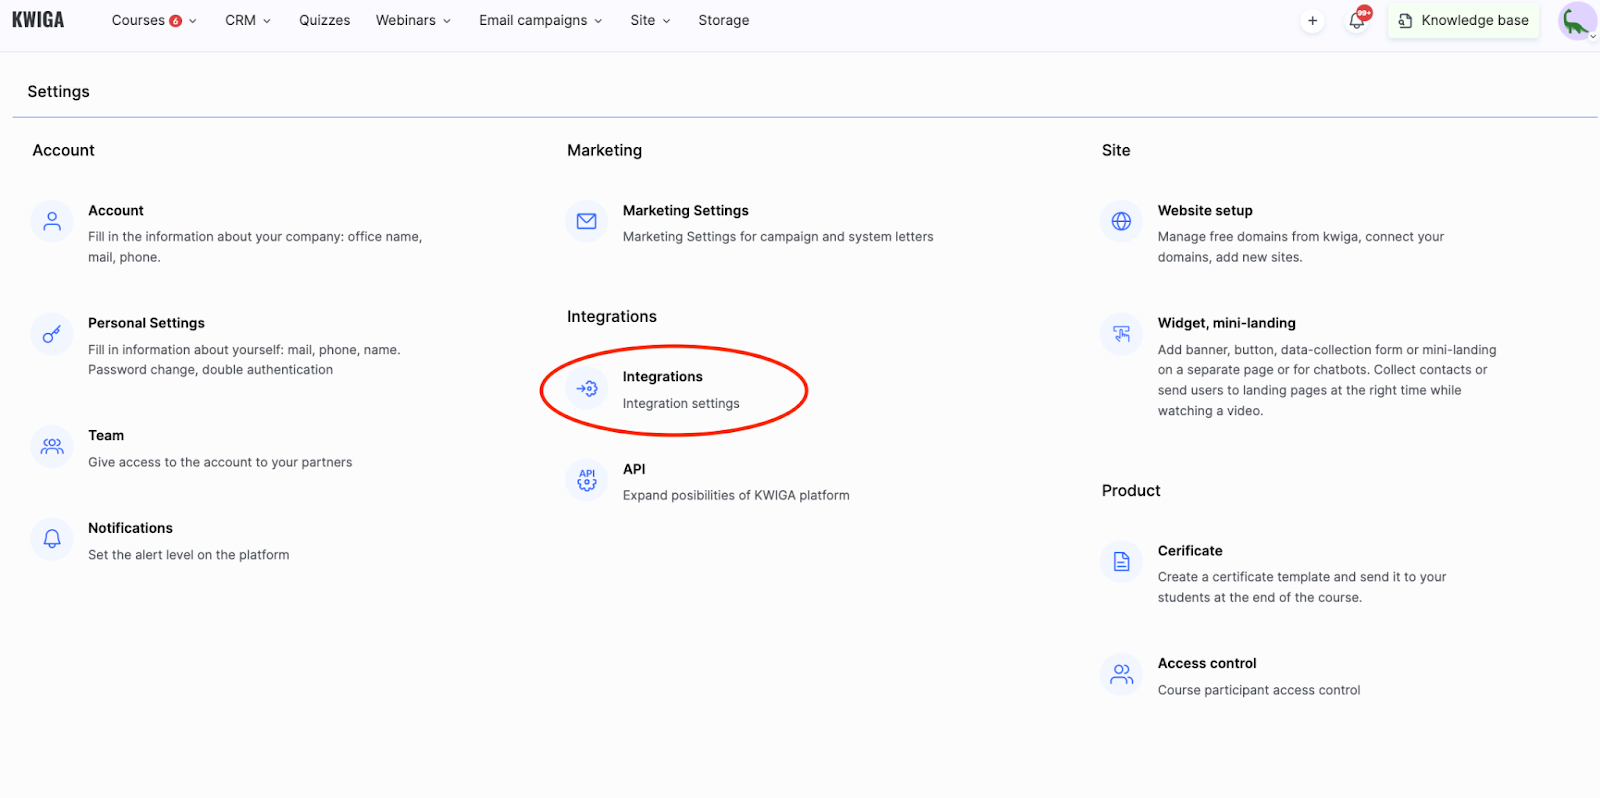
Next, go to the Integrations tab.
Then, open the Payment Systems section.
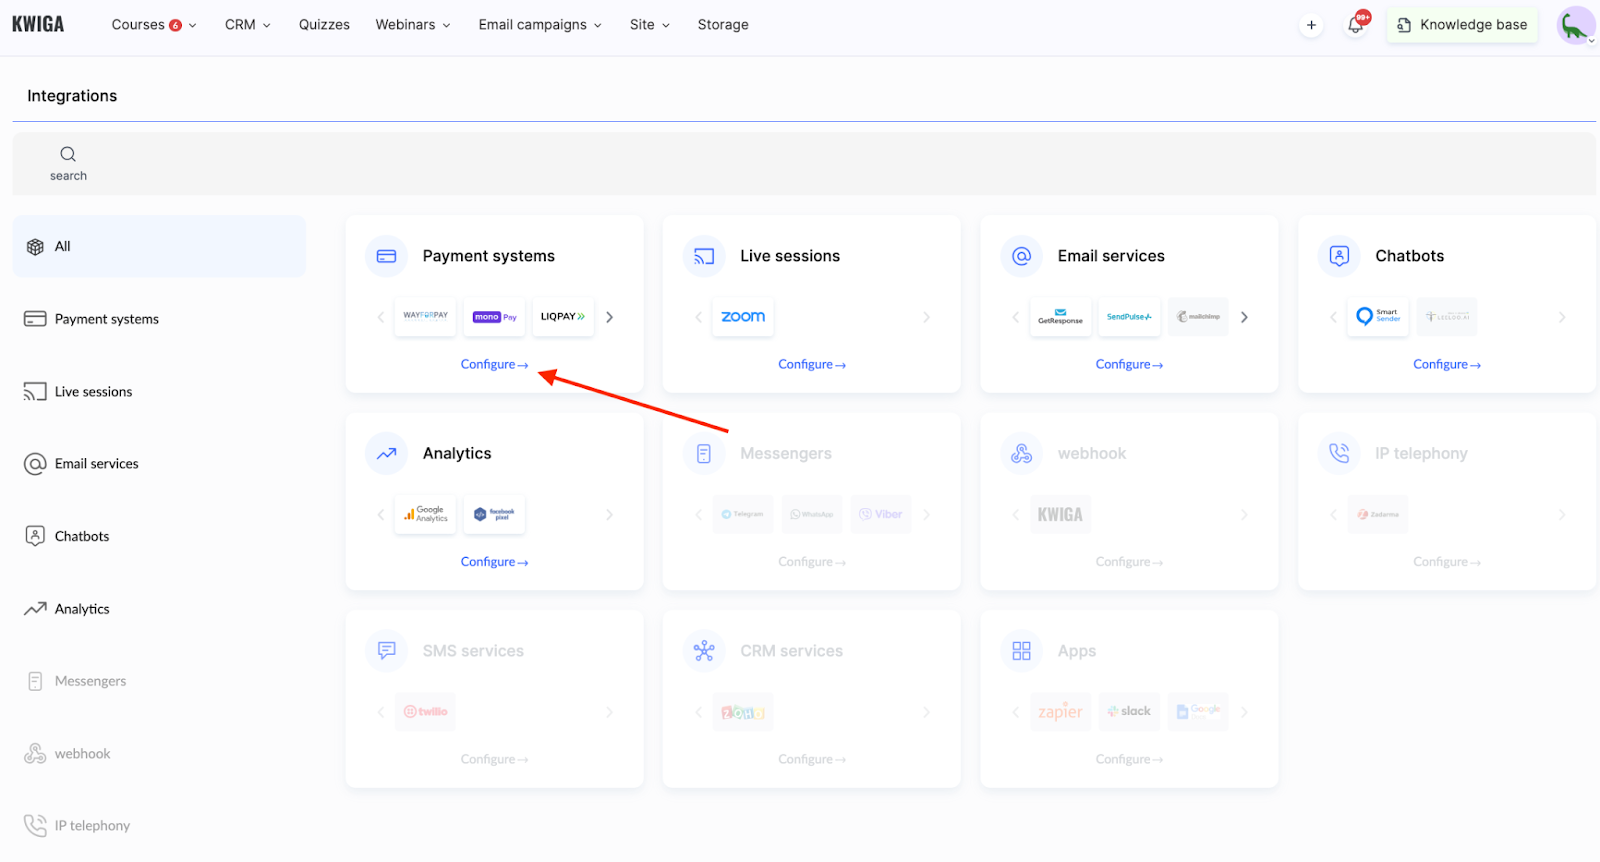
In the list of available services, find the required payment system and click on its name. A form will open, where you need to enter all the necessary connection parameters, such as an API key or a store ID, depending on the service's requirements.
After entering all the data, click Save, and the integration will be activated. Then, you can automatically receive student payments directly through Kwiga.
Recommendation:
Before enabling student payments, you should test the payment process yourself. To do this, create a test offer with a minimal price, such as 1 UAH or 1 USD.
Another option is to temporarily lower the price of a genuine offer, check the payment, and restore the original price after testing. Testing it in a different browser or incognito mode is recommended to ensure the payment check works correctly, as your expert account data may be stored in the current session.
Currently, integrations are available with many popular payment systems, and this list is constantly expanding.
If the required service is not on the list, contact us on Telegram - it may already be planned for addition or considered in a future update.
plata by mono
Open a private entrepreneur account in the monobank app or a company (LLC) account at Universal Bank by calling 0 800 300 200.
(Opening and maintaining a private entrepreneur account in monobank is free. The process takes 2 minutes.)
To open a private entrepreneur account:
-
Open the monobank app
-
Swipe down
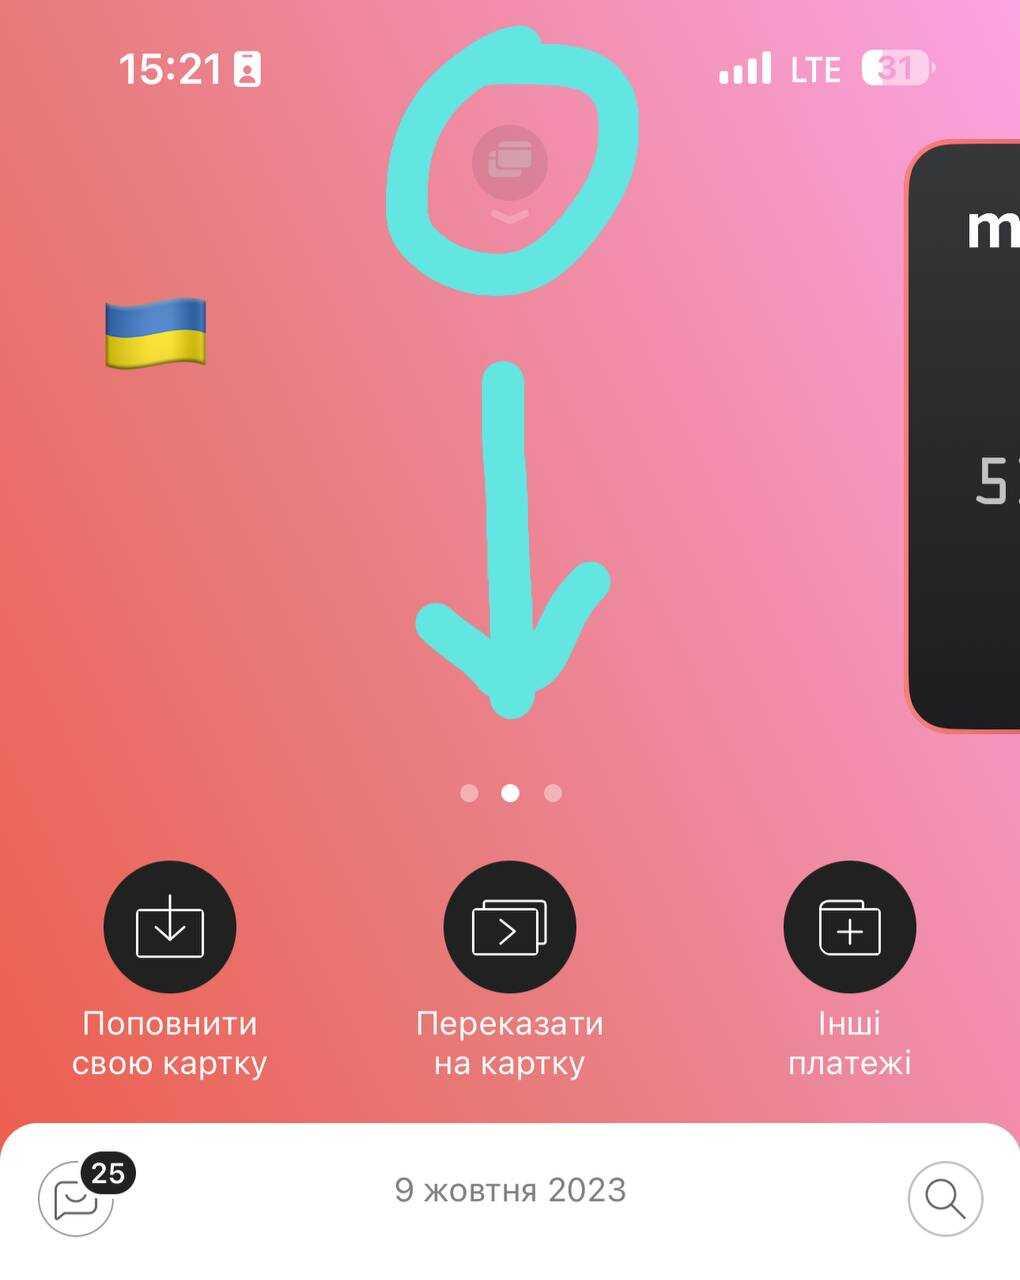
-
Click on "Open a card or PE account"
-
Select the PE account option
Fill out the application form and submit your request.
The application takes only 2 minutes to complete. Once submitted, you will receive a notification and further instructions within 24 hours.
Wait for the acquiring service to be activated. You will receive a push notification in the monobank app.
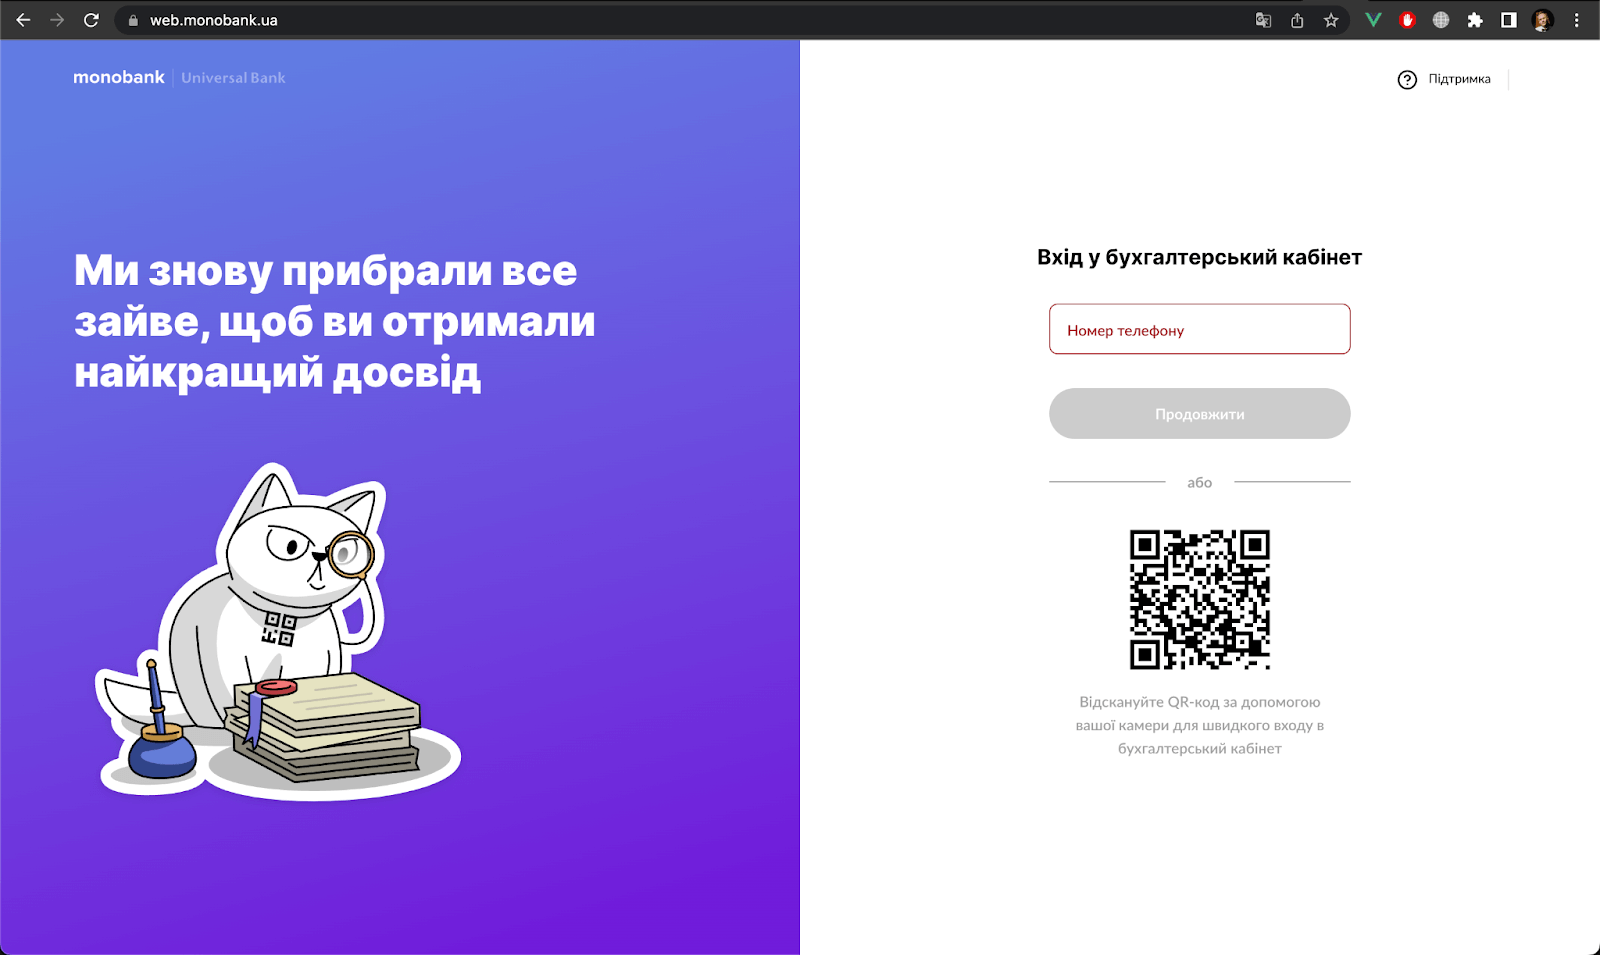
Log in to your PE account.
Select the section Acquiring → Internet.
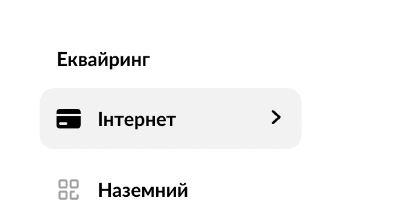
If you don’t see the “Internet” section, it means:
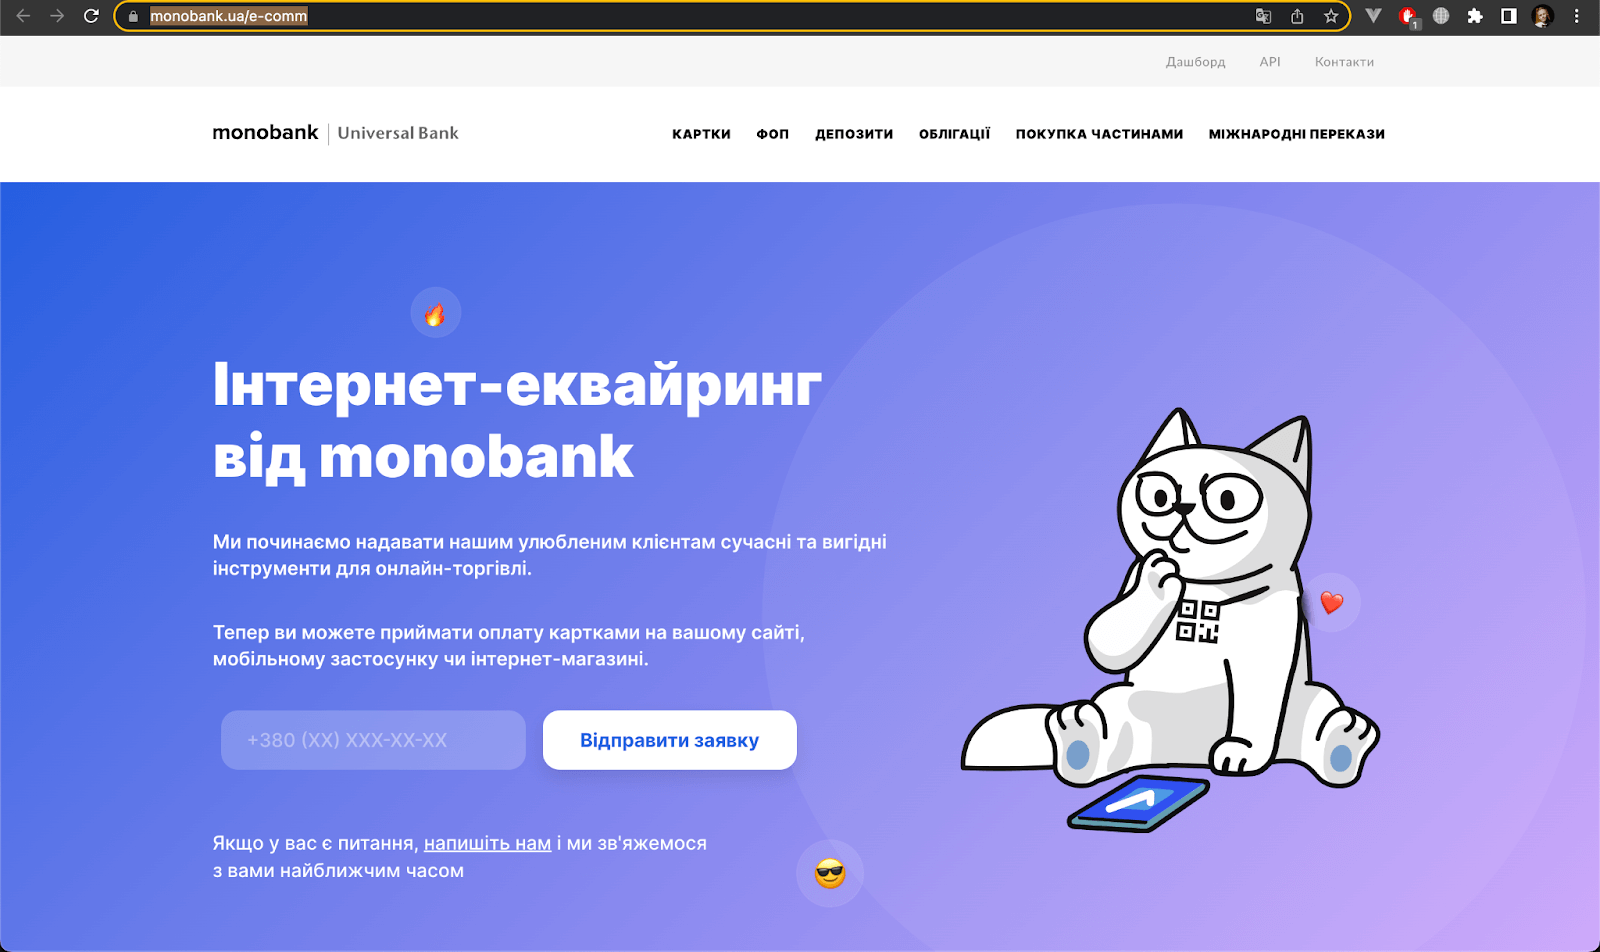
You haven’t applied for monobank's internet acquiring service. You can submit your application here.
Your access to receiving payments has not yet been granted. Please wait for confirmation.
In the opened window, click Create token, then copy the generated token.
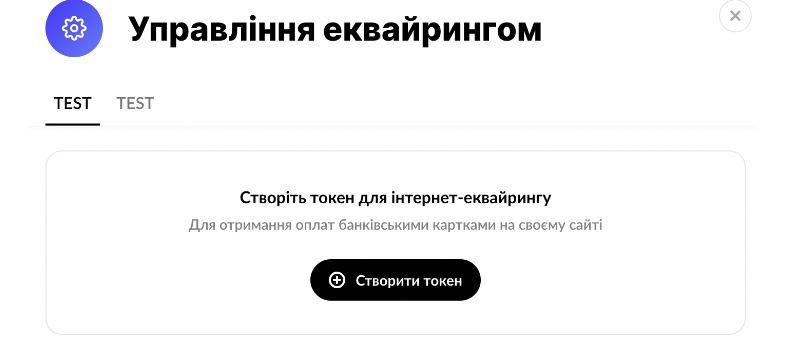

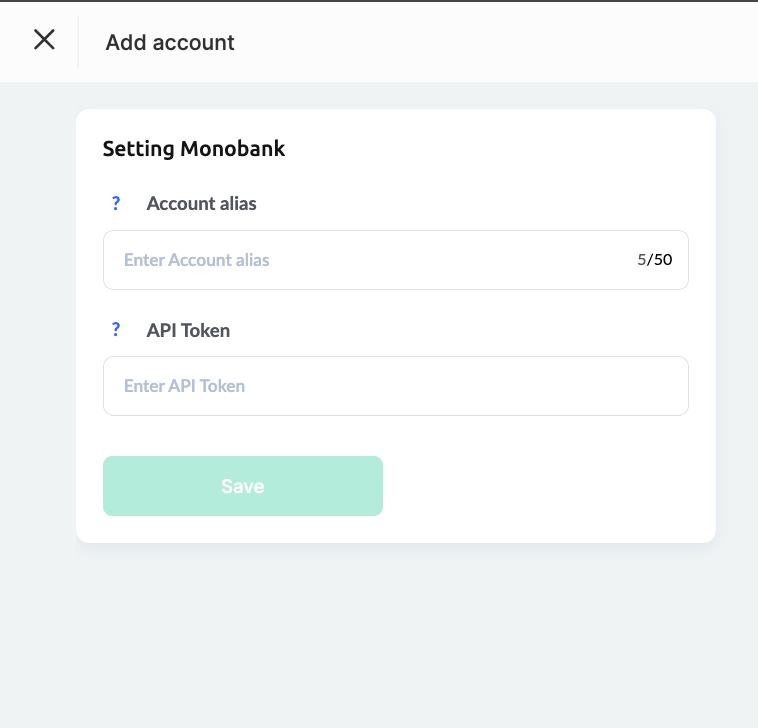
Specify the Account Alias, which represents this integration on the Kwiga platform. Paste the copied token into the API Token field and click Save.
The plata by mono payment system allows payments in only three currencies: EUR, USD, and UAH.
PayPal
Click on the icon with the PayPal logo, then press the Add Account button and complete the basic settings:
To connect PayPal to the platform, you must have a registered business account on paypal.com. Log into your PayPal account and follow the provided link. Then, at the bottom of the page, find "Connecting to an e-commerce platform" and click Start.
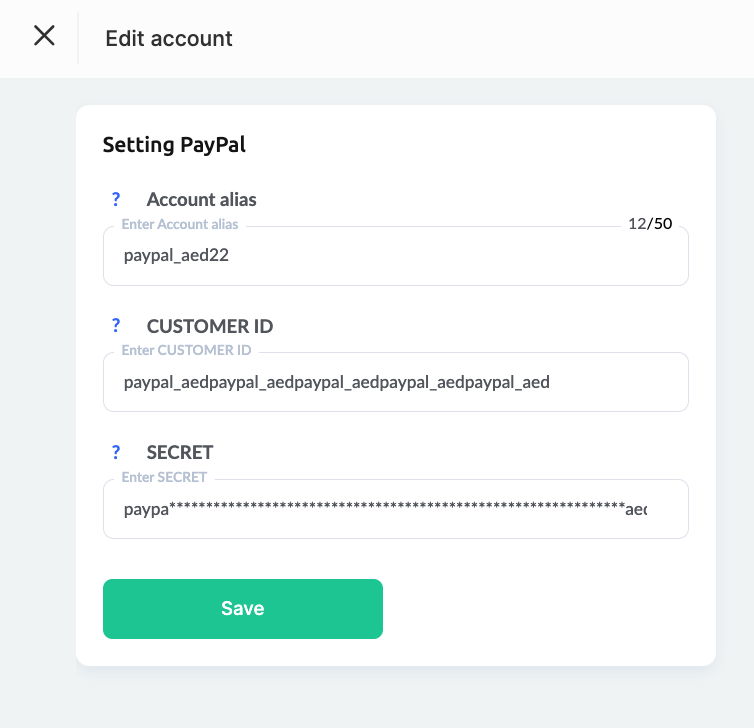
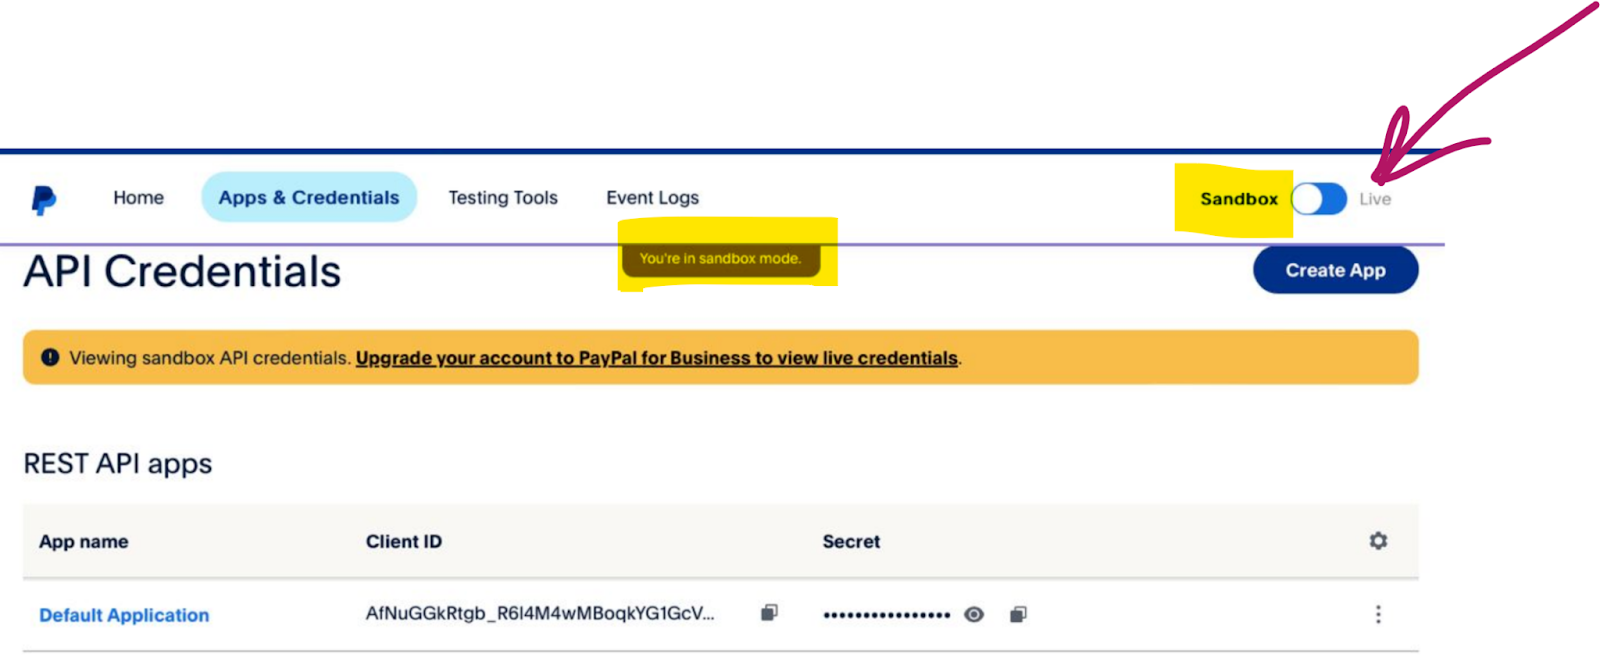
To integrate this payment system, you need to obtain unique identifiers—Client ID and Secret Key—and enter these details into the corresponding settings field on Kwiga. Ensure you copy the credentials (Client ID and Secret) for Live mode (as indicated by the red arrow in the screenshot) and not for Sandbox mode. If you see the message "You're in sandbox mode," switch the toggle to Live.
Additionally, specify the account alias—the name of this integration on Kwiga—which will be displayed on the platform, and click Save.
WayForPay
Click on the WayForPay block and then press the Add Account button.
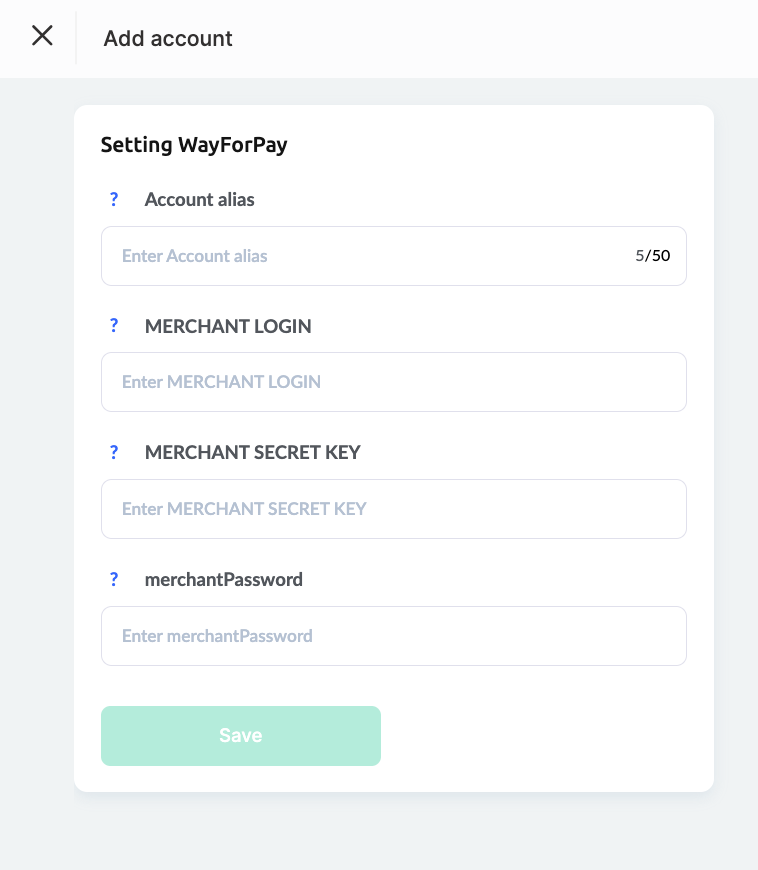
To set up the integration, you must have an account on the WayForPay website. Navigate to the Store Settings page and select the desired store. In the Merchant Details section, copy the required data.
In the integration settings form on Kwiga, enter the MERCHANT LOGIN and MERCHANT SECRET KEY values into the corresponding fields.
MERCHANTPASSWORD—This field is optional and only needed if you plan to accept recurring payments (subscriptions) and allow customers to cancel them from their student dashboard. You must contact WayForPay support to obtain this password.
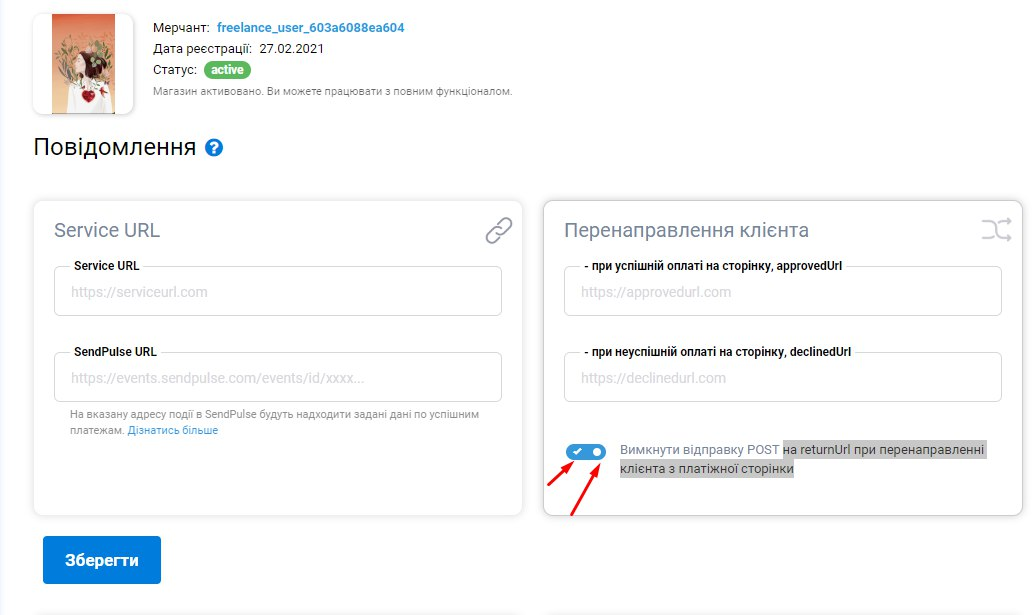
Ensure that the Post to returnUrl option is disabled in the Store Settings under the Notifications section when redirecting customers from the payment page. The switch should be off (gray).
LIQPAY
Click on the block named LiqPay and then on the Add Account button.
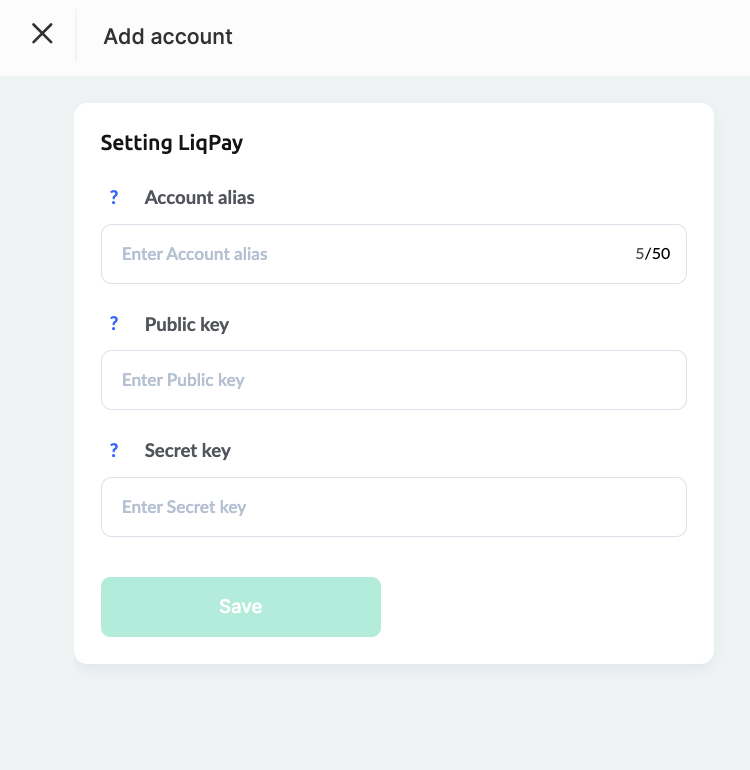
To integrate LiqPay with Kwiga, you need to create and activate an account in LiqPay. After activation, go to the main page. Copy the public and secret key values and paste them into the corresponding fields in the LiqPay Settings form. Enter the account alias (the name of this integration on the platform) and click Save.
Stripe
Click on the block named Stripe and then on the Add Account button.
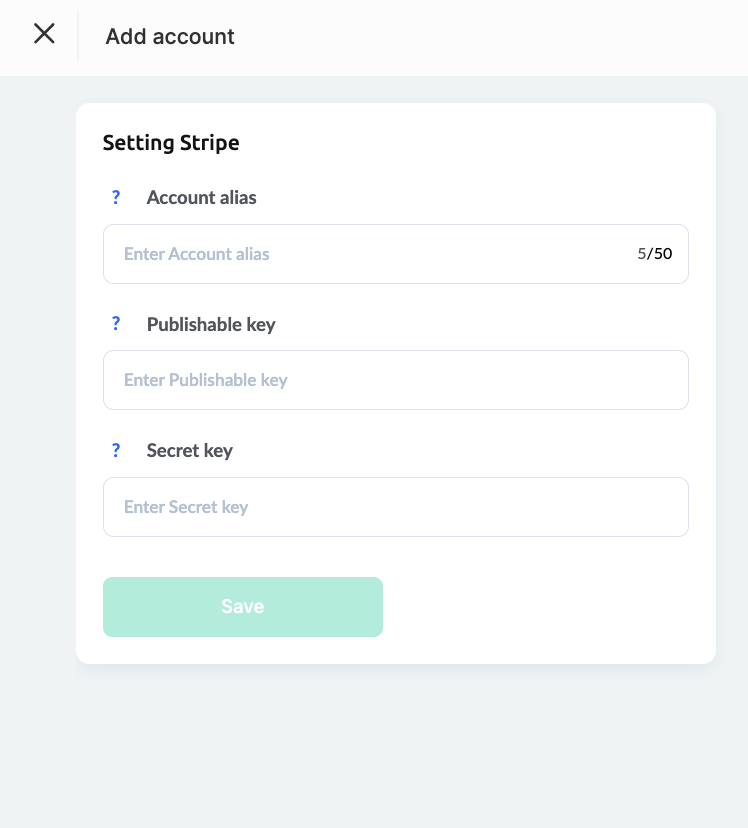
To integrate Stripe with Kwiga, you need to create and activate an account in Stripe. After creating the account, navigate to the "Developers" section and the "API keys" tab.
Copy the values of the Publishable key and Secret key and paste them into the corresponding fields for integration settings. Then, enter the account alias (the name of this integration on the platform) and click Save.
FONDY
Click on the corresponding block with the Fondy logo and then click on Add Account.
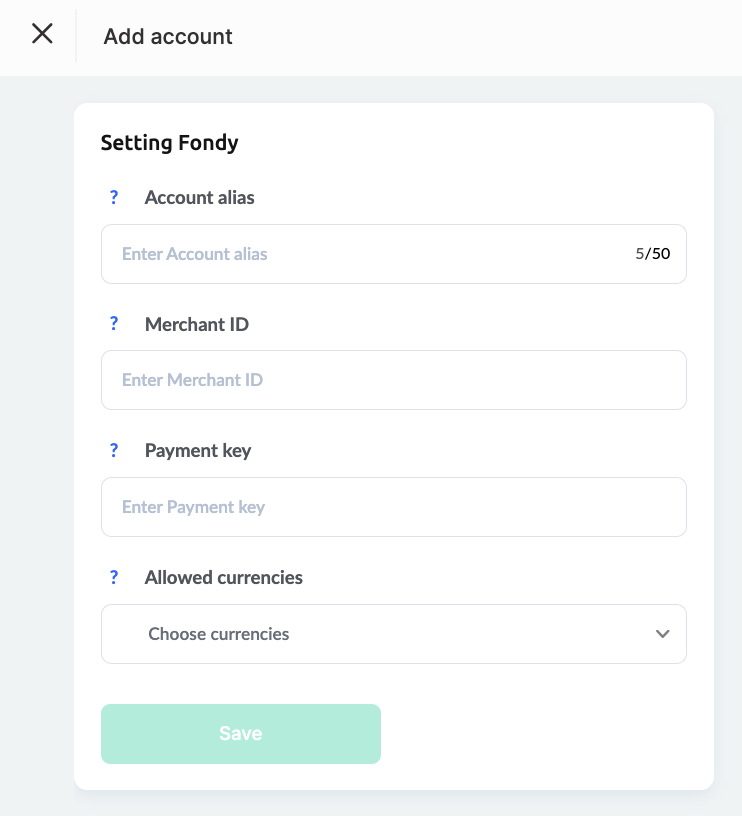
To integrate, you need to be registered in the Fondy system and configure the settings on Kwiga:
Account Alias – the name of the account on Kwiga, as it will appear in the list of accounts on the platform.
Merchant ID: The Fondy service assigns this parameter, which can be found in your Fondy account under Merchant Settings → Technical. Copy the value from the Merchant ID field and enter it into the corresponding field in the Kwiga settings.
To access your Payment Key, log into your Fondy account, go to Merchant Settings → Technical, and copy the value from the Payment Key field.
Allowed Currencies – select the currency in which your merchant account is connected in Fondy. We recommend confirming this with support.
Then, click Save.
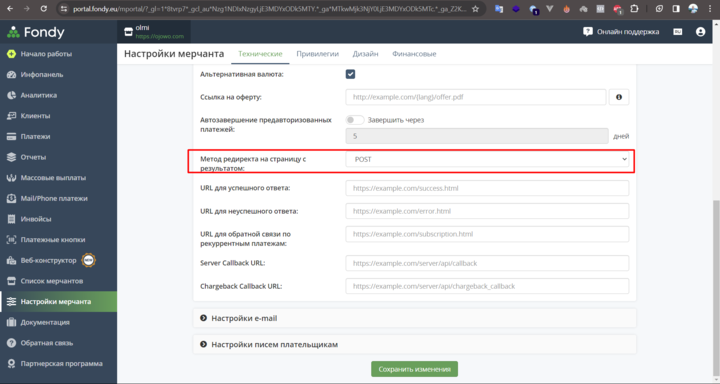
Also, ensure that the correct redirect method is set. To do this, go to Fondy → Merchant Settings → Technical → Payment Page Settings, and in the field "Redirect Method to the Result Page," set it to POST (if another value is set, change it to POST).
Coin Payments
To configure the integration, click on the block with Coin Payments and then the Add Account button.
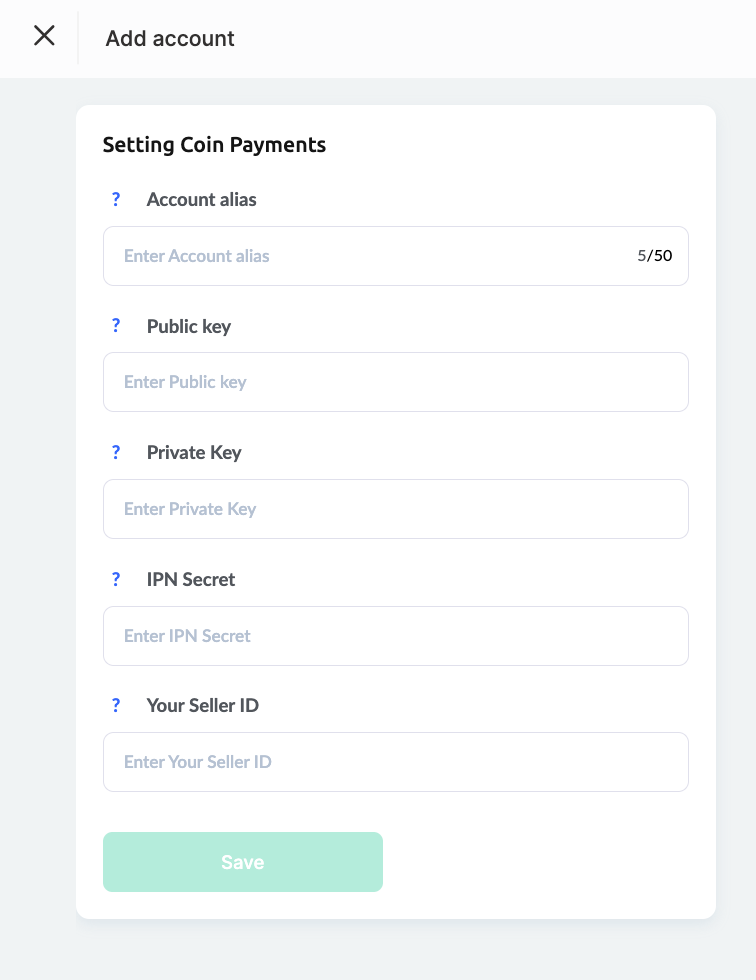
To integrate, you need to have an account in CoinPayments and configure the settings on Kwiga:
Account Alias – the name of the account on the Kwiga platform, as it will appear in the list of added payment systems.
Public Key and Private Key – copy the value from the Public Key field in your account.
IPN Secret – specify and copy the value from the IPN Secret field on the Seller Settings page.
Your Seller ID – copy the value from the Your Seller ID field on the Basic Settings page.
After filling in all the fields, click Save.
InterKassa

The account alias is visible only when you identify this payment system. It appears in payment reports and offers. The Client ID can be found at the following link.
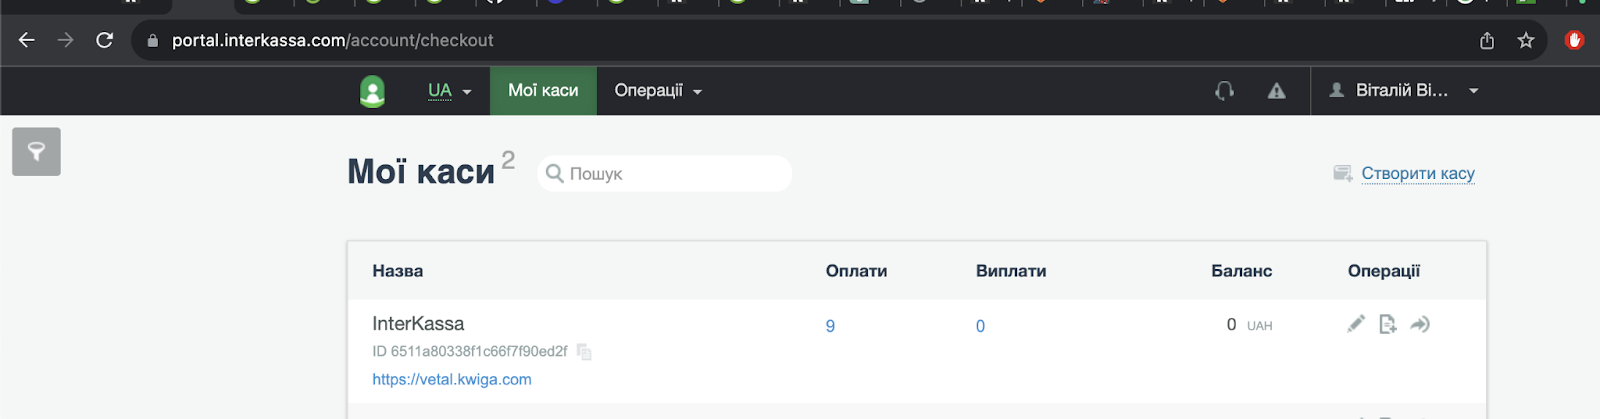
The Client Secret is located in the Secret Key field.
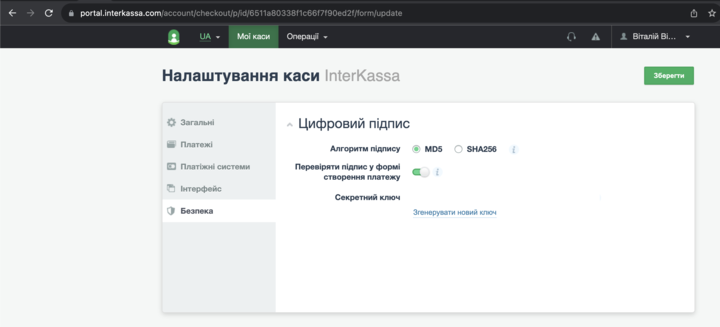
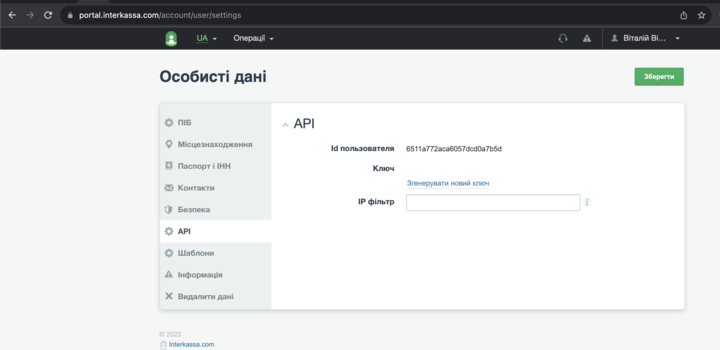
The API Key can be found in the API section.
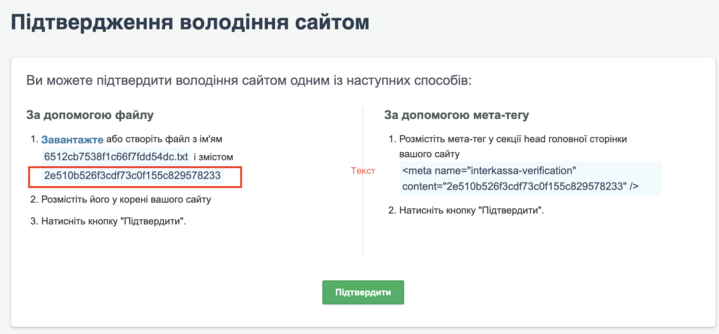
The Secret Key must be taken from the website ownership verification section. You do not need to add a file with the specified content; copy the provided value into the Kwiga platform, save the account addition, and click Confirm on InterKassa.
Allpay
Log in to your account and go to Settings → API Integration → Create a login/key pair.
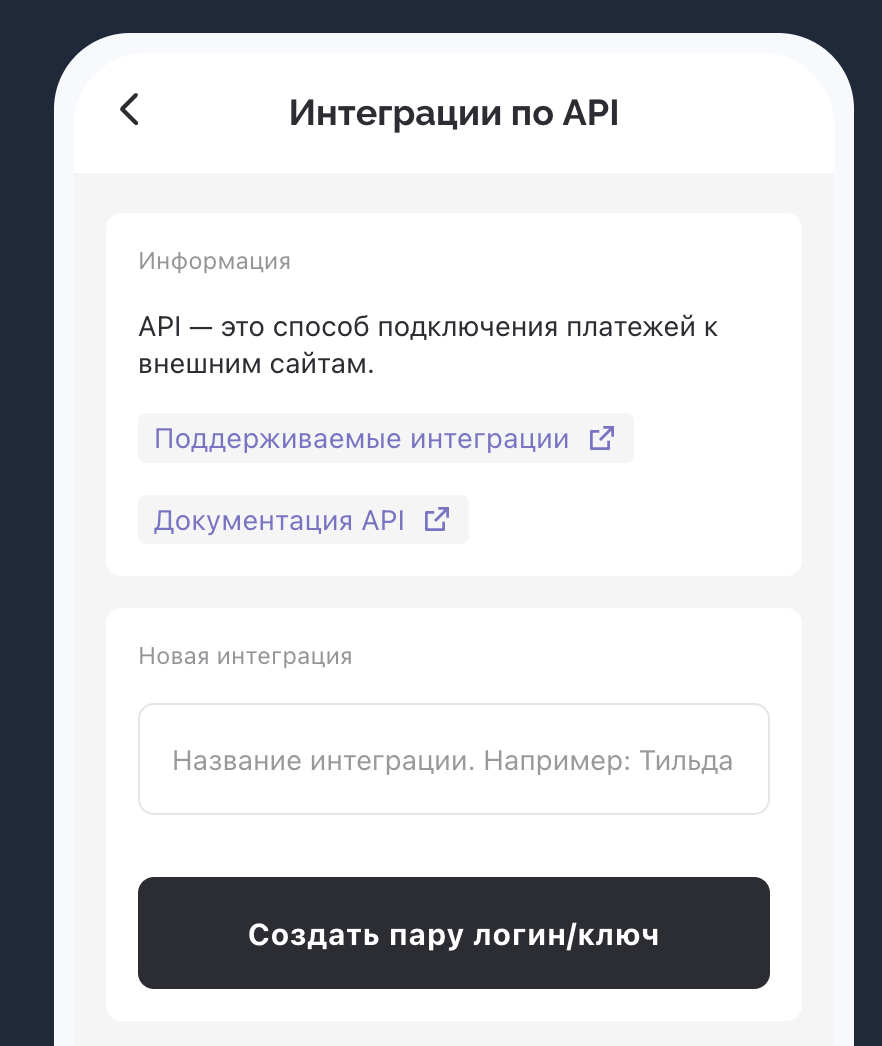
Then, go to the Kwiga platform, open Settings → Integrations → Payment System → Allpay, and click Add. Fill in the required fields to add the integration:

Account Alias—The name of the Kwiga platform account will be displayed in the list of added payment systems. You can use any name that makes sense to you.
API Login – Copy what is displayed in the corresponding field on Allpay.
API Key – Copy what is displayed in the corresponding field on Allpay.
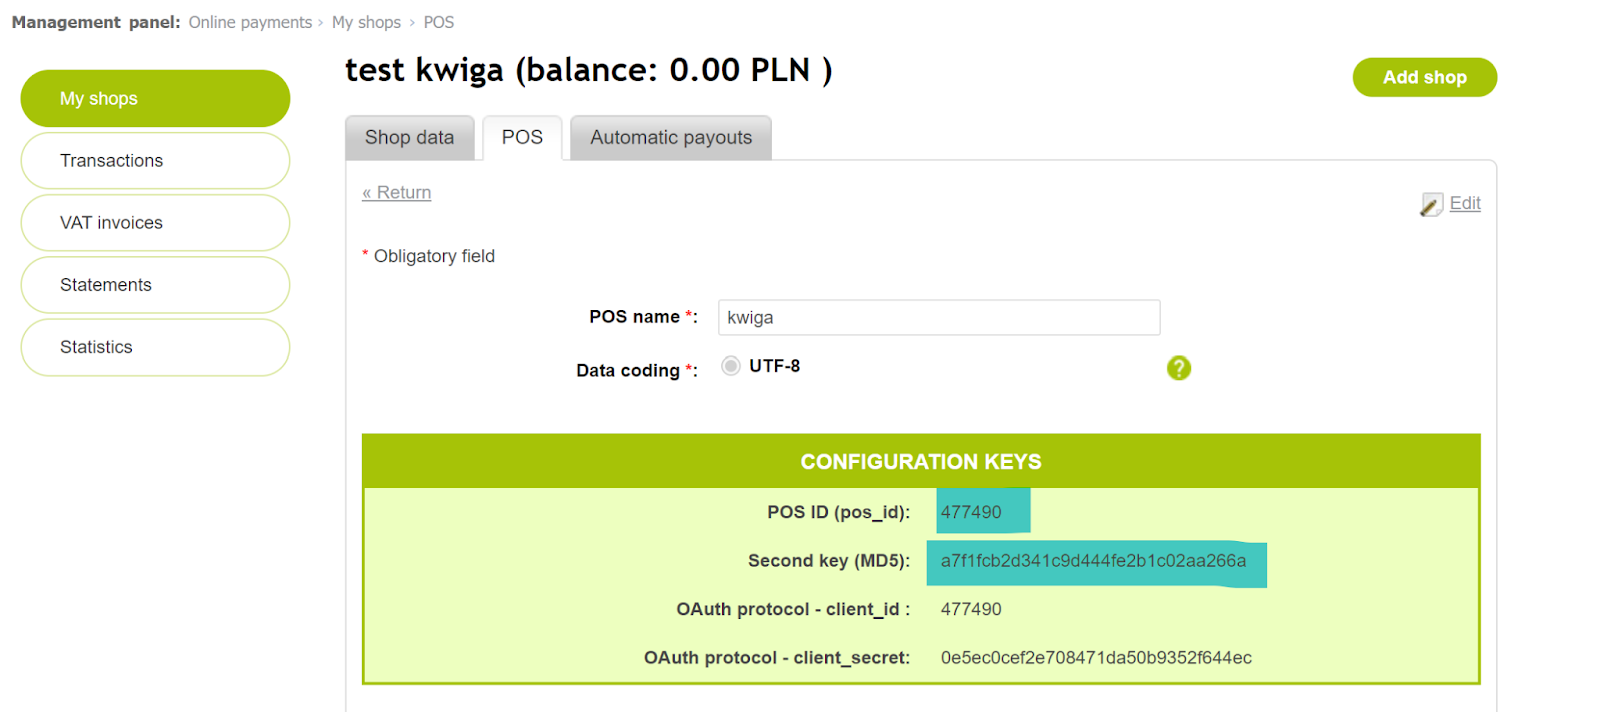
PayU
Log in to your account and open Online Payments - My Shops.
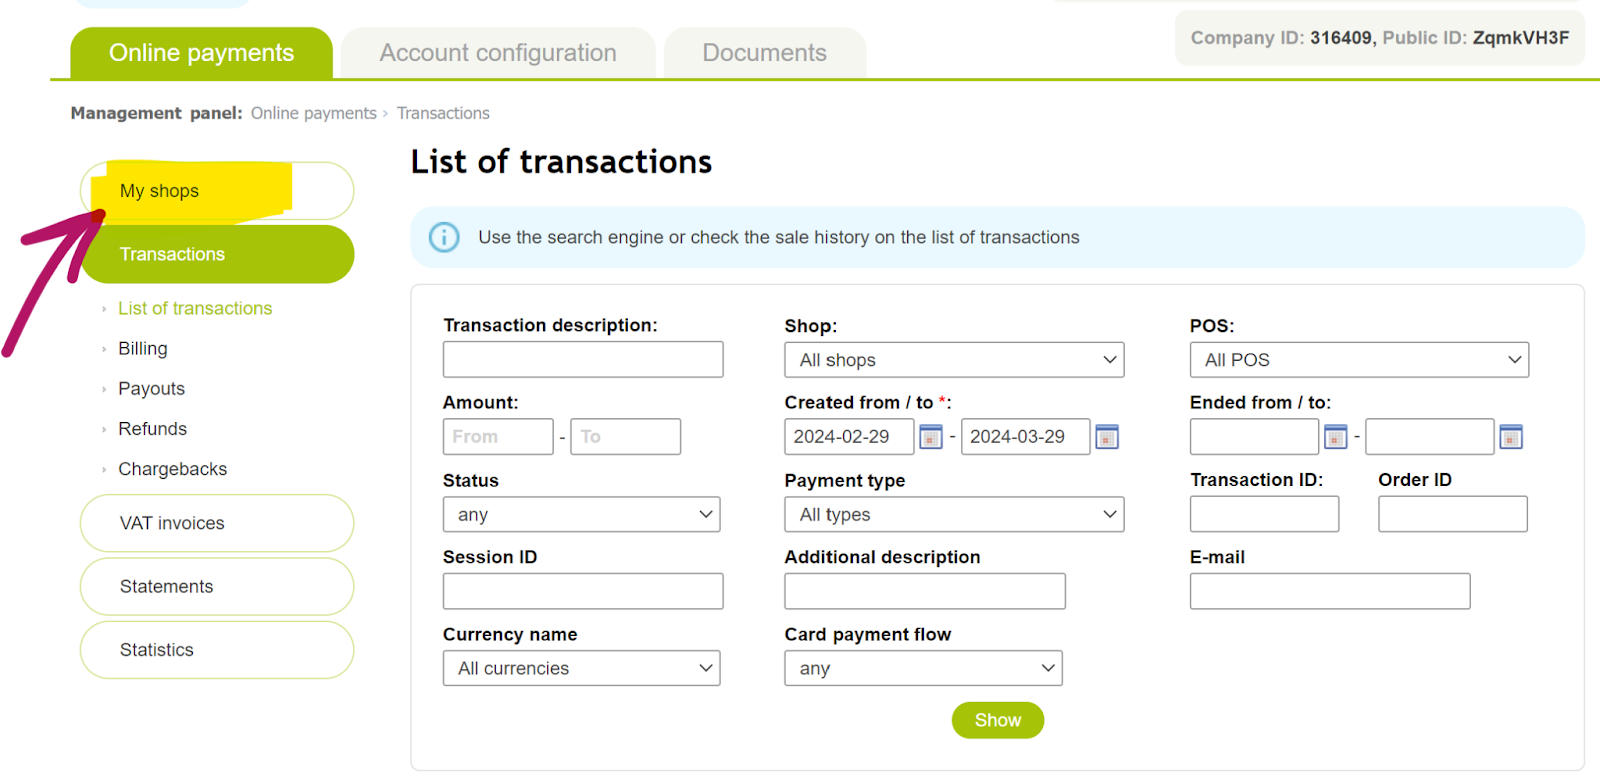
Click on the name of the shop you want to connect.
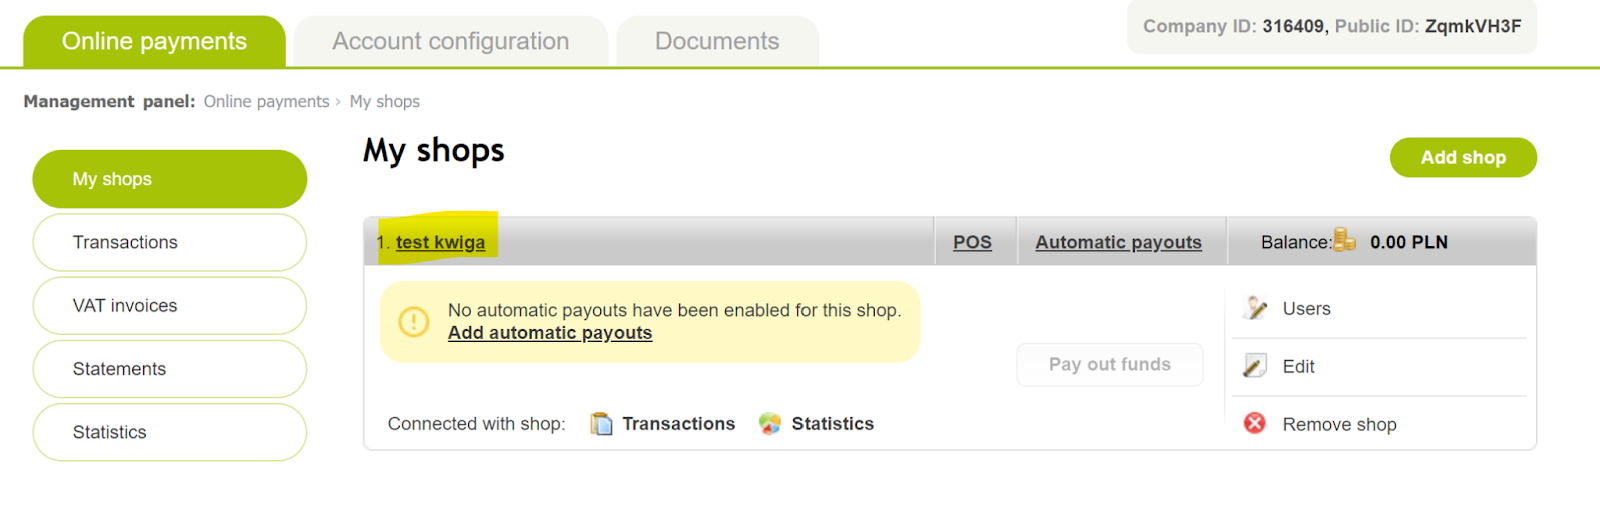
Then, go to the POS tab and click on the shop name again.
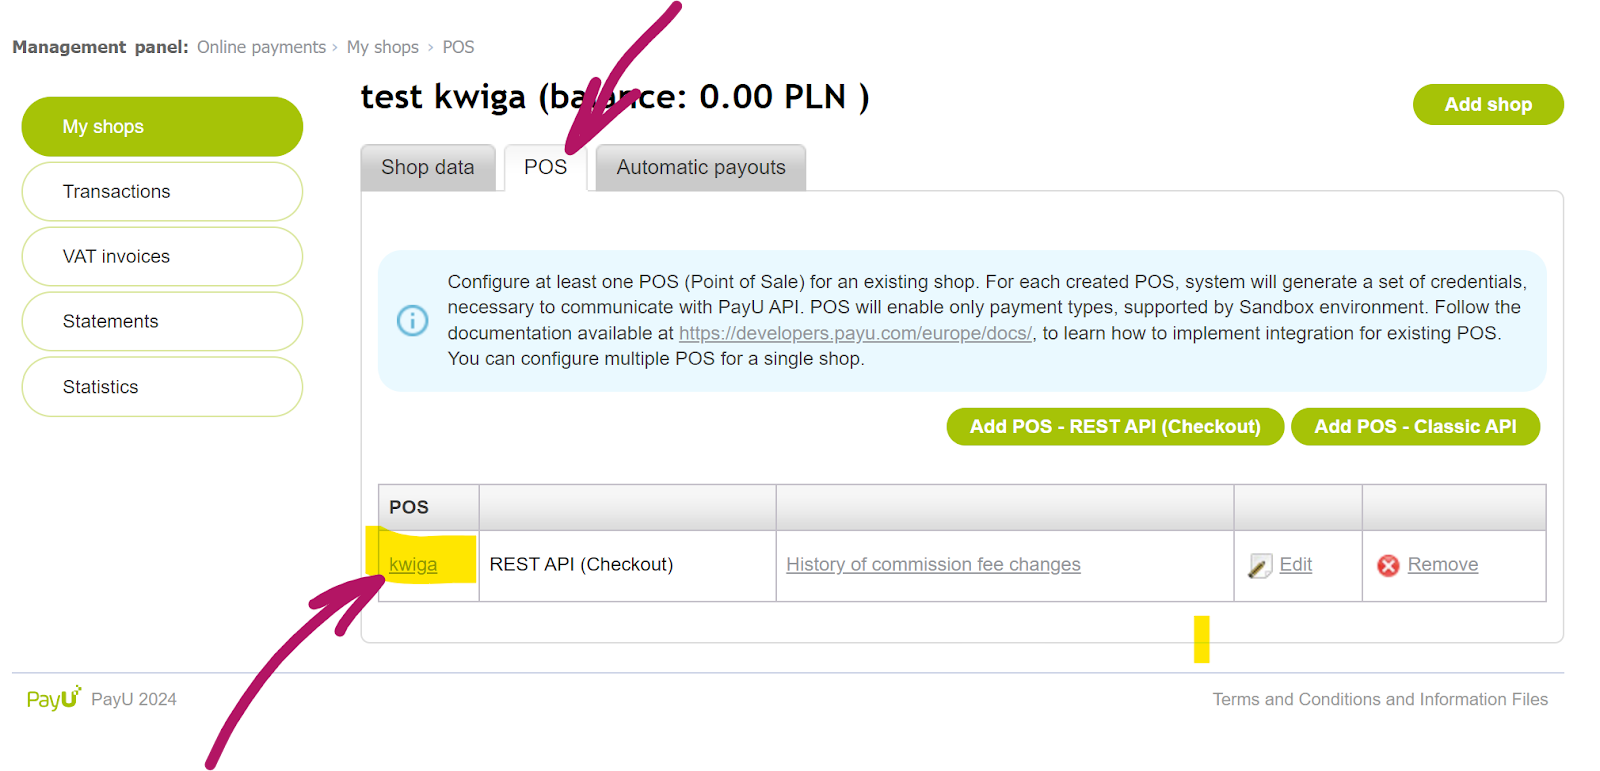
The settings and necessary parameters (marked in blue) will be loaded for you.
-
Account Alias—The name of the Kwiga platform account will appear in the list of added payment systems. You can choose any name that is understandable to you.
-
POS ID – Copy the value displayed in the corresponding field next to POS ID (pos_id).
-
Second key (MD5) – Copy the value displayed in the corresponding field on PayU.
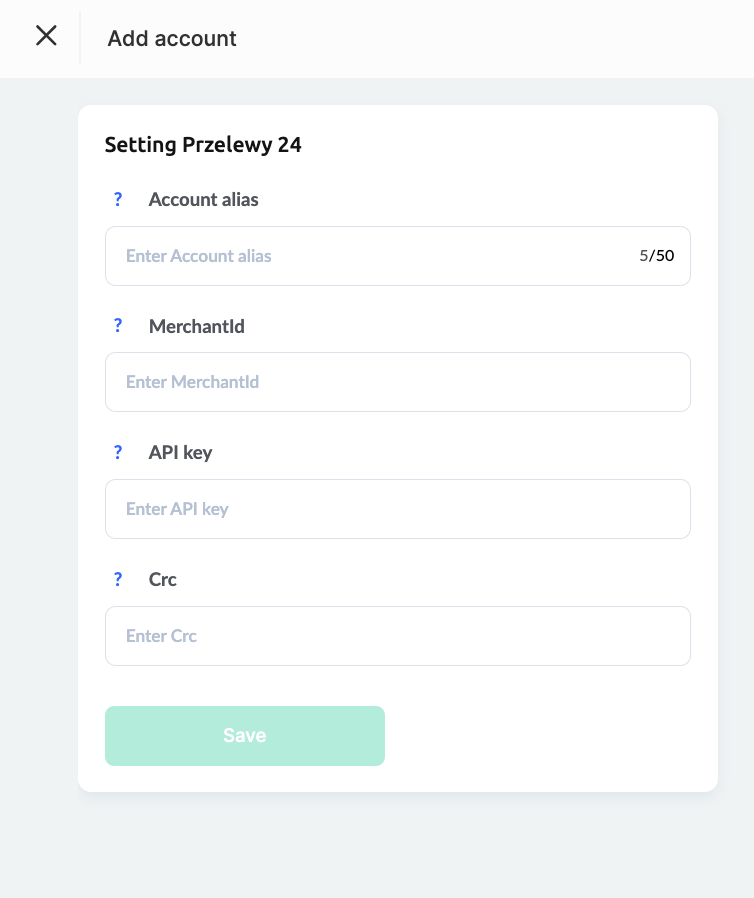
Przelewy 24
After registering with the Przelewy24 system, you need to go to settings and create an API integration. Please note that you must use the Przelewy24 service - production version to process and receive payments. Follow the official integration guide from the payment system.
Next, go to the Kwiga platform, open Settings - Integrations - Payment System - Przelewy24, and click Add. Fill in the required fields:
-
Account Alias—The name of the Kwiga platform account will appear in the list of added payment systems. Choose a name that is easy for you to recognize.
-
MerchantId—This is your login for accessing the Przelewy24 account. It should have been included in the confirmation email after registration.
-
API Key – Copy the value from the API key field (click the Show button to reveal it).
-
CRC – Copy the value from the CRC key field (click the Show button to reveal it).
Klarna
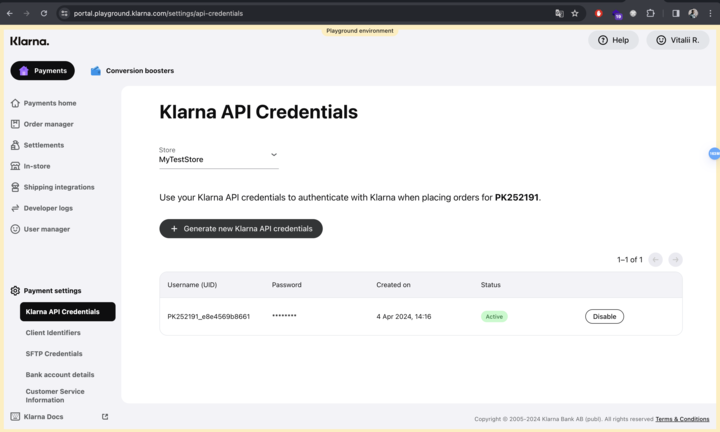
Log in to your Klarna account and open the Payment Settings section (at the bottom).
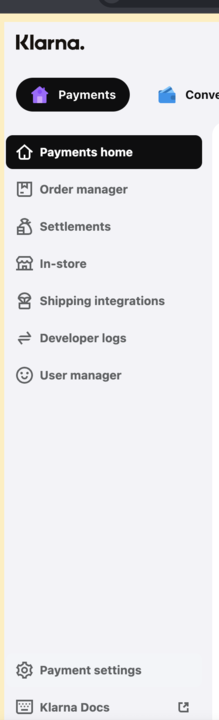
Select Klarna API Credentials.
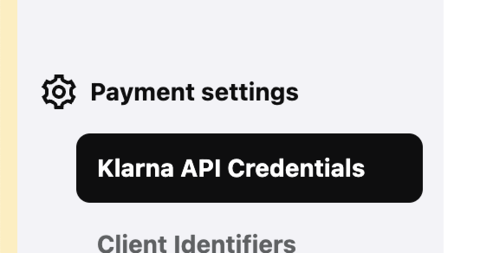
Click +Generate new Klarna API credentials.
Then, go to the Kwiga platform, open Settings → Integrations → Payment System → Klarna, and click Add.
Fill in the required fields for adding the payment system:
Account Alias – The name of the Kwiga platform account will appear in the list of added payment systems. This can be any name that makes sense to you.
UID – Copy and paste the value specified in the Username (UID) field on Klarna.
Password – Copy and paste the value specified in the Password field on Klarna.
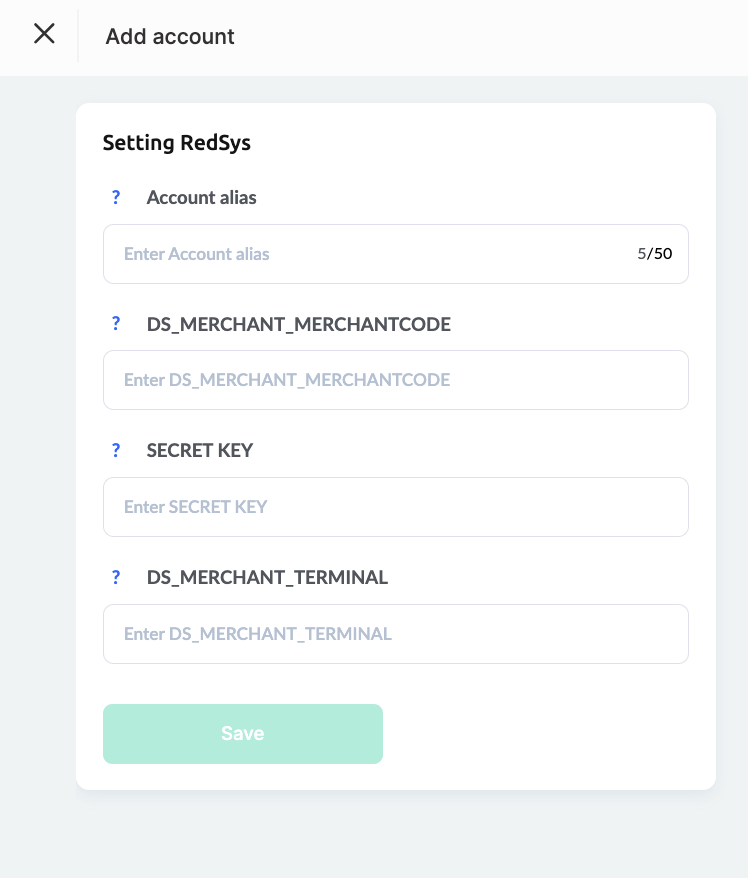
RedSys
The connection details are provided in an email when you open your account.
Account Alias—The name of the Kwiga platform account will appear in the list of added payment systems. You can use any name that makes sense to you.
DS_MERCHANT_MERCHANTCODE – The merchant number.
DS_MERCHANT_TERMINAL and DS_MERCHANT_CURRENCY should be filled in as specified in the email. If you no longer have the email, contact RedSys support.
Please note that initially, the RedSys account is opened in test mode, meaning you cannot accept actual payments.
The account must be switched to Live mode in the administration module to enable payment processing.
After this, you will receive another email from BBVA technical support with further instructions on setting up the Production environment and activating your virtual TPV.
Didn't find the answer? Contact the support service via online chat or Telegram