Articles:
- Orders: creating and editing orders.
- How do I add an individual payment link to a student
- Transactions
- How to set up sending your own email after purchase
- Integration with the Sendpulse chatbot
- How to integrate a payment system on Kwiga
- How to set a specific language for an offer page
- Important Project Settings
- How to grant access to students if the sales were not made on Kwiga
- Payment without authorization
- How to create a new stream with your own schedule
- How to give access to one student
- How to change access for one student
- How to set up demo access to a course, open house day at the school
- Setting up subscriptions (recurring payments)
- Automation: Follow-up email sequences (unpaid orders and applications)
- Credits and installments, payment in parts
- Promotional offer
- Discount coupons and possible settings
- How to launch course registration with prepayment
- How to create cross-sell offers in Kwiga
- How to start selling on Kwiga: creating a price plan
- Creating multiple pricing plans
- Selling consultations and one-on-one sessions
- How to Change a Student's Plan (Additional Payment on Kwiga)
- How to sell (give access to) parts of the course
- How to implement access renewal sales
- Selling through a registration form on a third-party site
- Selling through a mini-landing page created on Kwiga
- How to add a video to a page (mini-landing, course page)
- How to create a link with an applied coupon
- Offers and Payments on Kwiga: How It Works
- Repeat Sales: Setting Conditions and Sending a Coupon Based on Purchase Count
- Setting up notifications in a Telegram channel
- Sending Emails with Promo Codes (Unpaid Orders)
- Course Store: Settings and Capabilities
- Setting Up the Public Offer Page
- Organization of CPD on Kwiga: step-by-step guide
- How to set up a thank-you page after payment
- Set up access to lessons, sections, and modules
How to transfer contact data to the Sendpulse chatbot after payment on Kwiga.
You can easily transfer contact data after payment to Kwiga in the Sendpulse chatbot.
To do this, you need to connect your Sendpulse account in settings - integrations. To do this, open Courses - Integrations - Sendpulse in the menu and select add account.
Account alias - any name that is visible only to you and is used to identify the connected account.
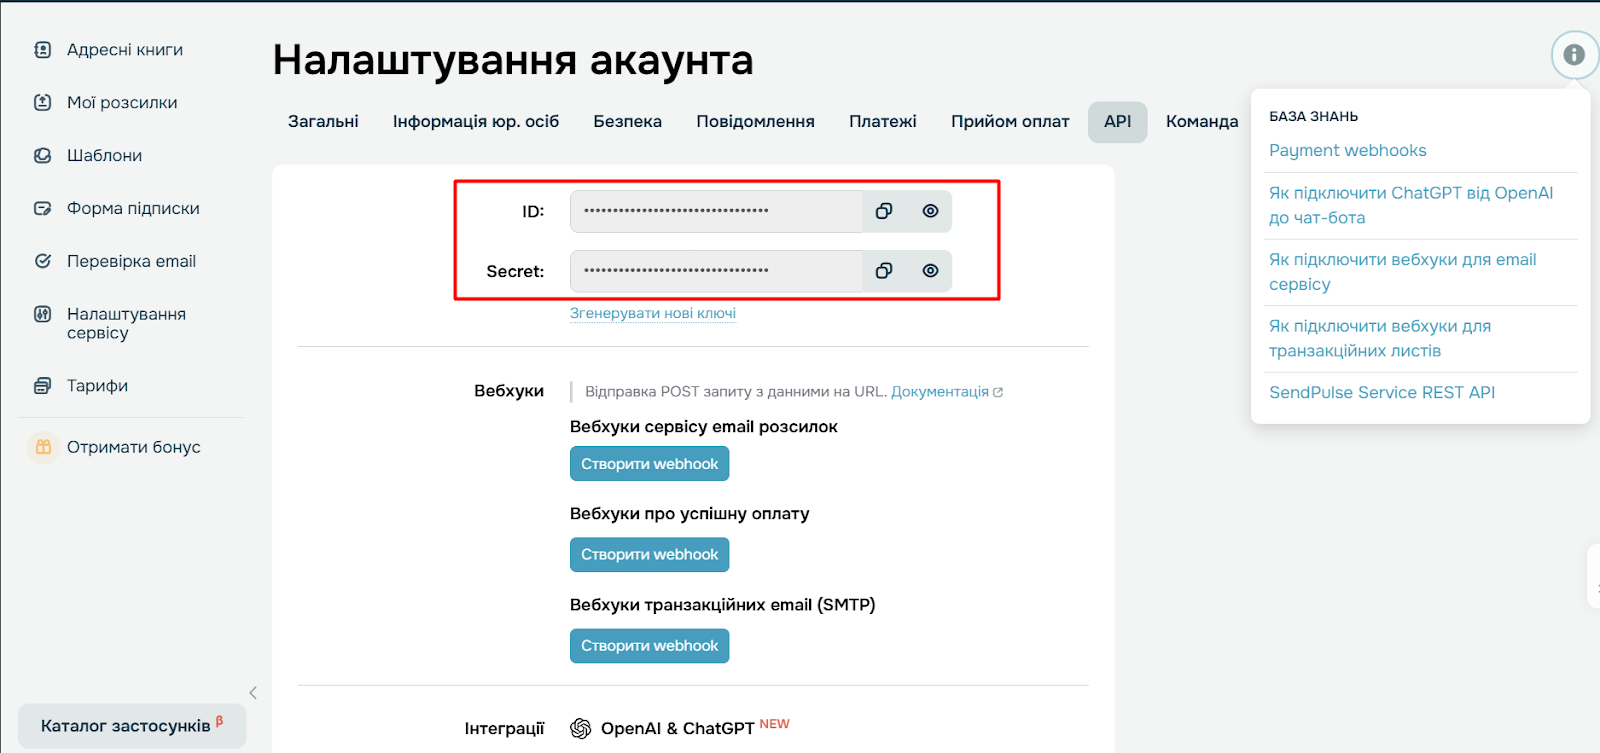
Enter Client ID and Enter Client Secret - this data must be copied from your Sendpulse account by opening the account settings.
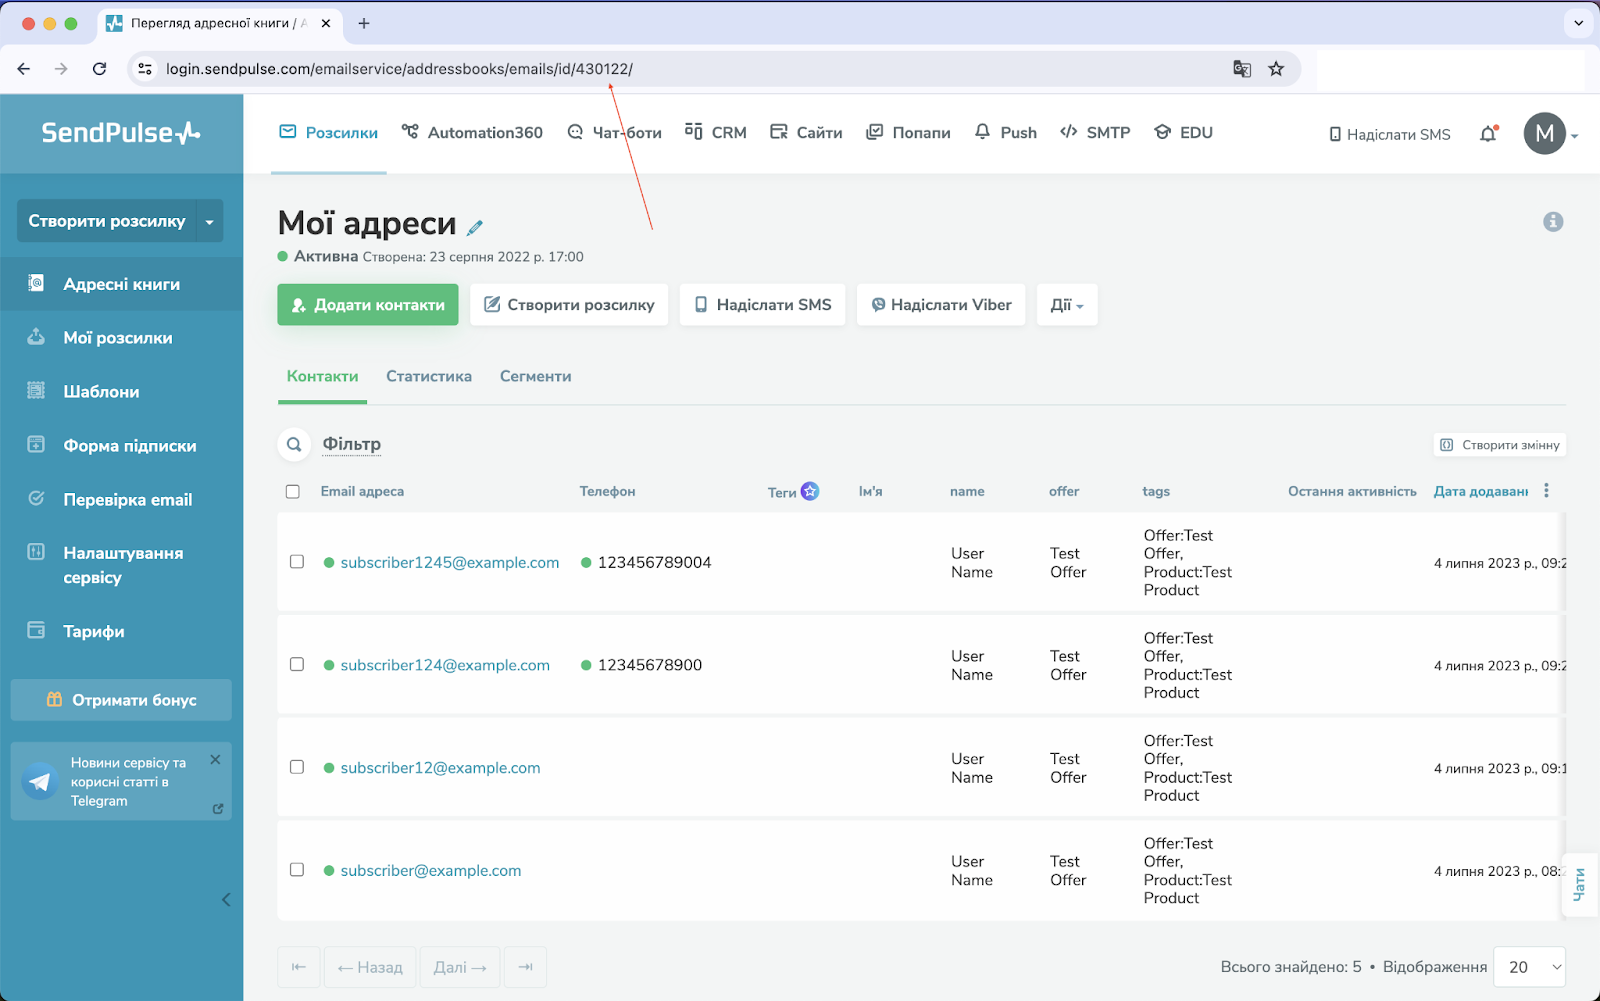
After that, you will be prompted to specify the Sendpulse mailing list number. You can find the mailing list number in Sendpulse itself by opening the required list, and in the browser address bar you will be able to see the number. This number must be specified in the offer settings.
Please note that if you want to transfer data from the Sendpulse chatbot to the Kwiga platform, this requires integration on the Sendpulse side. This can also be implemented via API https://api-doc.kwiga.com/ua
Didn't find the answer? Contact the support service via online chat or Telegram