Articles:
- Orders: creating and editing orders.
- How do I add an individual payment link to a student
- Transactions
- How to set up sending your own email after purchase
- Integration with the Sendpulse chatbot
- How to integrate a payment system on Kwiga
- How to set a specific language for an offer page
- Important Project Settings
- How to grant access to students if the sales were not made on Kwiga
- Payment without authorization
- How to create a new stream with your own schedule
- How to give access to one student
- How to change access for one student
- How to set up demo access to a course, open house day at the school
- Setting up subscriptions (recurring payments)
- Automation: Follow-up email sequences (unpaid orders and applications)
- Credits and installments, payment in parts
- Promotional offer
- Discount coupons and possible settings
- How to launch course registration with prepayment
- How to create cross-sell offers in Kwiga
- How to start selling on Kwiga: creating a price plan
- Creating multiple pricing plans
- Selling consultations and one-on-one sessions
- How to Change a Student's Plan (Additional Payment on Kwiga)
- How to sell (give access to) parts of the course
- How to implement access renewal sales
- Selling through a registration form on a third-party site
- Selling through a mini-landing page created on Kwiga
- How to add a video to a page (mini-landing, course page)
- How to create a link with an applied coupon
- Offers and Payments on Kwiga: How It Works
- Repeat Sales: Setting Conditions and Sending a Coupon Based on Purchase Count
- Setting up notifications in a Telegram channel
- Sending Emails with Promo Codes (Unpaid Orders)
- Course Store: Settings and Capabilities
- Setting Up the Public Offer Page
- Organization of CPD on Kwiga: step-by-step guide
- How to set up a thank-you page after payment
- Set up access to lessons, sections, and modules
This describes how to modify the text or create your own email that students will receive after making a payment.
Please note that by default, students receive three emails when registering and making a purchase on the platform:
-
Activation email. Template name: To participant: Activation email Учаснику: Лист активації)
-
About access being opened to a course (bootcamp or another product). Template name: To participant: Product added notification Учаснику: Сповіщення про додавання продукту
-
Successful payment notification. Template name: To participant: Successful product payment notification Учаснику: Сповіщення про успішну оплату продукту
How to find and view the email text:
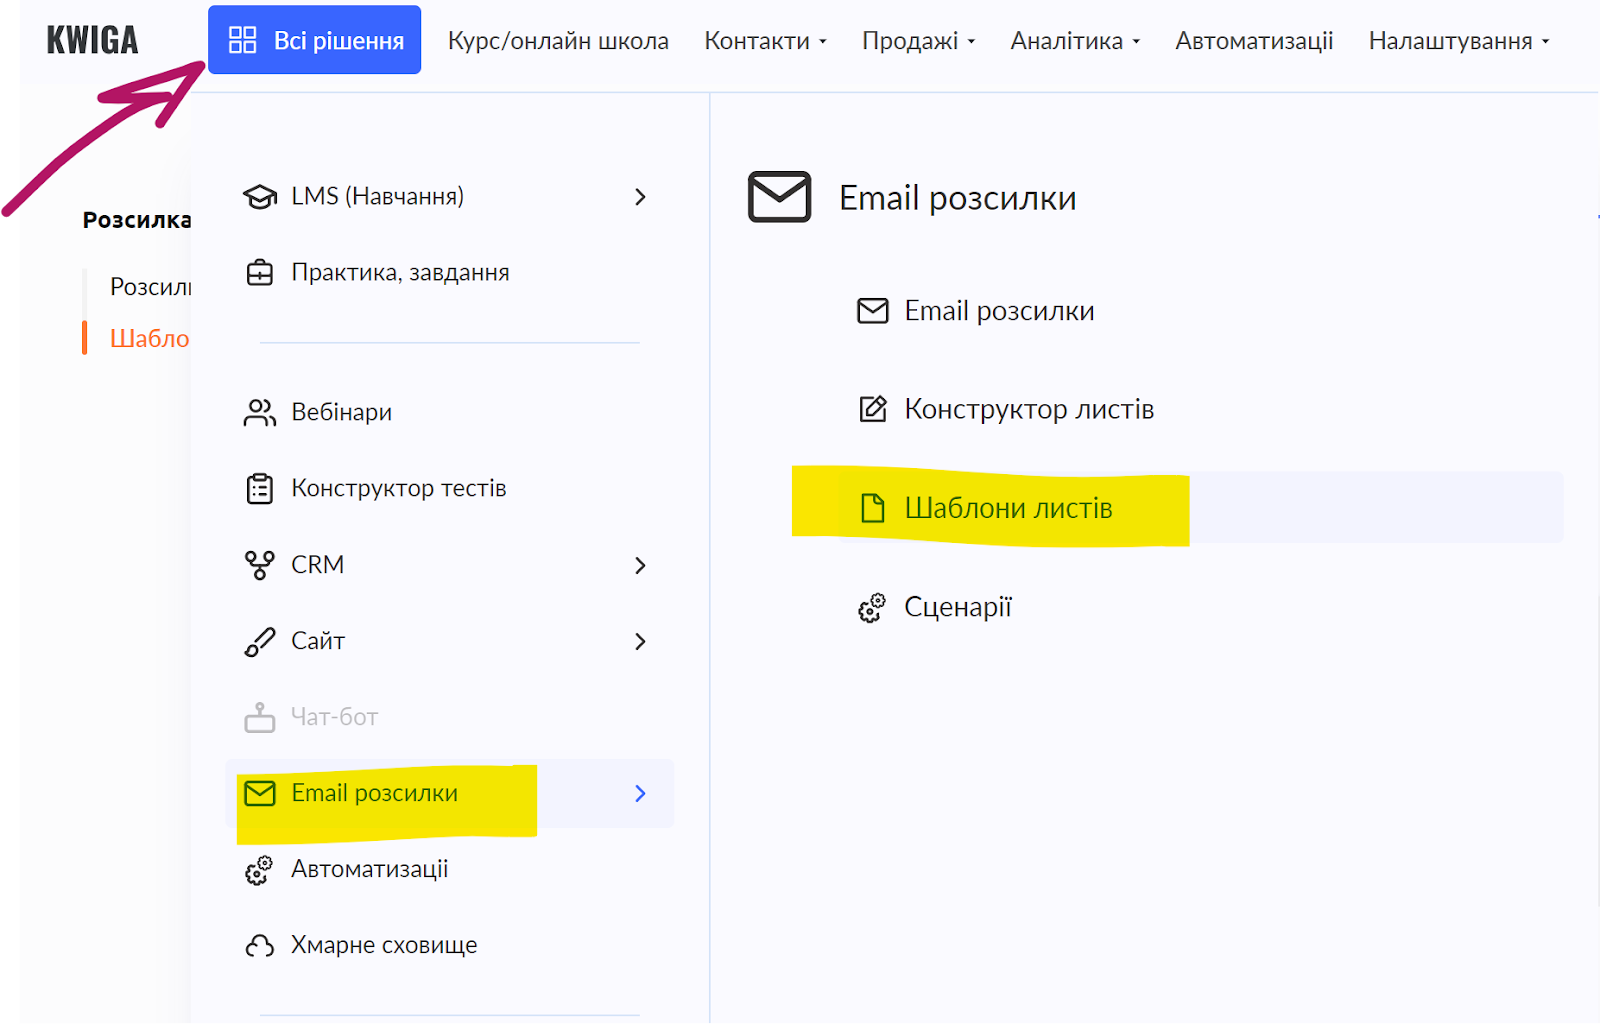
Click the All solutions button in the top menu, select Email campaigns, and then Email templates. Depending on which device or section of the platform you open the page from, the All solutions button may appear in a shortened form:
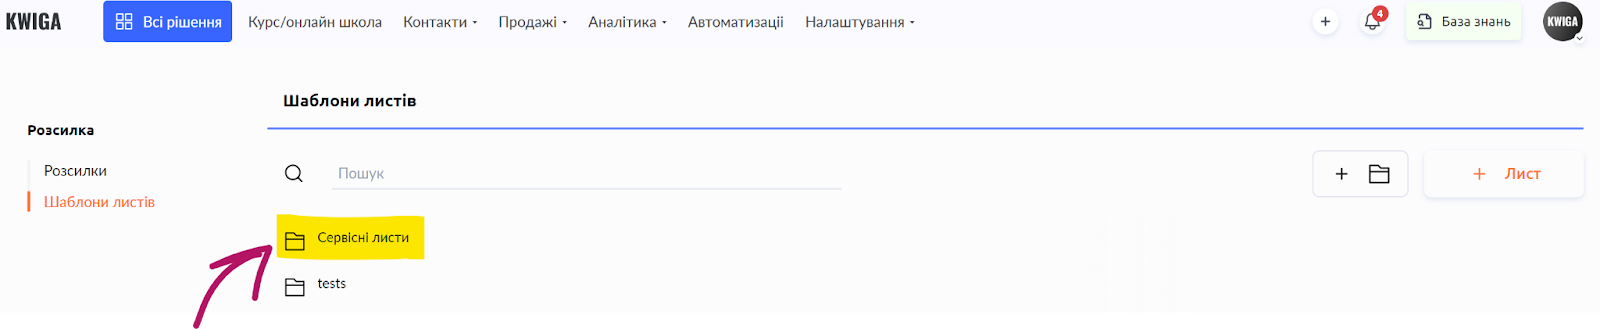
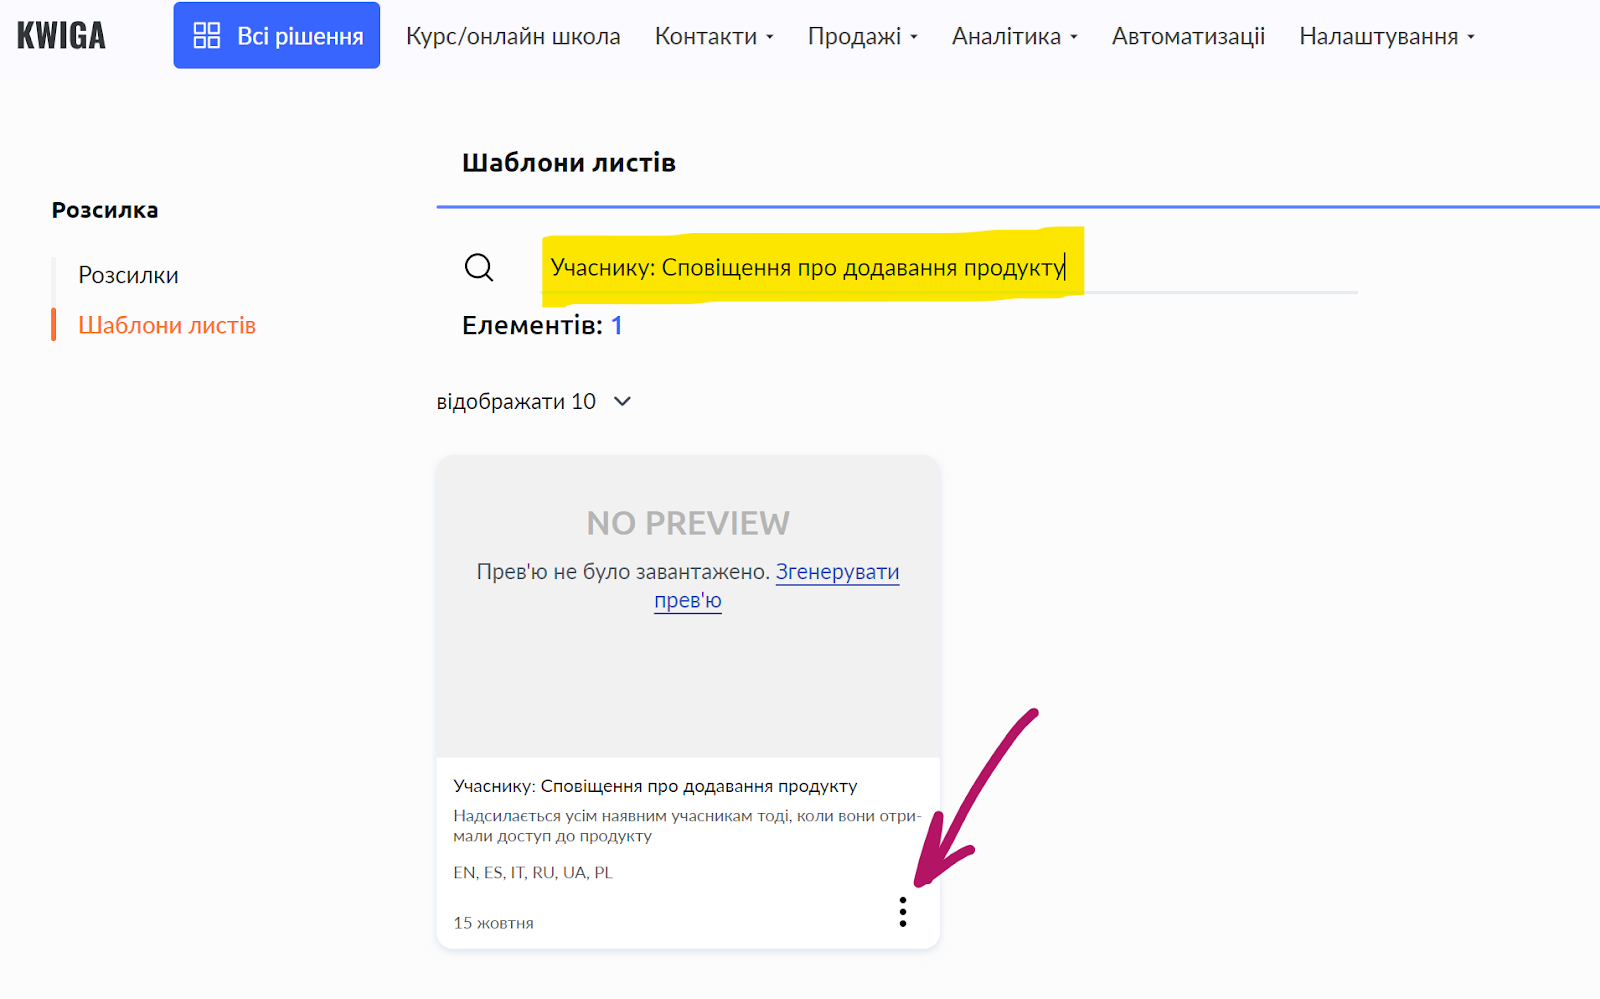
On the page that opens, you will see the Service emails folder; click it. You will see a list of different notifications sent to the student. In the search field, you can enter the template name, and in the search results you will see the required template. In the three-dot menu, the “edit” option is available, which will take you to the email builder.
How to edit the email text
Any changes you make to emails placed in the Service emails folder will be applied to all products! If you want to change the successful payment email only for a specific course, make a copy of the service email and edit the copy.
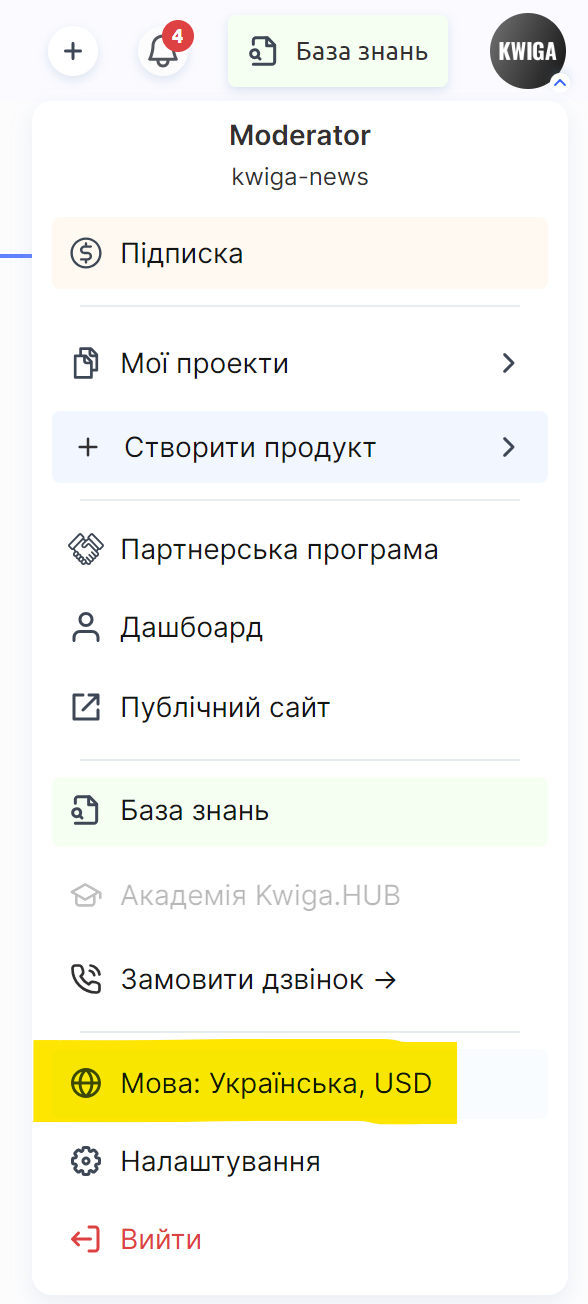
Please note: Each email has several language versions. To edit the Ukrainian version of the email, make sure that the platform interface is in Ukrainian. If you want to edit the Polish version of the email, switch the platform interface to Polish. You can change the language by clicking on your avatar and selecting Language: ….
You can watch a video on how to work in the email builder:
How to change the email after purchase or payment
Regardless of how you receive payment for your products (on the Kwiga platform or outside the platform), you must have at least one offer set up through which you grant students access (or several offers/plans). If you use full access, scroll down to the section I do not use an offer, I grant full access.
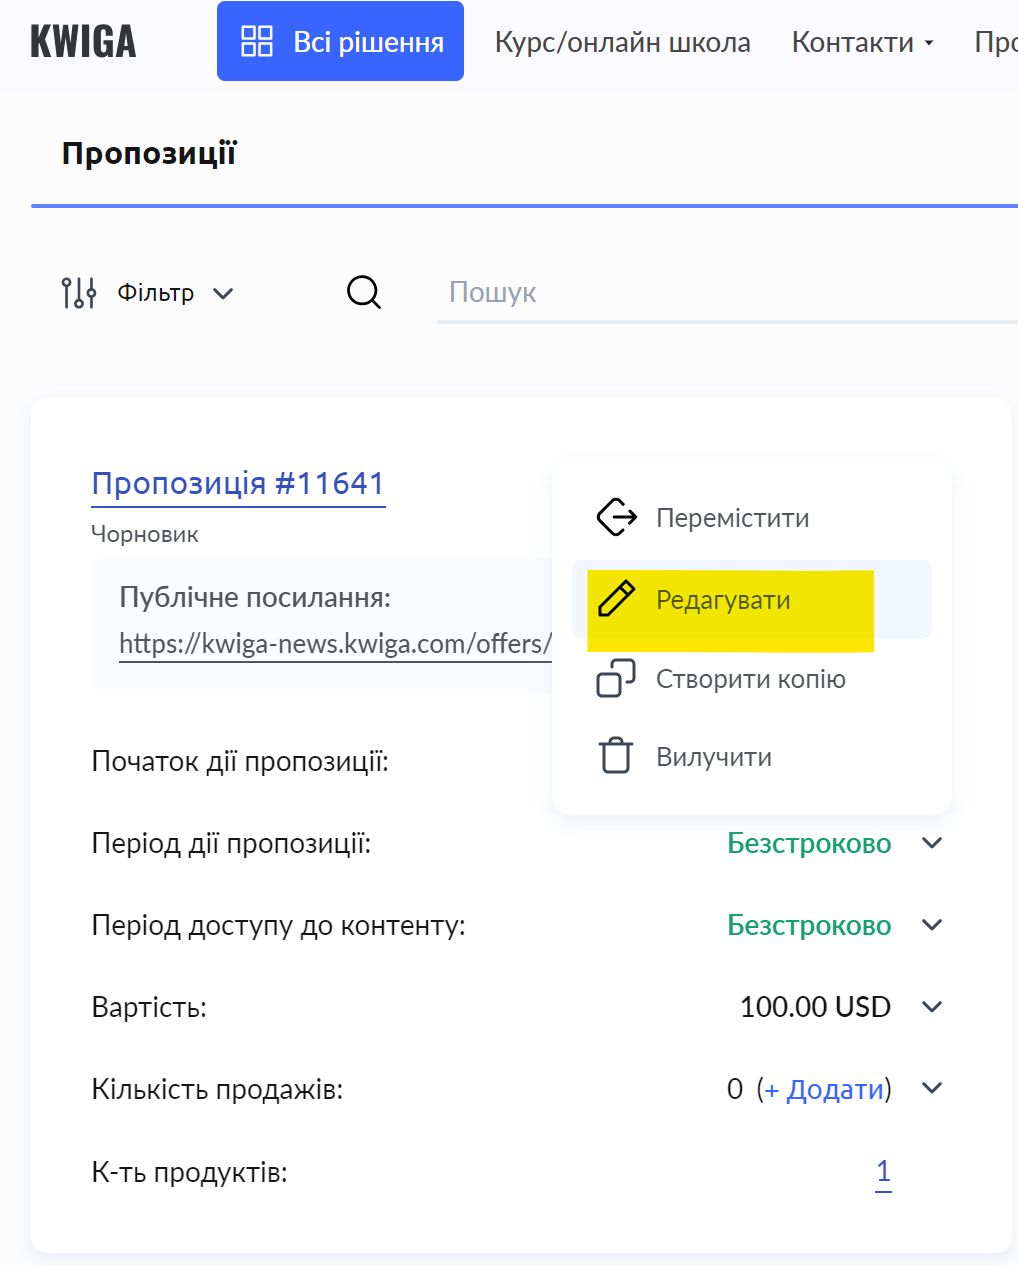
Go to Sales - Plans, offers and select the required offer, then edit it:
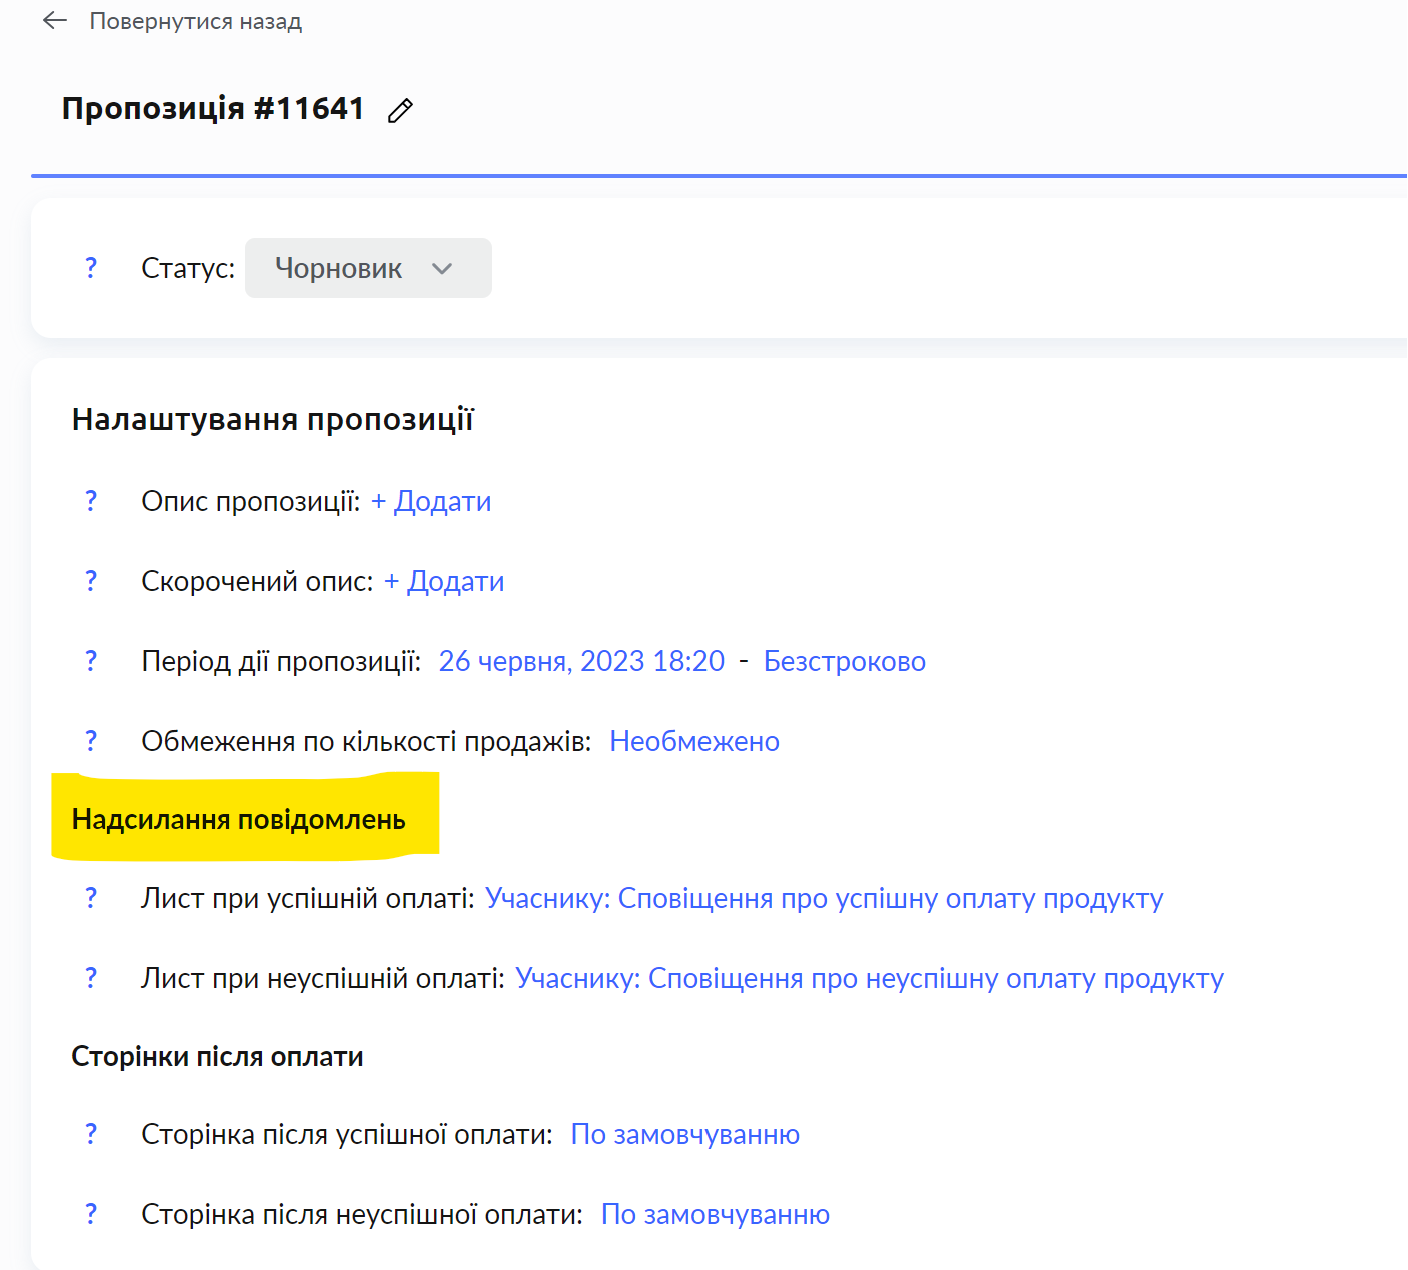
Find the Notification sending section; there you can specify the emails that are sent after successful and failed payments. Click the required option, and in the window that opens you can mark not to send emails, or specify a different template for sending.
Do not select the activation email or the product access email in this window; these emails are sent automatically. If you select them in the offer settings, they will be sent twice.
Additional situations:
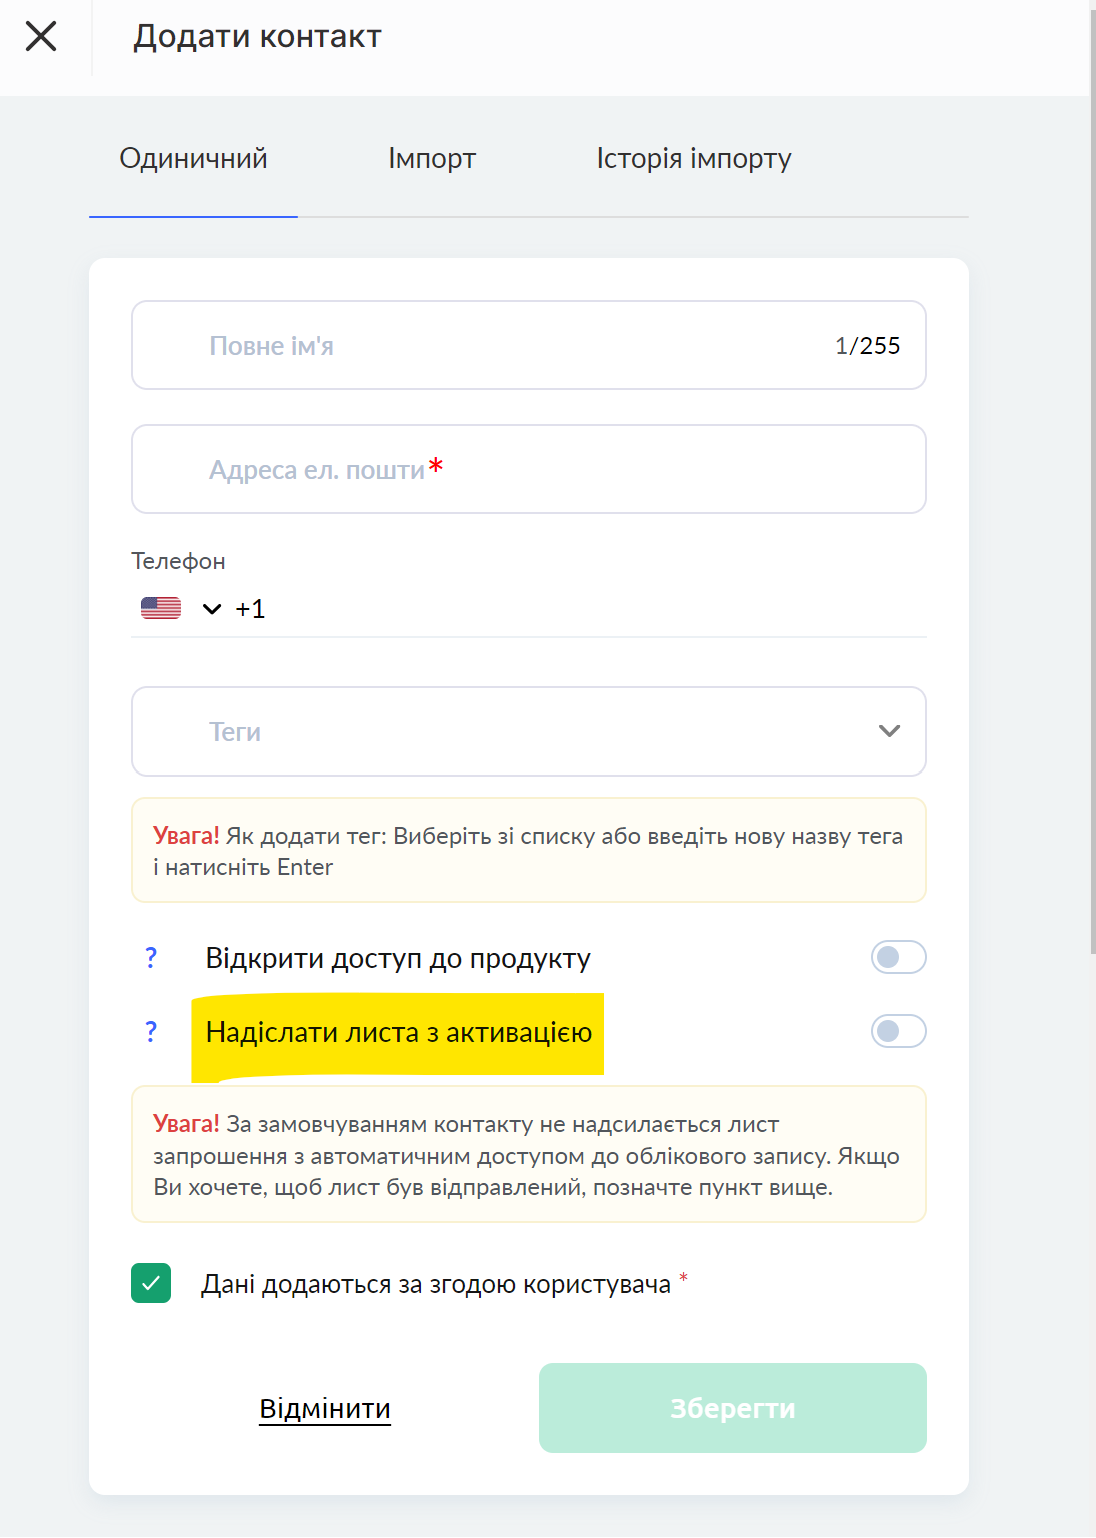
I do not want my students to receive an activation email
If you add students manually, then when adding them make sure that the toggle switch is set as in the image below:
If you have connected a payment system to the platform and students receive access to the course automatically, then contact support with a request to disable the activation email. The activation email will be disabled for the entire project (account), i.e. for all products.
I do not want my students to receive an email about access being opened to the course
Contact support with a request to disable the email about access being opened to the course. This email will be disabled for the entire project (account), i.e. for all products.
If you want to customize this email for different products, you need to cancel the sending of the standard email (through support) and set up automation to send your templates.
I do not use an offer, I grant full access
The sequence of actions is shown in the video:
Didn't find the answer? Contact the support service via online chat or Telegram