Articles:
- How to delete a course
- Copyright protection of your content on Kwiga
- Public or trial lesson
- How to change the status of a lesson to draft and hide it from students
- Usage of checkpoints
- How to Add Practice to a Lesson
- How to create a task with mandatory review by an assistant
- How to create a task for different offers
- How to create a test with scores and automatic approval
- How to create and conduct a quiz among students on the course
- Contents of the lesson, all types of activities in the lesson
- Downloading video files
- How to add time codes to the video
- How to add button to the lesson
- Inserting iframe code
- Adding fractions, mathematical functions, formulas
- How to add text with spoiler to the lesson
- How to create a course on the Kwiga platform
- How to create a marathon
- How to add a cover to a course
- Course Program Display Options
- How to add a public face to a course
- How to add a team to a course
- Course preview with different access levels
- Block above lesson or module pages (top banner)
- Setting delays, schedule for opening and closing lessons (dripping content)
- Report on student progress on the course
- Analytics of assignments completion on the course
- Course sales report
- How to create a copy of the course
- How to copy lesson content
- Assistant’s Access to Practical Assignments
- Student Can't See the Course (Marathon, Closed Group)
- How to set up a test so that students see comments after completion
- Letter delivery: why letters don't arrive and how to fix it
- How to Customize the Appearance of a Course
- Manage activity visibility
Let’s talk about examples of using the block above lessons and possible settings.
In this article:
The block above lessons is a simple and effective way to add important information that all students will see on every lesson page of the course. It can be a beautiful banner, an announcement, a link to a chat, or any other helpful content.
The main advantage of this block is that the information appears automatically on all lesson pages — you don’t need to manually add it to each lesson separately.
What you can add
This block supports various types of content, making it a versatile tool for communicating with students:
-
Images. Upload a banner or infographic for your course.
-
Text information. Add announcements, reminders, or a welcome message.
-
Buttons and links. Create a button and add a link for quick access to Zoom, a calendar, or a support chat.
-
Embedded videos. Add a video by inserting an iframe code.
How to add a block above lessons
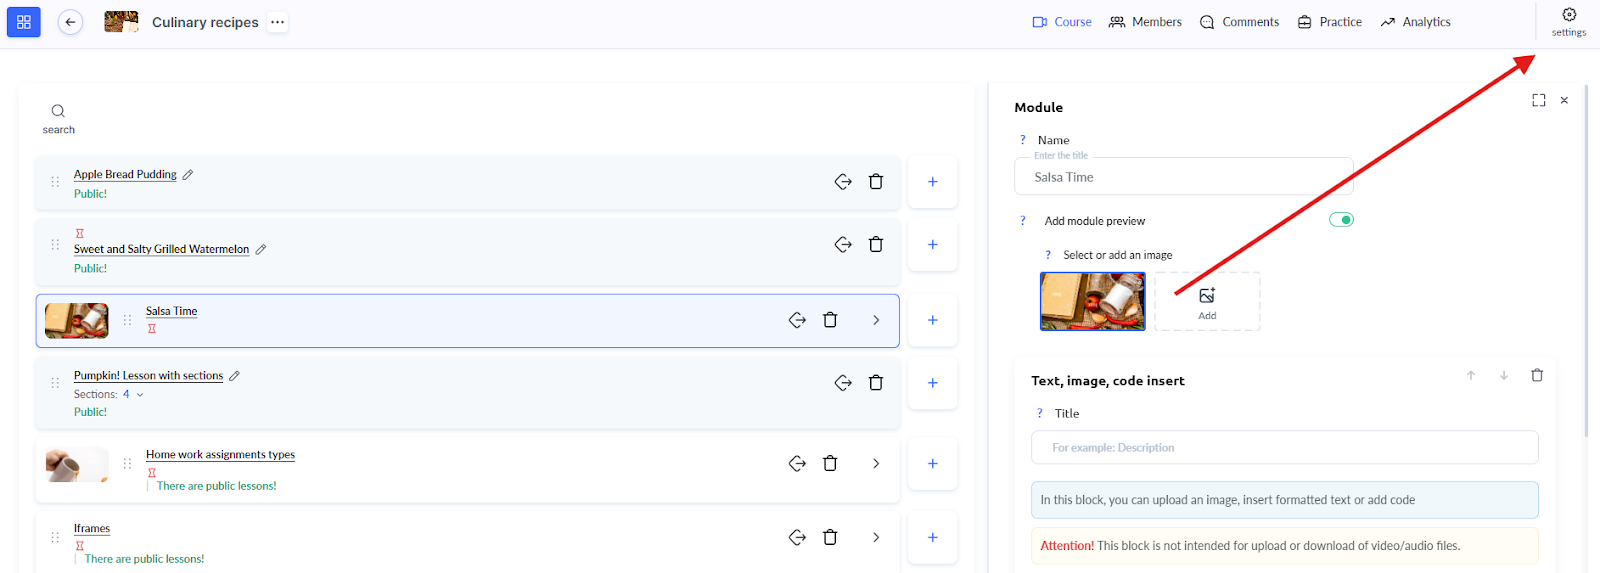
Setting up the block will take just a few minutes. Open the desired course and go to Settings.
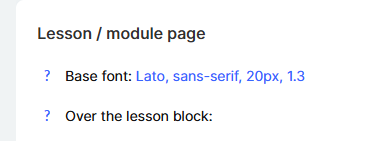
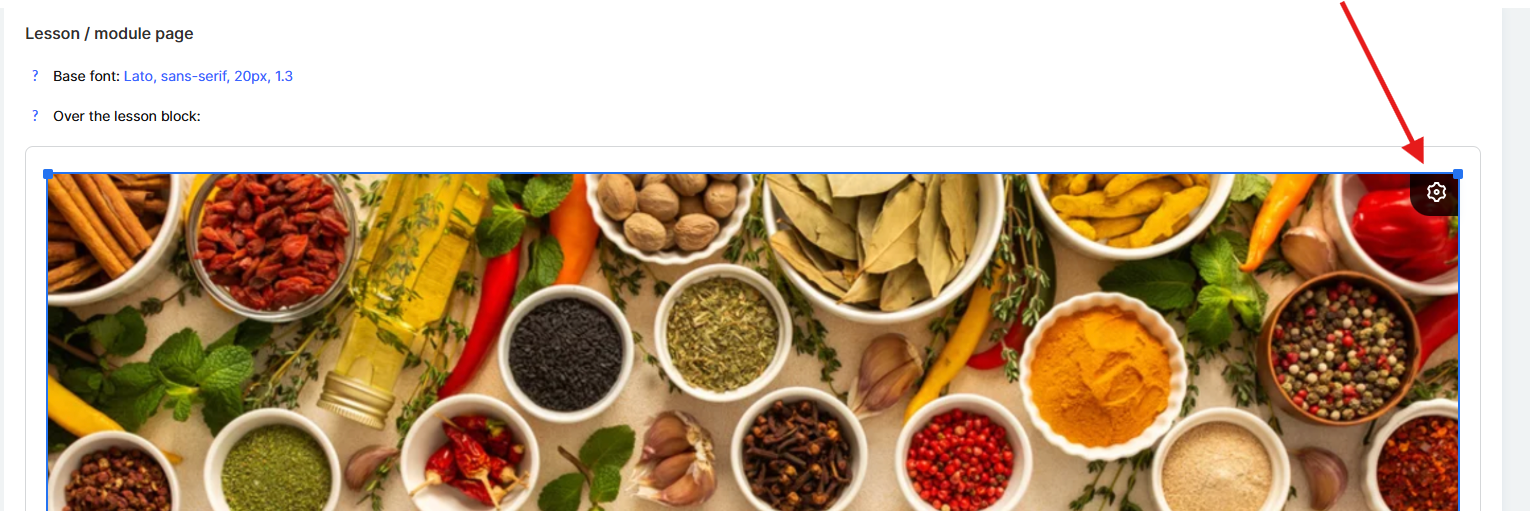
On the Public pages tab, select the General section and scroll down to Lesson / Module page.
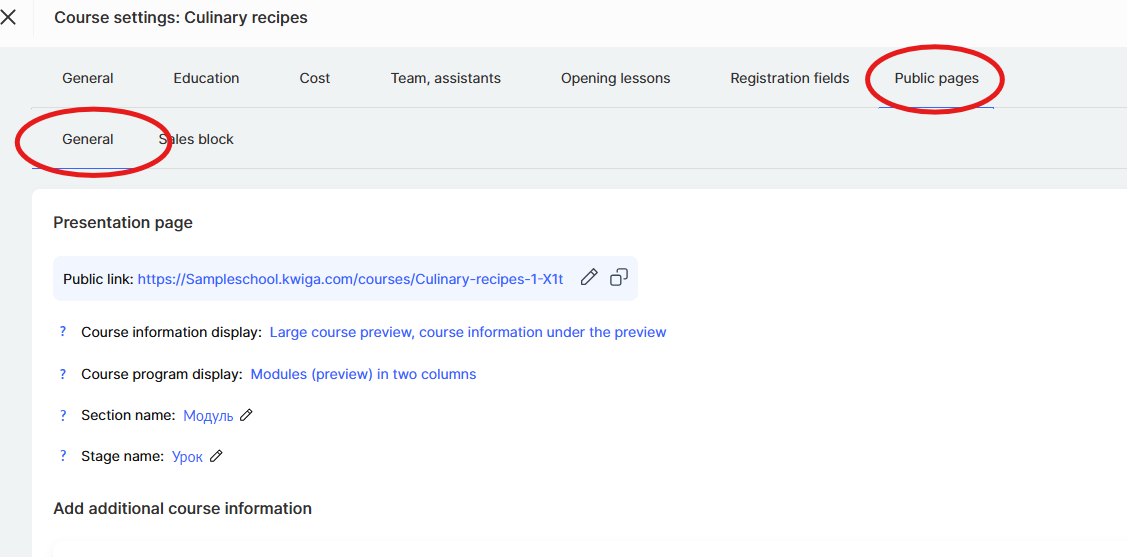
This is where you’ll find the Block above the lesson field, where you can add the desired content.
The information you add will automatically appear on all lessons of the course.
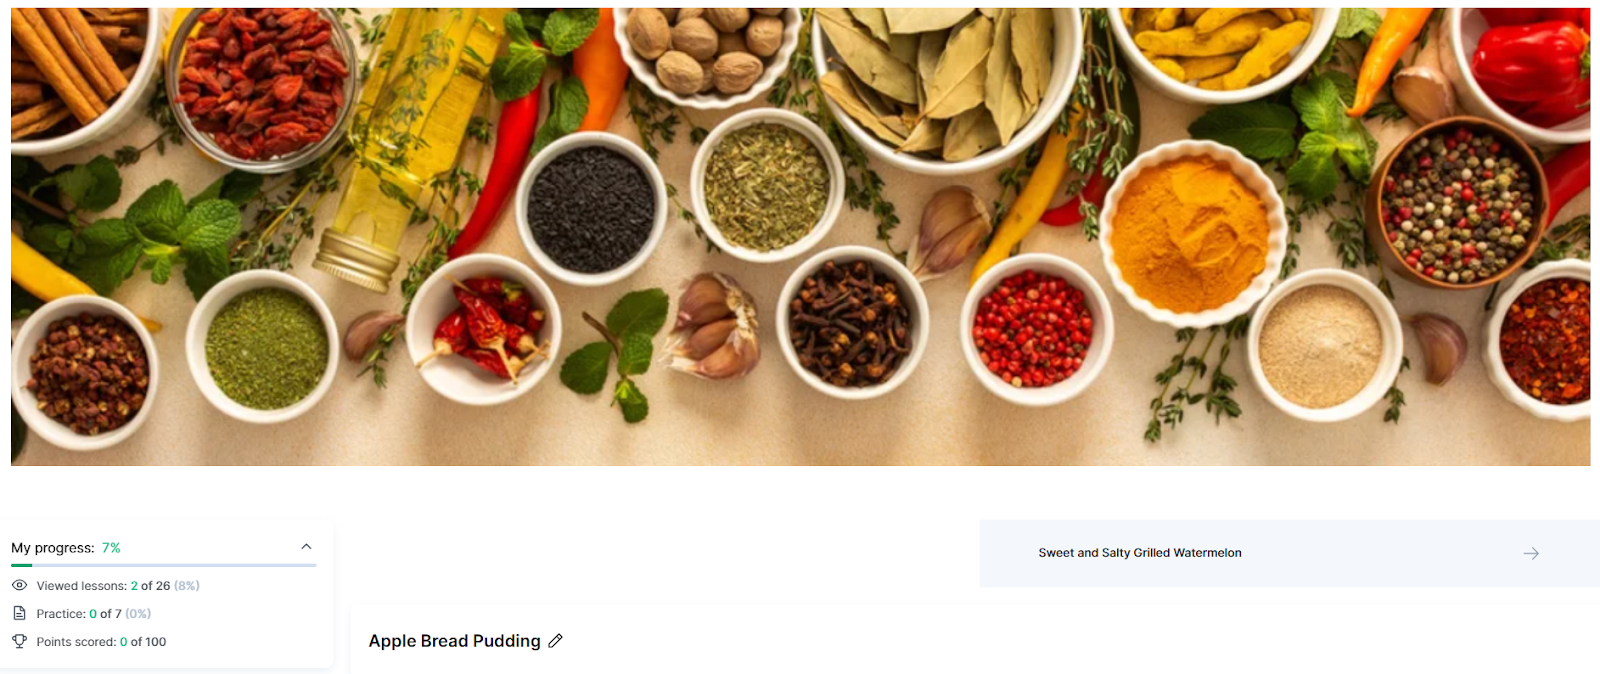
The simplest option is to upload an image that will be displayed as a banner.
It can serve as a decorative element or as a functional banner containing important information about the course.
You can view an example of how this block works on the course demo page:
https://sampleschool.kwiga.com/courses/Culinary-recipes-1-X1t/apple-bread-pudding
How to customize the banner image for different devices
If you add an image to the block above lessons, you can adjust how it will be displayed on different devices.
This is especially useful since students access the platform from both phones and computers.
Hover over the uploaded image and click Settings.
Here, you’ll see options for mobile, tablet, and desktop — you can choose on which devices the image will be displayed.
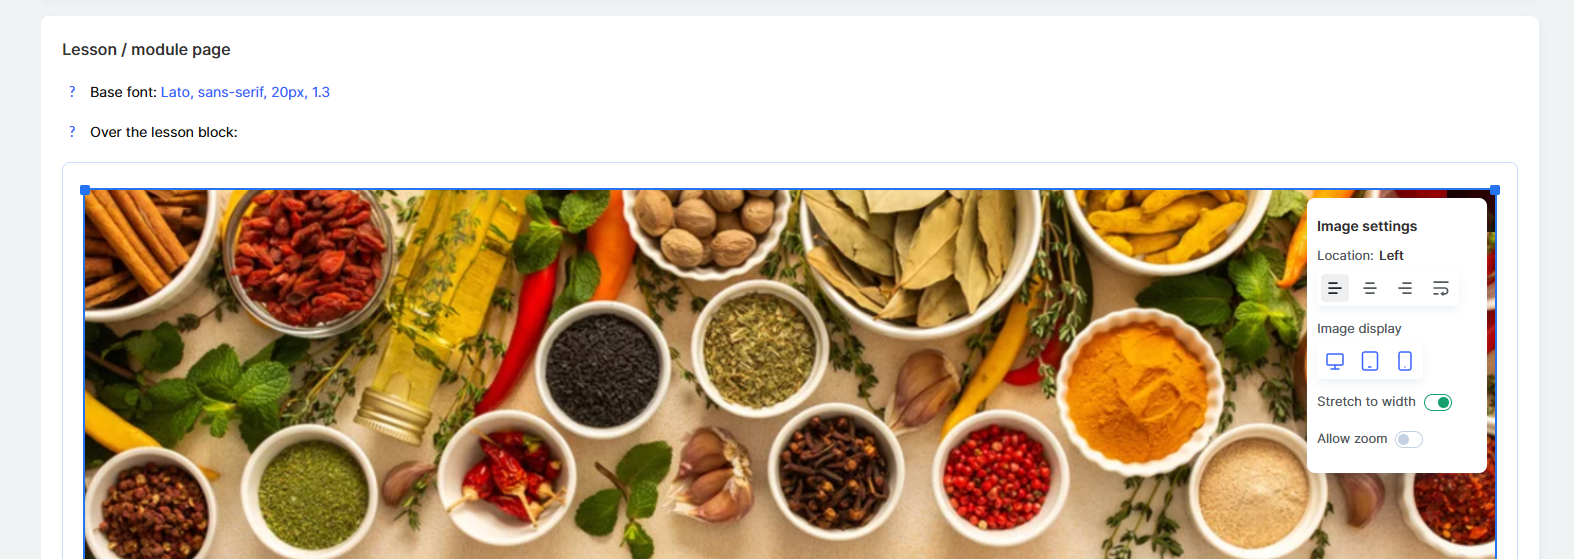
For example, for desktop, you can create a detailed horizontal image with many elements, while for mobile, you can use a simplified version.
You can also completely hide a specific image on certain devices if it’s not needed there.
This way, your content will always look professional on any screen.
This setting is often used for announcements and news — when you need to inform students about an additional webinar, a meeting with an expert, or changes in the schedule, all students will immediately see the update on every lesson page.
It’s also a convenient place for links to the course’s Telegram chat or Zoom meeting, so that students always have quick access to important and up-to-date resources.
Recommendation:
For promoting other courses and school products, it’s better to use the Course Store settings — you can read more about it in a separate article.
The Block above lessons saves you time: once set up, it automatically appears on all course pages.
This is especially convenient for dynamic updates — if you change the information in one place, all students instantly see the updated version.
Use it however you wish — for important announcements, helpful links, or motivational and promotional content — to keep your students informed and engaged.
Didn't find the answer? Contact the support service via online chat or Telegram