Articles:
- Orders: creating and editing orders.
- How do I add an individual payment link to a student
- Transactions
- How to set up sending your own email after purchase
- Integration with the Sendpulse chatbot
- How to integrate a payment system on Kwiga
- How to set a specific language for an offer page
- Important Project Settings
- How to grant access to students if the sales were not made on Kwiga
- Payment without authorization
- How to create a new stream with your own schedule
- How to give access to one student
- How to change access for one student
- How to set up demo access to a course, open house day at the school
- Setting up subscriptions (recurring payments)
- Automation: Follow-up email sequences (unpaid orders and applications)
- Credits and installments, payment in parts
- Promotional offer
- Discount coupons and possible settings
- How to launch course registration with prepayment
- How to create cross-sell offers in Kwiga
- How to start selling on Kwiga: creating a price plan
- Creating multiple pricing plans
- Selling consultations and one-on-one sessions
- How to Change a Student's Plan (Additional Payment on Kwiga)
- How to sell (give access to) parts of the course
- How to implement access renewal sales
- Selling through a registration form on a third-party site
- Selling through a mini-landing page created on Kwiga
- How to add a video to a page (mini-landing, course page)
- How to create a link with an applied coupon
- Offers and Payments on Kwiga: How It Works
- Repeat Sales: Setting Conditions and Sending a Coupon Based on Purchase Count
- Setting up notifications in a Telegram channel
- Sending Emails with Promo Codes (Unpaid Orders)
- Course Store: Settings and Capabilities
- Setting Up the Public Offer Page
- Organization of CPD on Kwiga: step-by-step guide
- How to set up a thank-you page after payment
- Set up access to lessons, sections, and modules
In this article, we’ll explain how to configure all the elements of a public offer page and make it as effective for sales as possible.
In this article:
The public offer page is the page where potential students can see the conditions of a specific plan and make a purchase. If you haven’t yet created any plans or offers, check out the separate article on creating and configuring offers..
Go to Courses → Plans & Offers, and select the desired offer. Each offer has its own unique public link. If the offer is published, anyone with the link can view this page.
Example link: https://sampleschool.kwiga.com/o/TRJc4Tq2ZIWU
Let’s take a detailed look at each element you can configure on the public page.
Title and Short Description
The offer title is the name of the plan that students see on the purchase page.
Usually, this is the name of the tariff plan — for example, Standard, Premium, VIP, or Basic Access.
The short description appears below the title and provides brief information about the key conditions of this specific plan.
This is the first thing a potential student sees, so it’s best to describe the main advantages of the offer concisely.
Filling in the short description is optional but recommended.
If you don’t fill in this field separately, it will be automatically generated based on the full description.
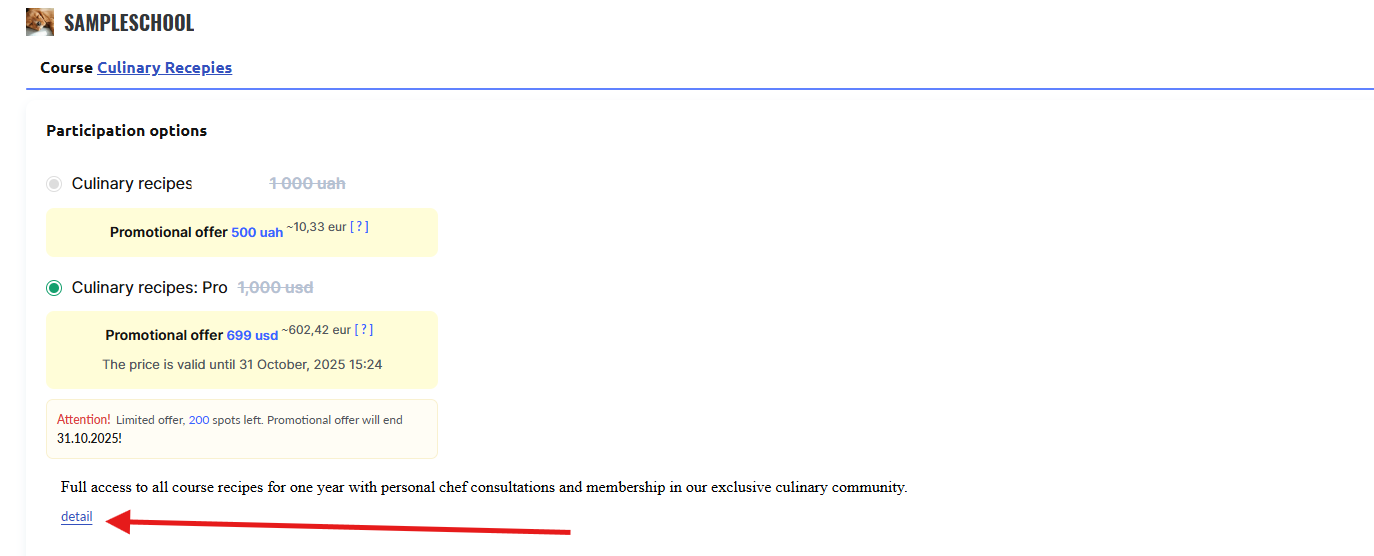
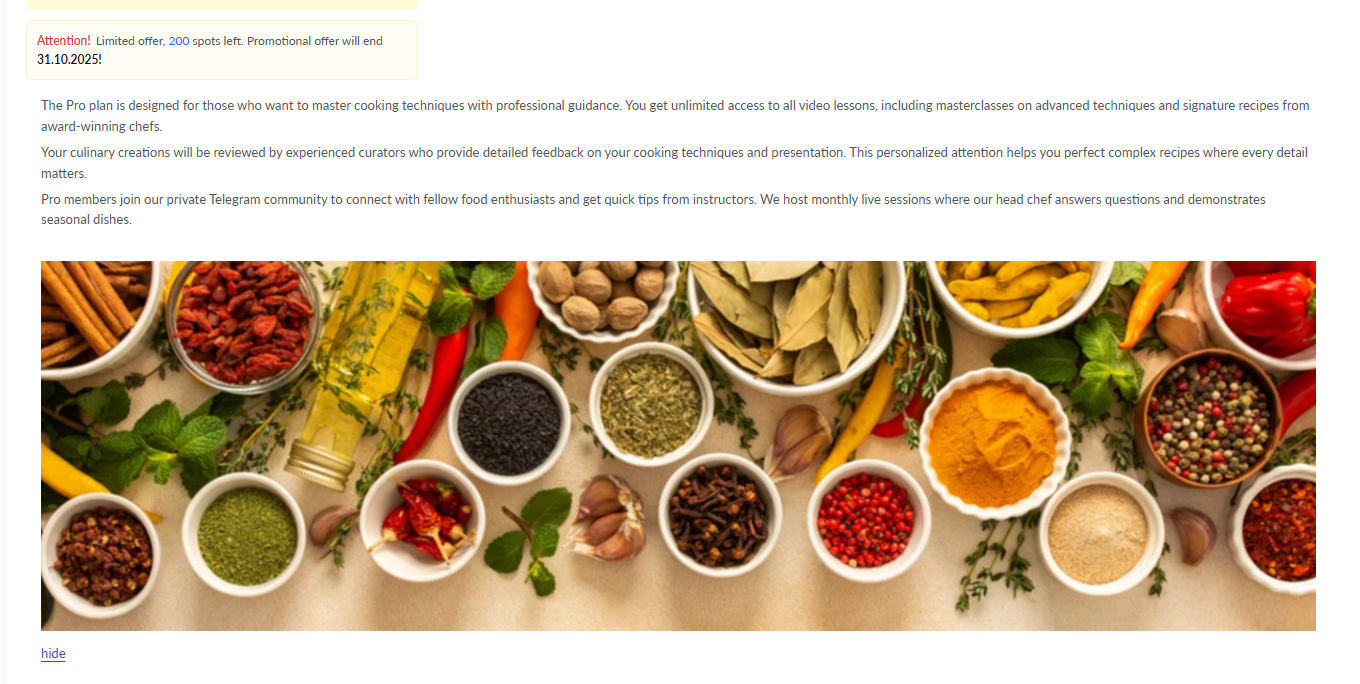
Full Offer Description
If you click the “Learn More” button below the short description, the full description appears.
The full description is created using a text editor, which allows you to format text, add images, insert links and buttons. If needed, you can also add code — for example, an iframe to embed videos or other elements.
Filling out the full description is not mandatory, but it is recommended for a detailed presentation of the offer.
Displaying Price and Promotions
The price of the offer is automatically displayed on the public page based on the settings you specified in the Price section.
If you’ve created a promotional offer with a discount, students will see the reduced price highlighted in bold, with the old price crossed out next to it.
This visually emphasizes the benefit of purchasing right now.
If you’ve set a limit on the number of available spots in the offer settings, students will see a message indicating how many spots remain out of the total number. This kind of information creates a sense of exclusivity and provides extra motivation not to delay the purchase.
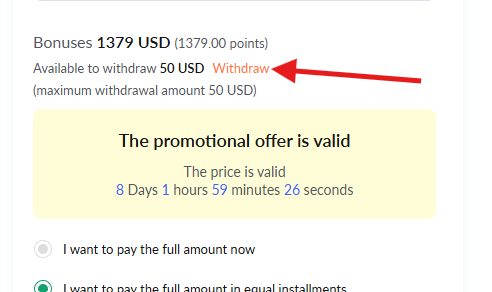
Payment Options
The public page automatically displays information about the available payment methods.
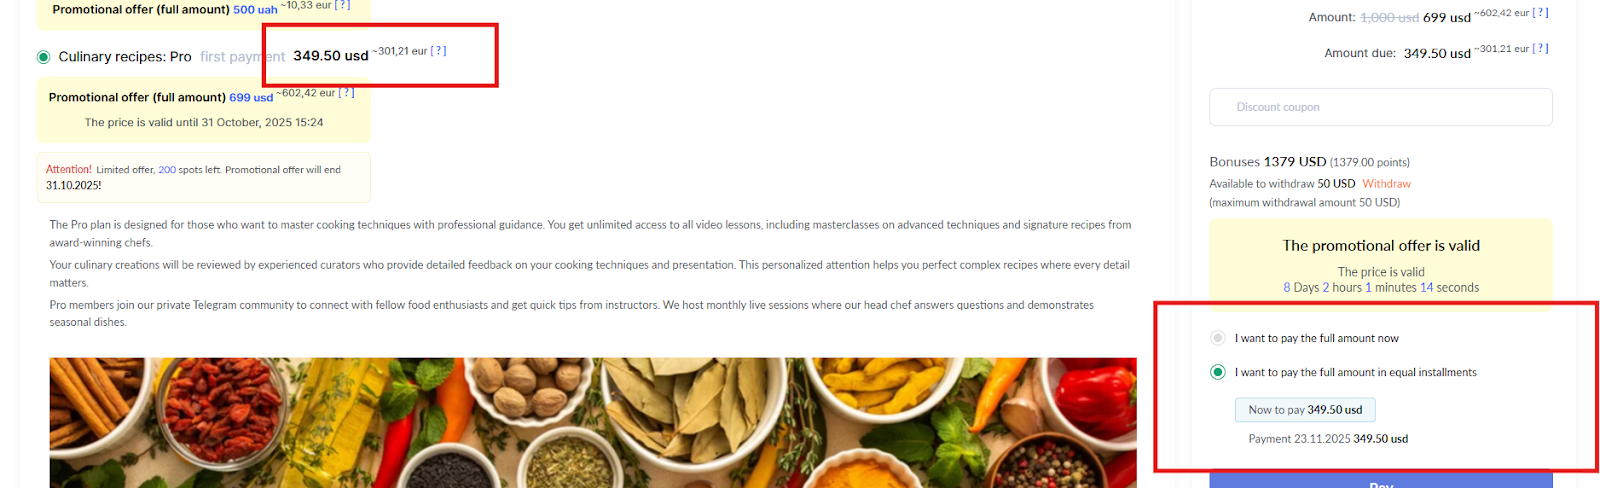
If you’ve set up installment payments, students will see the option to split their payment into multiple installments.
When configuring installment payments, you can specify which amount the client will see as the first payment on the purchase page.
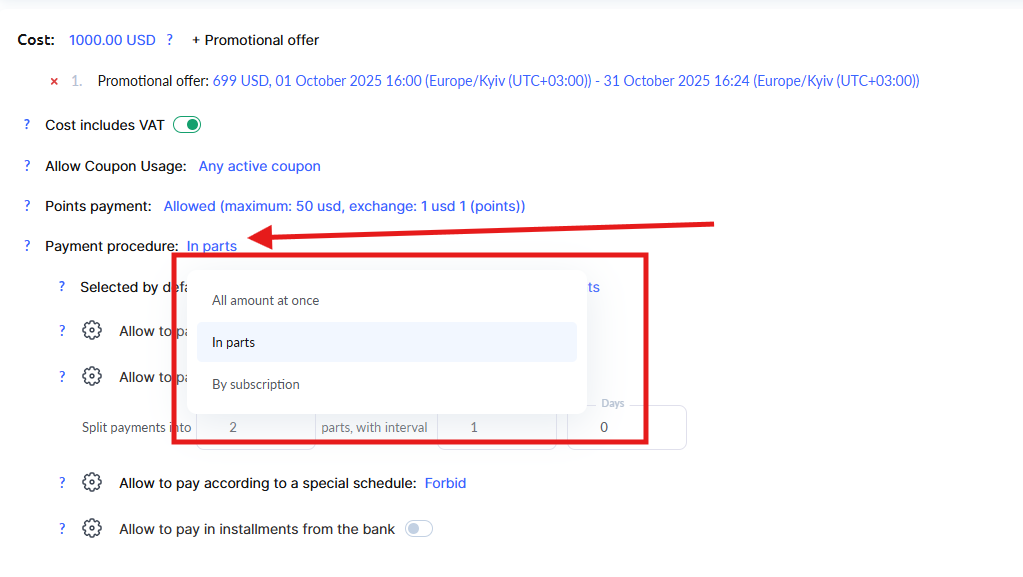
This can improve conversion rates, as a lower initial price may appear more attractive to potential buyers.
If you’ve set up subscription-based payments, the page will display information about the payment frequency and the option to cancel the subscription.
Discount Coupons and Promo Codes
If you’ve created discount coupons and allowed their use for this offer, a special promo code field will appear on the page.
Students will be able to enter their coupon before making a payment and immediately see the updated price.
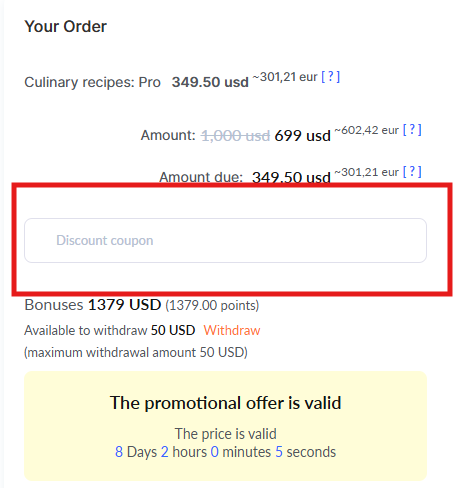
Paying with Points
When the pay-with-points option is enabled, students will see the ability to use their accumulated bonus points to reduce the cost of their purchase.
The system automatically displays how many points are available and what amount can be deducted.
Footer and Information at the Bottom of the Page
The footer is the lower section of the page, which remains the same across all public pages of your school on the Kwiga platform.
You can add contact information, useful links, or other important elements there.
For more details on how to configure the footer, see the separate article on footer setup..
Recommendation
Before opening the offer for sales, preview the public page via its link and check all elements carefully.
Make sure that:
-
the text is clear and easy to understand,
-
the price displays correctly,
-
images load quickly, and
-
the payment button is active and successfully redirects to the payment system page
Didn't find the answer? Contact the support service via online chat or Telegram