Articles:
- Orders: creating and editing orders.
- How do I add an individual payment link to a student
- Transactions
- How to set up sending your own email after purchase
- Integration with the Sendpulse chatbot
- How to integrate a payment system on Kwiga
- How to set a specific language for an offer page
- Important Project Settings
- How to grant access to students if the sales were not made on Kwiga
- Payment without authorization
- How to create a new stream with your own schedule
- How to give access to one student
- How to change access for one student
- How to set up demo access to a course, open house day at the school
- Setting up subscriptions (recurring payments)
- Automation: Follow-up email sequences (unpaid orders and applications)
- Credits and installments, payment in parts
- Promotional offer
- Discount coupons and possible settings
- How to launch course registration with prepayment
- How to create cross-sell offers in Kwiga
- How to start selling on Kwiga: creating a price plan
- Creating multiple pricing plans
- Selling consultations and one-on-one sessions
- How to Change a Student's Plan (Additional Payment on Kwiga)
- How to sell (give access to) parts of the course
- How to implement access renewal sales
- Selling through a registration form on a third-party site
- Selling through a mini-landing page created on Kwiga
- How to add a video to a page (mini-landing, course page)
- How to create a link with an applied coupon
- Offers and Payments on Kwiga: How It Works
- Repeat Sales: Setting Conditions and Sending a Coupon Based on Purchase Count
- Setting up notifications in a Telegram channel
- Sending Emails with Promo Codes (Unpaid Orders)
- Course Store: Settings and Capabilities
- Setting Up the Public Offer Page
- Organization of CPD on Kwiga: step-by-step guide
- How to set up a thank-you page after payment
- Set up access to lessons, sections, and modules
How to create a custom thank-you page–with the right message, buttons, and links–and connect it to your offer
In this article:
After a successful payment, the student lands on a thank-you page (Thank You Page). By default, Kwiga shows a standard page and then redirects the student to their account. You can create your own page–with the message, buttons, and links you need–and connect it to your offer.
Creating a custom thank-you page
To get started, go to the Website section in the school’s main menu and select Widget, mini landing page.

There you can click the + button and enter a name for the new page, for example, Thank you for your purchase.

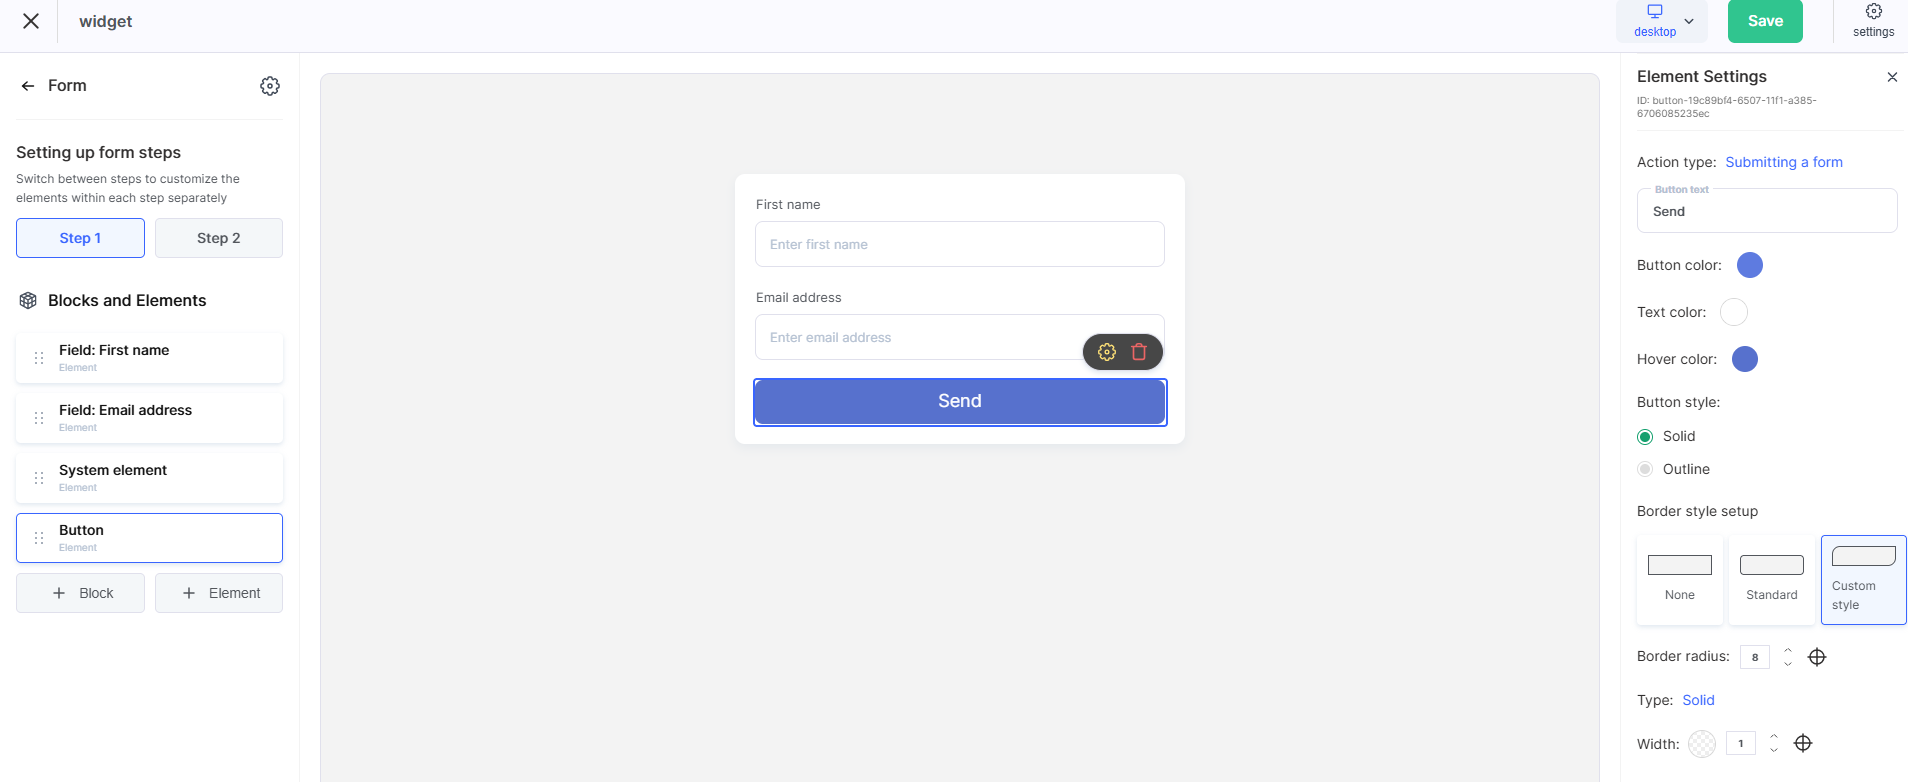
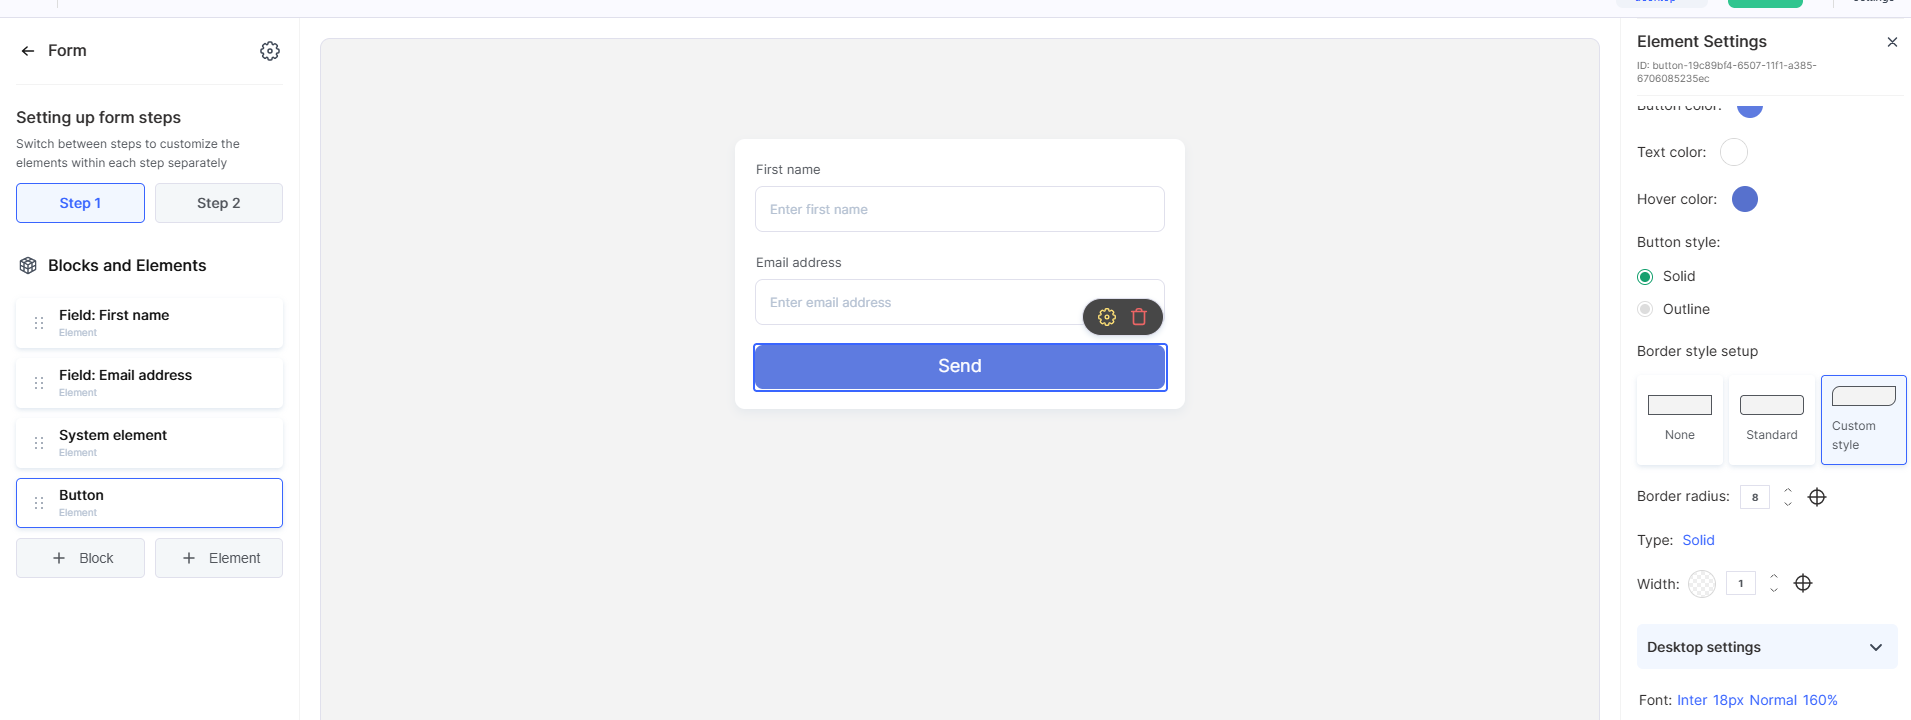
Various blocks are available in the builder–greeting text, an image or video, and buttons with links.
Connecting the page to an offer
To connect a thank-you page, you need to open the relevant offer. An offer is a set of access conditions for a course: plan name, price, payment method, and other parameters. You can find it in the Plans, offers section.
In the general offer settings, there is a Pages after payment block.
In the Successful payment page field, you can Override the thank-you page URL.
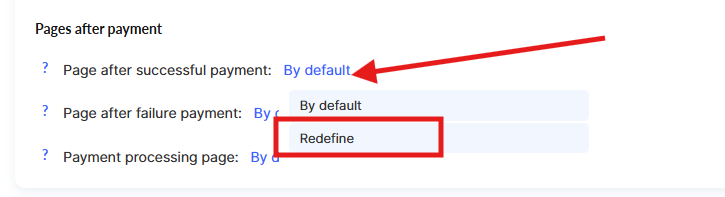
If needed, you can also specify a separate page for unsuccessful payment–for example, with an explanation of what went wrong and a suggestion to try again. In that case, you need to create another mini landing page, add the link below Unsuccessful payment page, and override the link.
You can change this setting at any time.
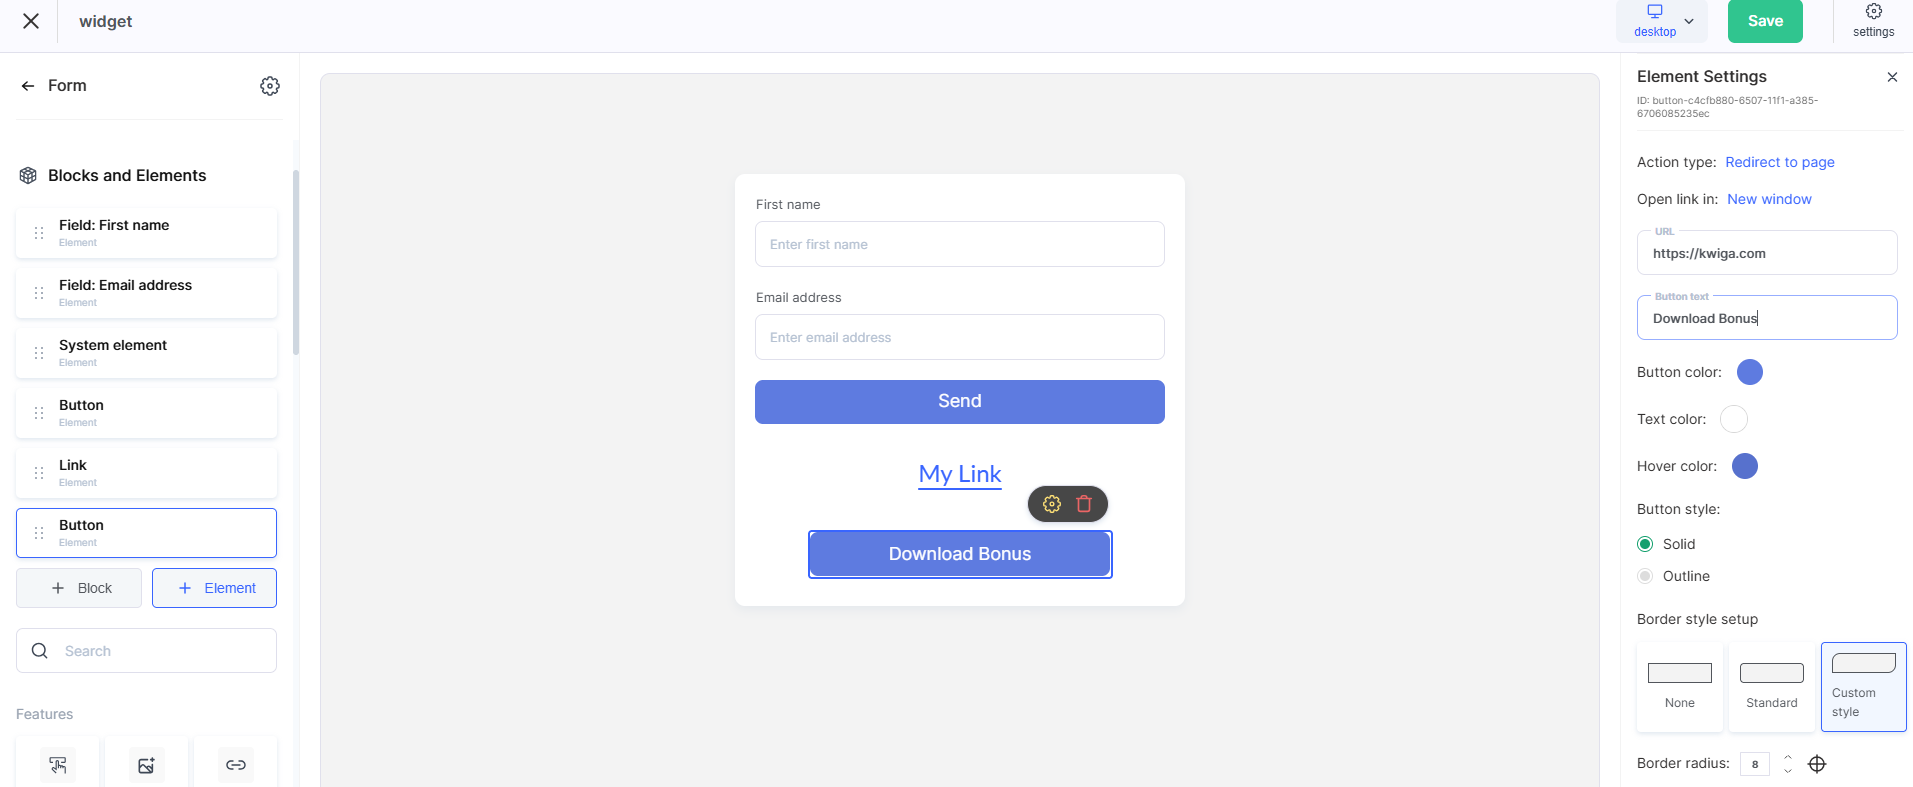
Buttons and links on the page
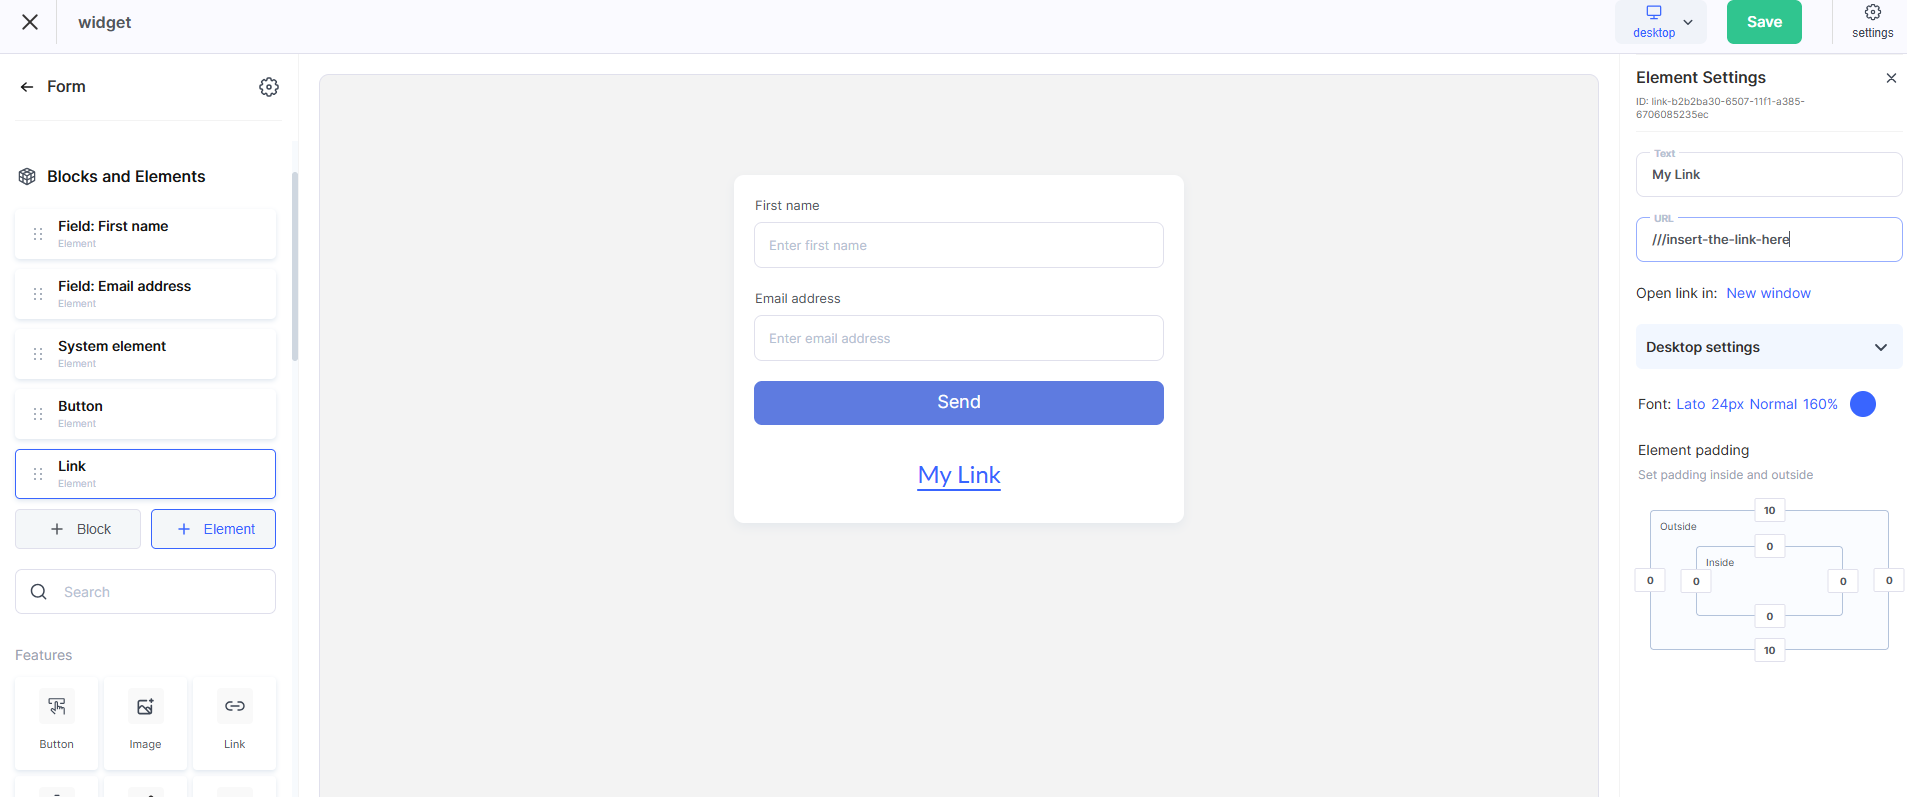
You can place one or more links on the thank-you page, depending on what the student should do after payment. The easiest way is to add a ready-made button block, for example “Heading, button” or “Heading, text, button”, and then edit the text and insert the required URL. If necessary, the link can also be embedded into the text element of any block.
Below are the most common options.
Go to learning
A direct link to the course will work well–especially if access is granted immediately after payment. The button text could be, for example: “Start learning” or “Go to course”.
You can copy the course link in the course settings.
Join the Telegram chat
For a general chat or support channel, it’s better to use a direct invite link in the format https://t.me/+інвайт_код. Button text: “Join the chat”.
Download bonus material
If you have a bonus PDF, checklist, or template, you can link to a file from Google Drive, Dropbox, or another cloud storage service. The main thing is that the link must be open for viewing without authorization.
Cross-offer–another course or product
A thank-you page is a convenient place to offer a related product or an upsell. You can link to the page of another offer or a separate landing page. Button text: “Learn more”, “Get it at a discount”.

Leave a review or go to social media
If it’s important to collect reviews or engage the student in the community, it’s worth adding a link to an Instagram page, Facebook page, or a Google review form. The emotions after a purchase are the best moment for this.
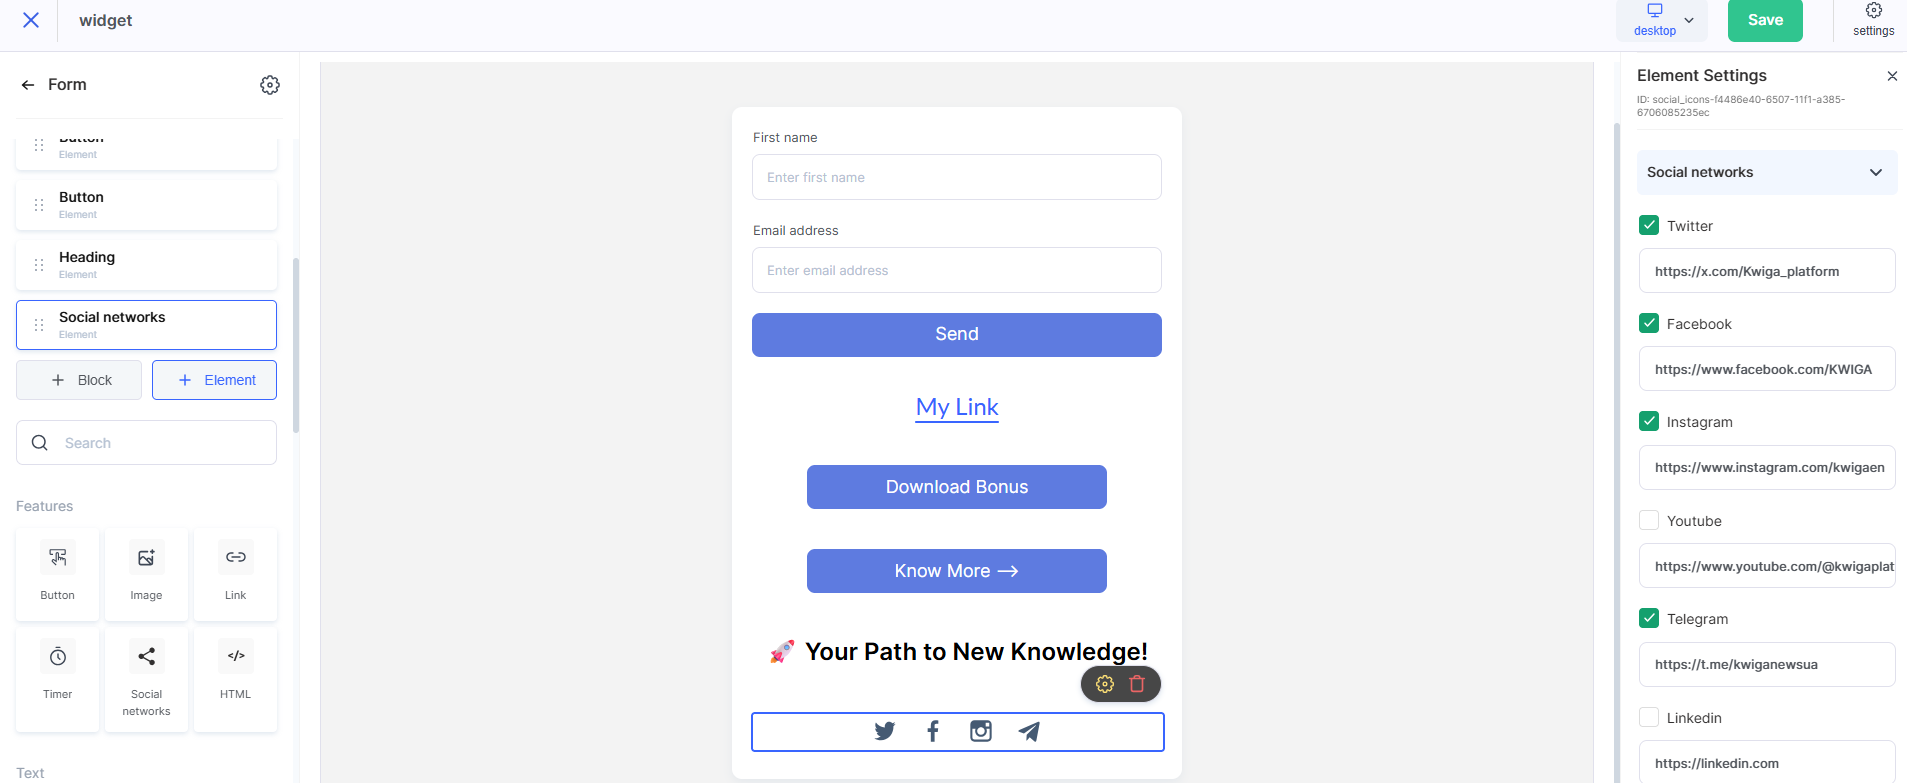
Note: You can place several buttons on one thank-you page at the same time. You can use different thank-you pages with different sets of links for different offers.
Didn't find the answer? Contact the support service via online chat or Telegram